Christmas crafts are so much fun! I especially love a good angel craft, we have shared quite a few of them over the years!
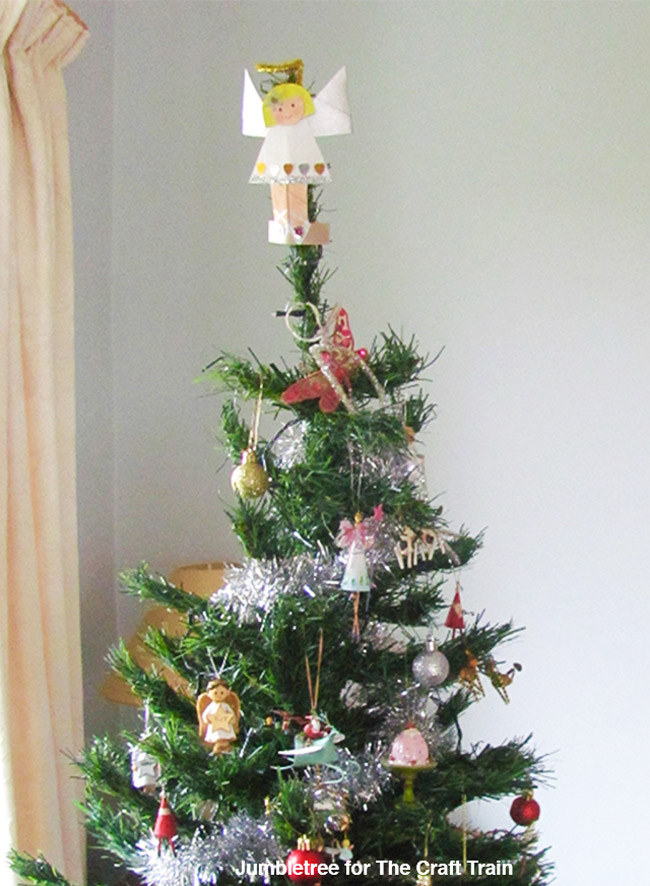
Today Tracey from Jumble Tree is showing us how to make a particularly adorable tree top angel from a a paper roll.
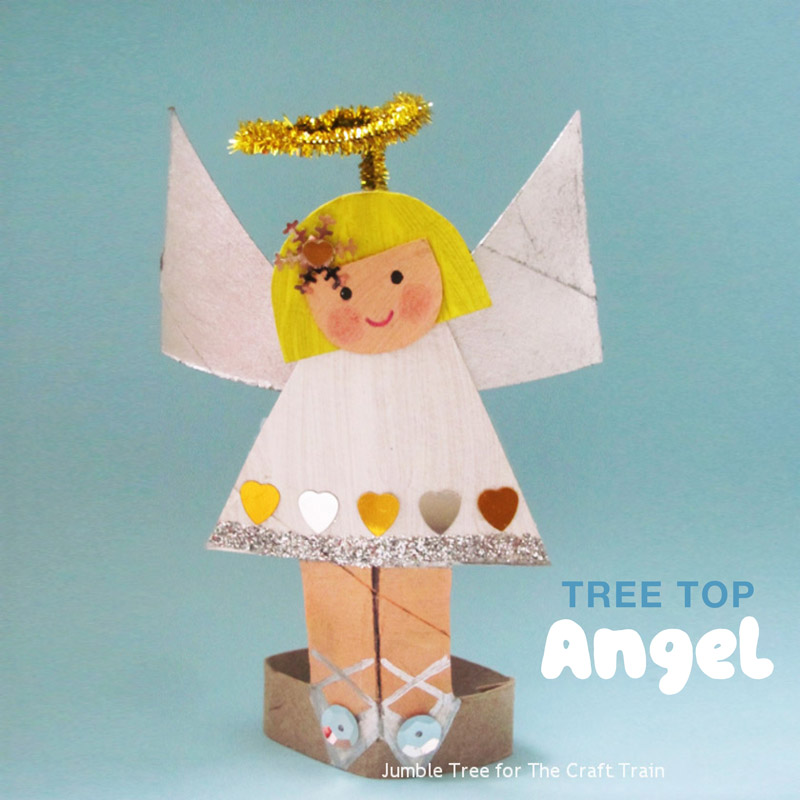
tree top angel craft
There’s something special about homemade Christmas decorations, especially ones you’ve made with your kids. They’re like little glittery bursts of happy memories.
This tree top angel is a great Christmas craft to do together. She is easy to make, great scissor practice, and can be made from just one paper tube – that’s wings and head too!
You will need
- Toilet paper tube ( or kitchen roll shortened to about 10cm/4in.)
- Pencil
- Ruler
- Scissors
- Glue
- Sticky tape
- Paint
- Coloured felt tip pens
- Black felt tip or gel pen
- Glitter, sequins, stickers (optional)
- Pipe cleaner for a halo
How to
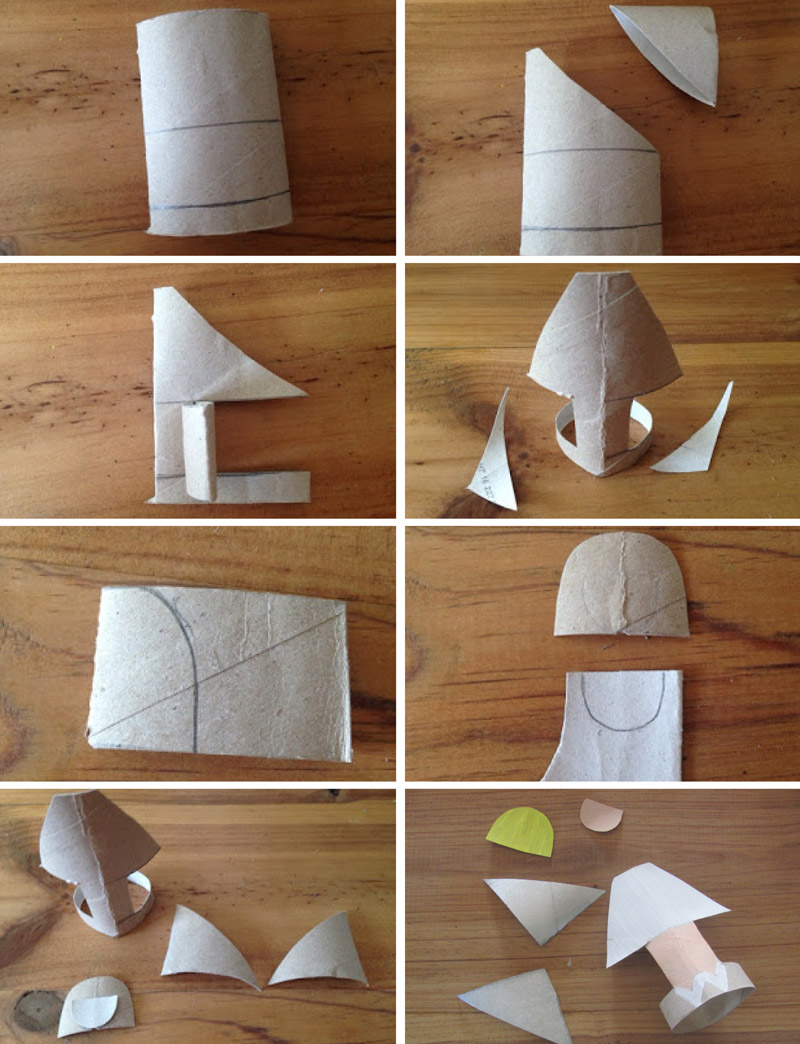
- Flatten the tube with your hand and about halfway up, draw a pencil line straight across using a ruler. Draw another line about a cm or so (1/2in.) up from one end.
- At the other end, cut at an angle from the middle line to the top of the tube, but not quite as far as the corner. Keep the triangle shaped piece for the wings.
- Cut along both pencil lines from the shorter side, but not right across, leave the last 1cm (1/2in.) uncut, and then fold this middle piece of card over firmly, before cutting along the crease to remove it. Keep this card too, for the head. Squeeze your tube open, and you have the base for your angel.
- Make her dress less pointy by trimming the sides.
- Take the folded rectangle of spare card, leftover from forming the fairy’s legs – keep it folded and draw a curve on the folded end, for her bobbed hair.
- Cut out and open up. If it looks too big for her body, fold again and trim until you’re happy. Use the card you’ve just cut away to draw a semi-circle shape for the face (on its side the shape should look like a capital D). Cut this out but don’t glue to the hair until all the pieces have been painted.
- Take the spare piece of card from the start of the project, and cut along the crease so you have two triangles. These are going to be your angel’s wings.
- Paint all the card pieces – we went for traditional white, but she could be more of a tree fairy if you want to use bright colours. Make a good flesh shade by mixing a little red with white to make light pink, then a tiny touch of yellow and blue. You could use felt tips to add her shoes later, when the paint is dry.
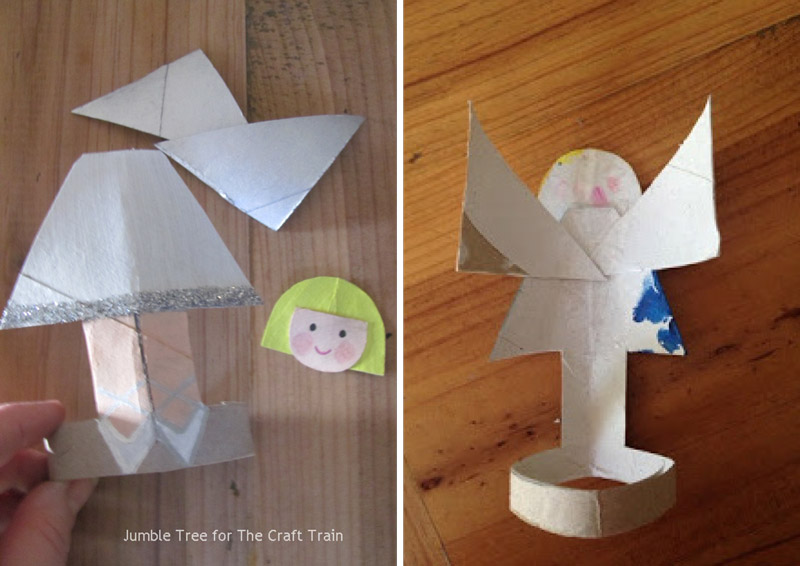
- When the paint’s dry, glue the face to the hair and draw on her eyes and mouth. Flatten down your tube and add some detail to her shoes too.
- Glue the head to the top of the body, and then use sticky tape to attach it firmly behind. Use the sticky tape to attach the wings to the back of the body too.
- For the halo, make a ring at one end of a pipe cleaner, bend the rest down so it’s at a right angle to the ring, and use sticky tape to attach to the back of your angel. (Cut away the extra pipe cleaner you don’t need)
- Decorate with glitter, sequins or stickers, if you want your angel to sparkle on top of the tree!
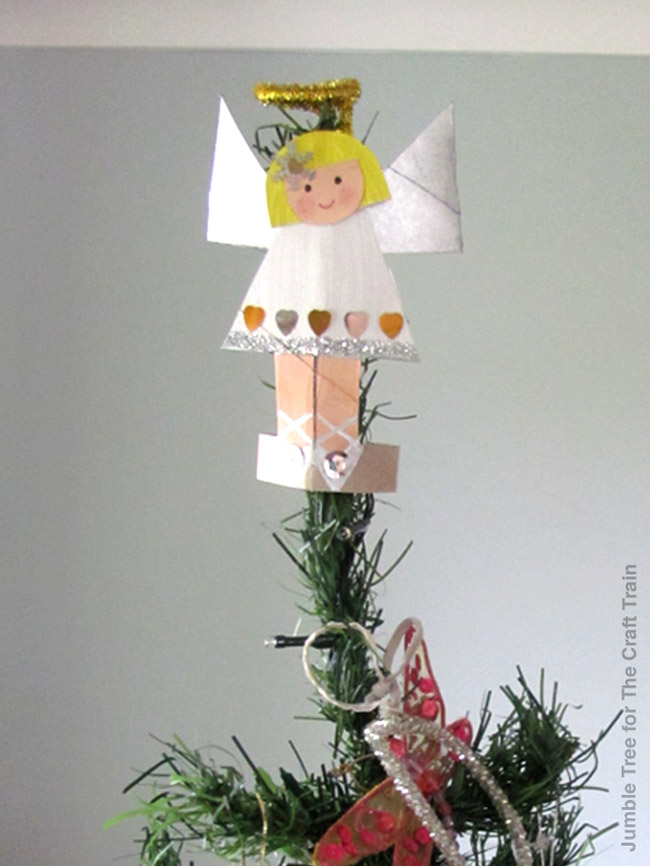
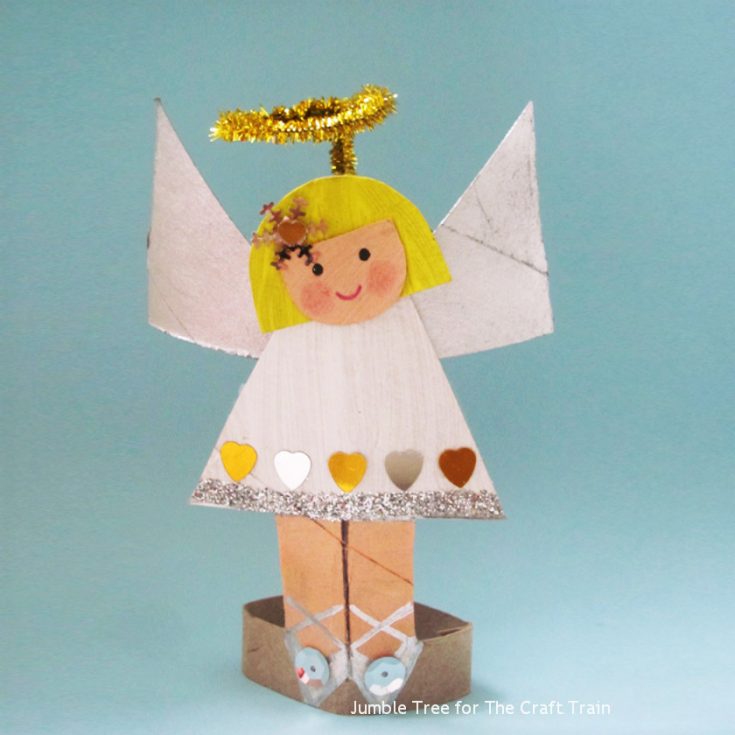
Isn’t she lovely?
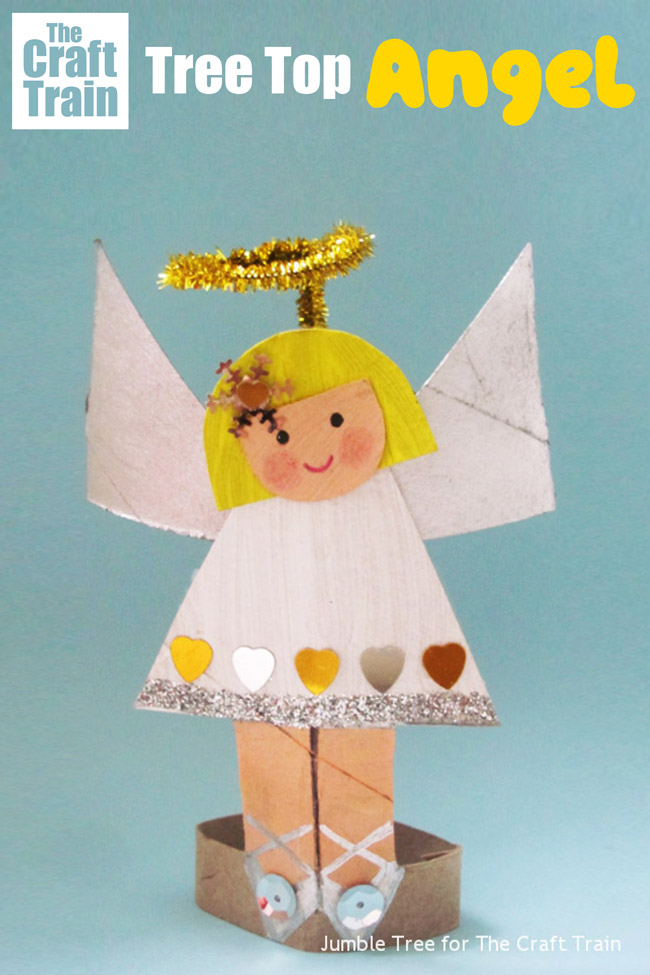
Tree top Angel craft
paper roll tree top angel craft for kids
Materials
- Toilet paper tube ( or kitchen roll shortened to about 10cm/4in.)
- Pencil
- Ruler
- Scissors
- Glue
- Sticky tape
- Paint
- Coloured felt tip pens
- Black felt tip or gel pen
- Glitter, sequins, stickers (optional)
- Pipe cleaner for a halo
Tools
- scissors
- paint brush
Instructions
- Flatten the tube with your hand and about halfway up, draw a pencil line straight across using a ruler. Draw another line about a cm or so (1/2in.) up from one end.
- At the other end, cut at an angle from the middle line to the top of the tube, but not quite as far as the corner. Keep the triangle shaped piece for the wings.
- Cut along both pencil lines from the shorter side, but not right across, leave the last 1cm (1/2in.) uncut, and then fold this middle piece of card over firmly, before cutting along the crease to remove it. Keep this card too, for the head. Squeeze your tube open, and you have the base for your angel.
- Make her dress less pointy by trimming the sides.
- Take the folded rectangle of spare card, leftover from forming the fairy’s legs - keep it folded and draw a curve on the folded end, for her bobbed hair.
- Cut out and open up. If it looks too big for her body, fold again and trim until you’re happy.
- Use the card you’ve just cut away to draw a semi-circle shape for the face (on its side the shape should look like a capital D). Cut this out but don’t glue to the hair until all the pieces have been painted.
- Take the spare piece of card from the start of the project, and cut along the crease so you have two triangles. These are going to be your angel's wings.
- Paint all the card pieces - we went for traditional white, but she could be more of a tree fairy if you want to use bright colours. Make a good flesh shade by mixing a little red with white to make light pink, then a tiny touch of yellow and blue. You could use felt tips to add her shoes later, when the paint is dry.
- When the paint’s dry, glue the face to the hair and draw on her eyes and mouth.
- Flatten down your tube and add some detail to her shoes too.
- Glue the head to the top of the body, and then use sticky tape to attach it firmly behind. Use the sticky tape to attach the wings to the back of the body too.
- For the halo, make a ring at one end of a pipe cleaner, bend the rest down so it's at a right angle to the ring, and use sticky tape to attach to the back of your angel. (Cut away the extra pipe cleaner you don't need)
- Decorate with glitter, sequins or stickers, if you want your angel to sparkle on top of the tree!
More angel craft ideas
• These mini paper angels make great tree ornaments
• Here is a more basic paper roll angel craft
• Make some easy DIY angel wings from recycled cardboard and feathers
• Check out this gorgeous paper plate angel tutorial
• Here are 25 sweet angel crafts from around the web
Pin it:

Leave a Reply