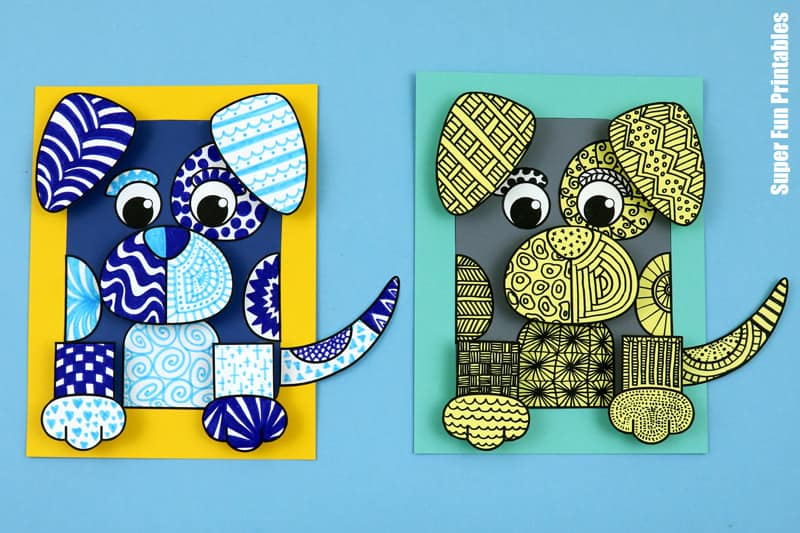
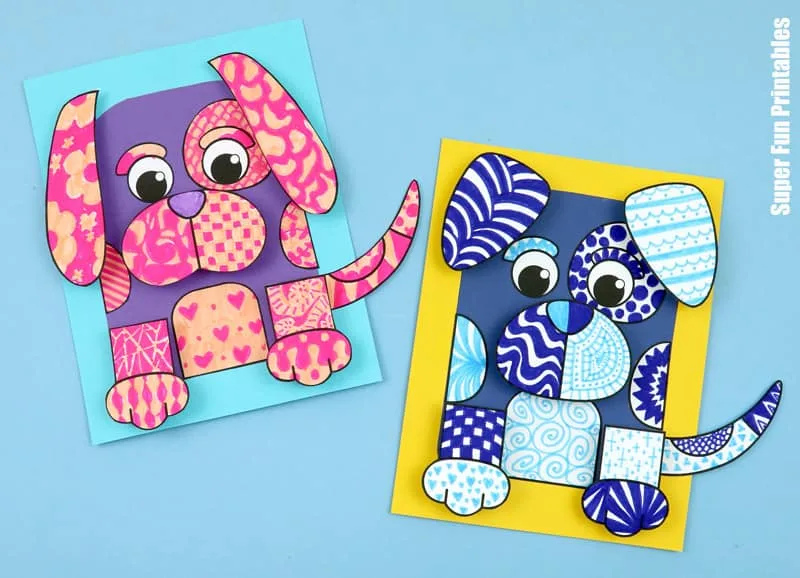
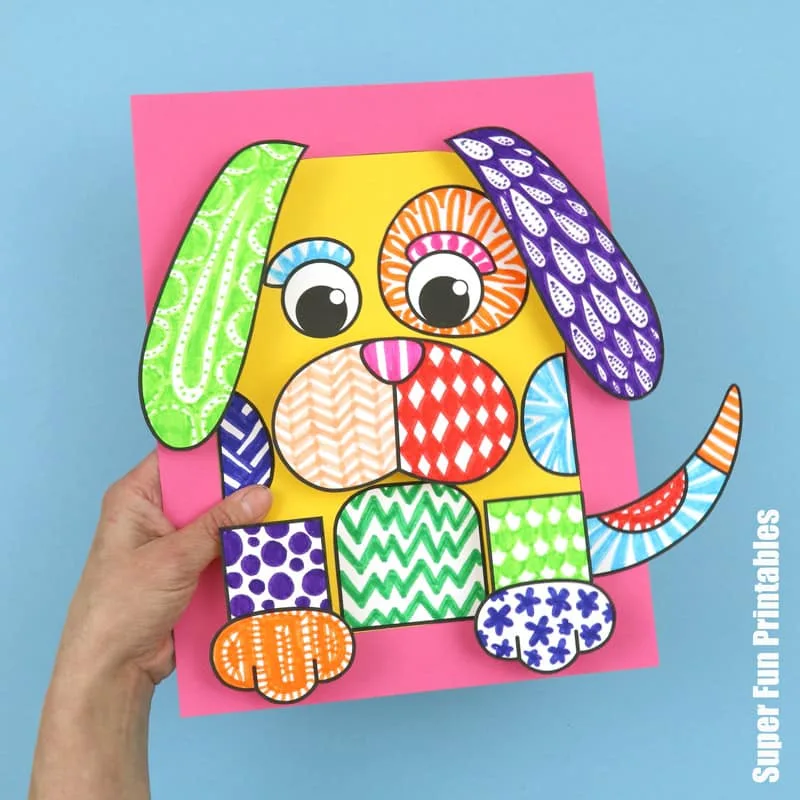
Here’s something for anyone who loves DOGS! A 3D dog pattern art project. This is a fun way to get kids exploring colour and pattern using doodle art.
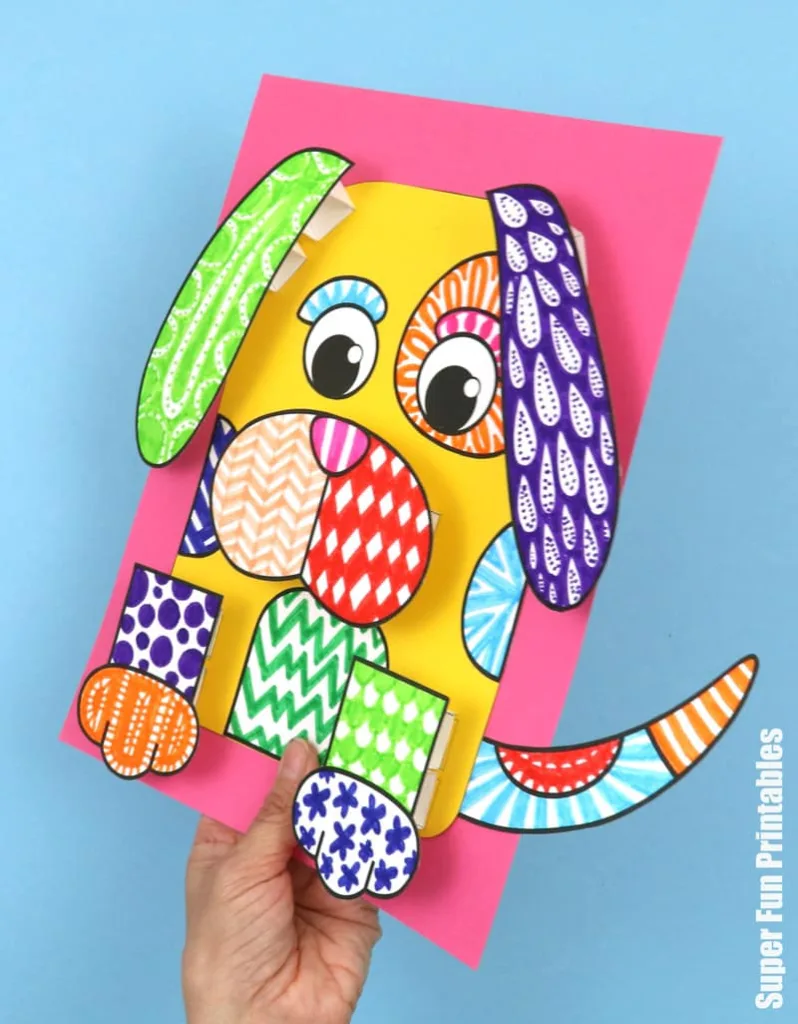
The 3D element makes it extra fun and your finished doodle dog artwork looks great hanging on the wall.
Get the template in our printables store here

Here’s a question: Which is more lovable, a floppy-eared dog or a pointy-eared dog?
Answer: Both of them!
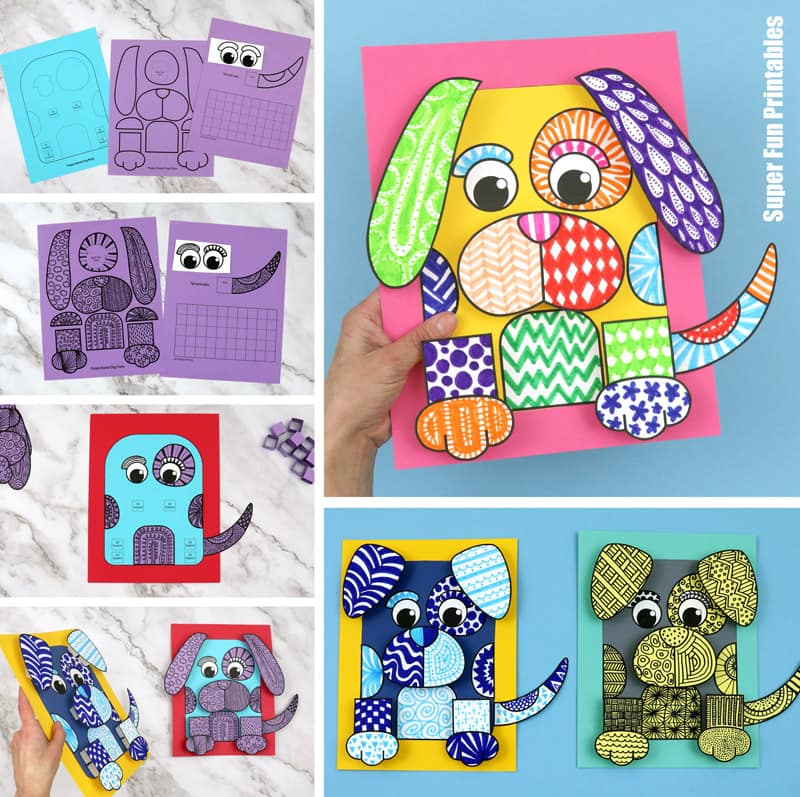
It was impossible to decide whether to go with pointy-eared or floppy-eared with this template, so I’ve gone ahead and made both. Your kids can choose which one they want to make.
If you’re more of a cat person, we have a 3D doodle art cat template too. When I shared it earlier this year, a reader replied asking for a dog version and I promised to put it on my list, so here it is.
Doodling is fun and relaxing, a bit like meditation. The good thing about it is that each finished piece turns out unique, kind of like our fingerprints.
The pink and purple dog below was created by my teen daughter.
This craft is recommended for kids aged 8 and up, however younger kids could make it with some adult help and there is no upper age limit. Many adults enjoy doodling too.
Want to get started? Here’s how to make a doodle art dog at home or in the classroom …
How to make a 3D Pattern Art Dog
You Will Need:
- Card stock – 3 sheets per dog per dog plus a backing sheet in a contrasting colour
- Markers for doodling. You can use black Sharpie on coloured paper or kids regular washable markers on white for a rainbow-coloured version
- Scissors
- Glue stick
- Optional cutting mat, metal ruler and scoring tool
- The template, printed as per the instructions in the download. It’s available from our printables store and our TPT store
How to:
Decorate the dog shapes in doodle patterns.
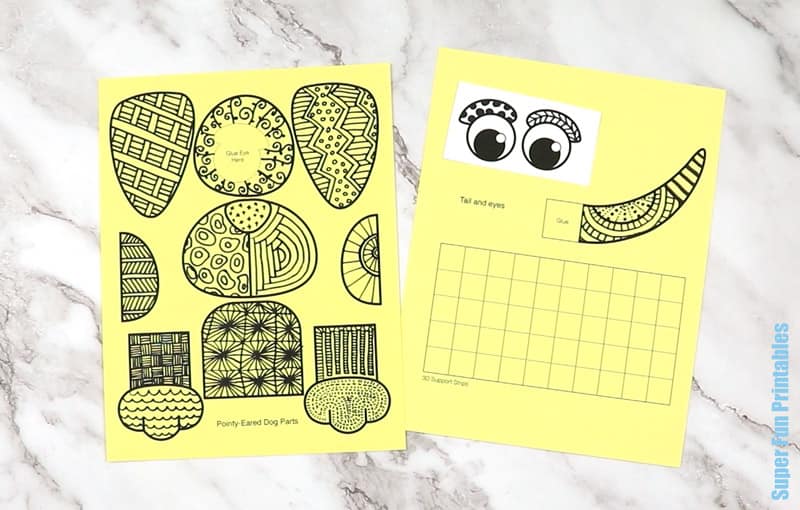
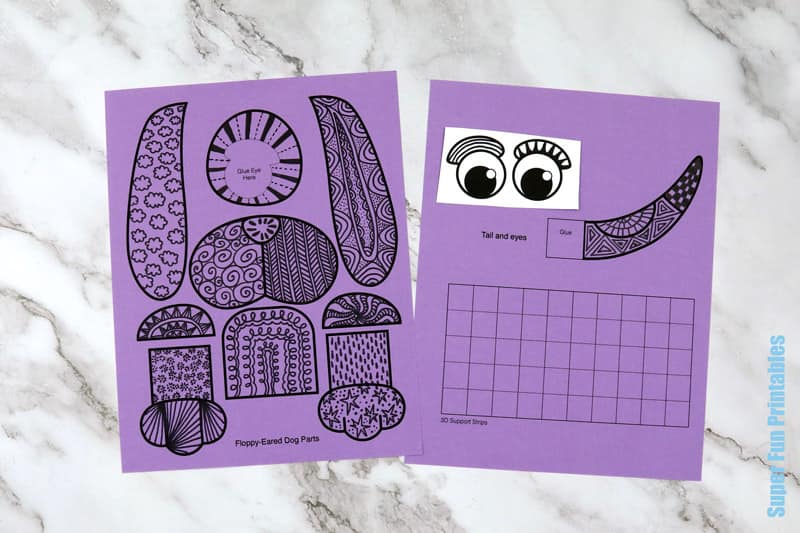
Cut out the dog shapes, eyes and tail, body shape and outer squares of the support strips.
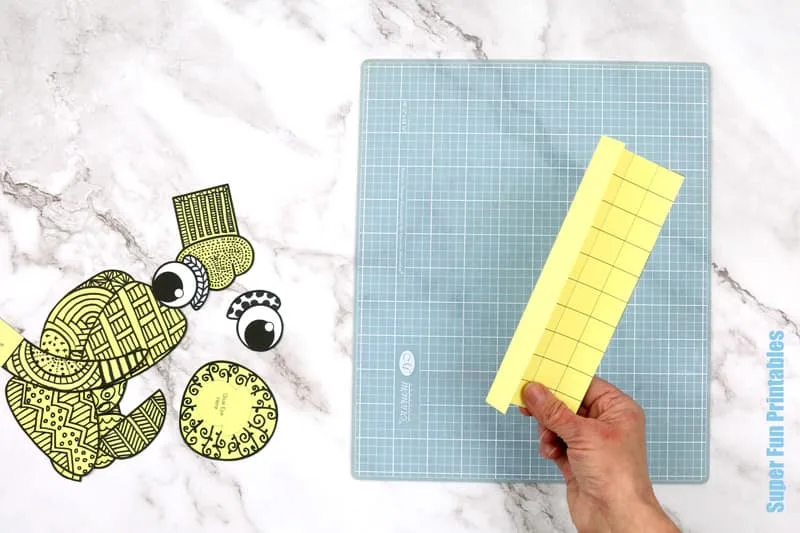
Optional: Score and fold the dotted lines on the 3D support strips then cut into strips. Otherwise, fold each strip individually after cutting out.
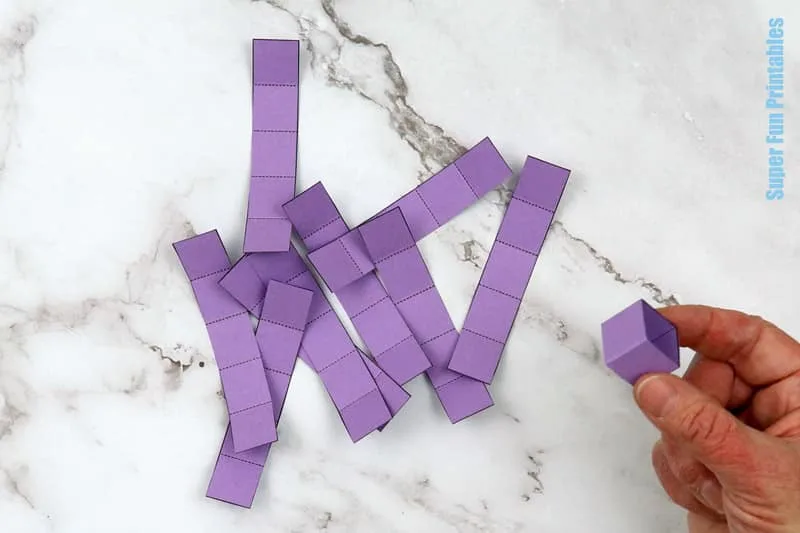
Glue the support strips into squares.
Glue the tail onto the back of the body shape, then glue the body shape onto the backing sheet.
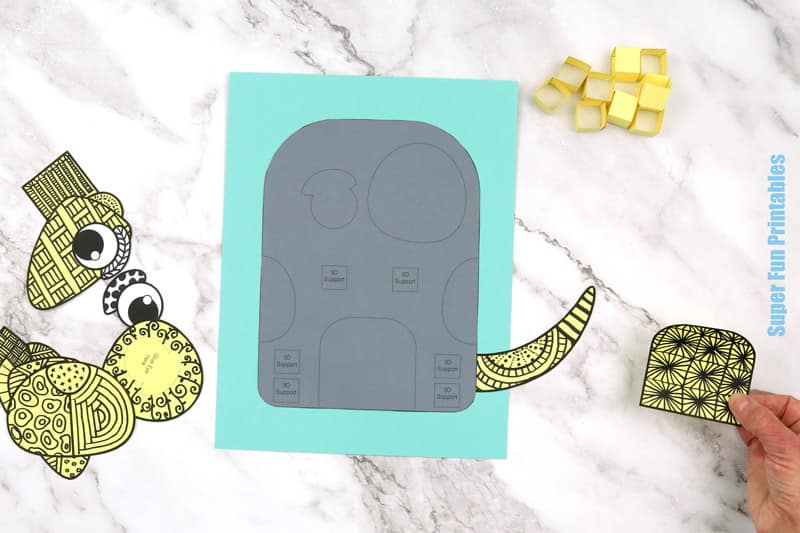
Glue the tummy patch, side spots and eye patch onto the spaces marked with dotted lines. Glue the support squares onto the spaces marked. Note: There are no dotted spaces marked for the ear squares. This is because the ears overlap the eye patch. Glue them diagonally in each top corner as pictured.

Glue the paws, snout and ears onto the support squares.
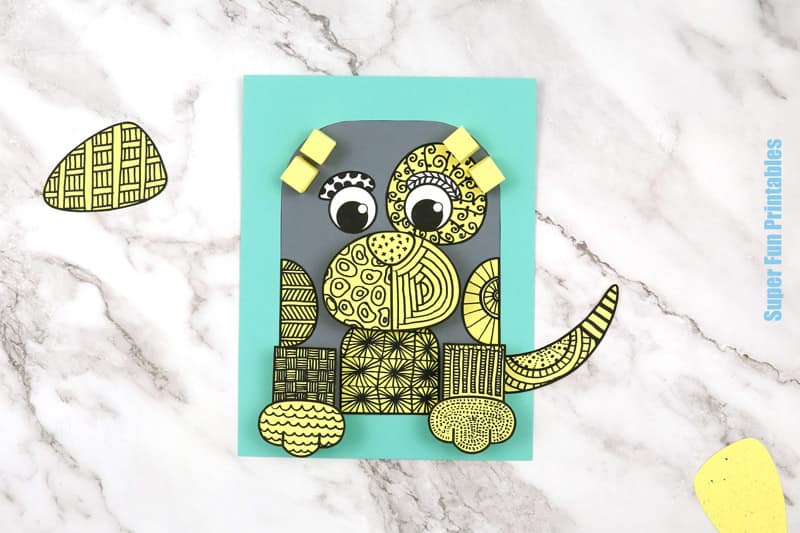

Now all you need to do is name your pet and hang it on the wall.
More pet crafts for kids
- Make an all-occasion card for someone special using our mix-n-match dog card set
- Here’s a fun and easy egg carton goldfish
- Create a set of adorable paper guinea pigs—there’s a mama and two babies to make
- There are seven different cats to make in our printable paper cat set, from purebreds to moggies. These are so cute!
Check out more of our doodle art projects for kids