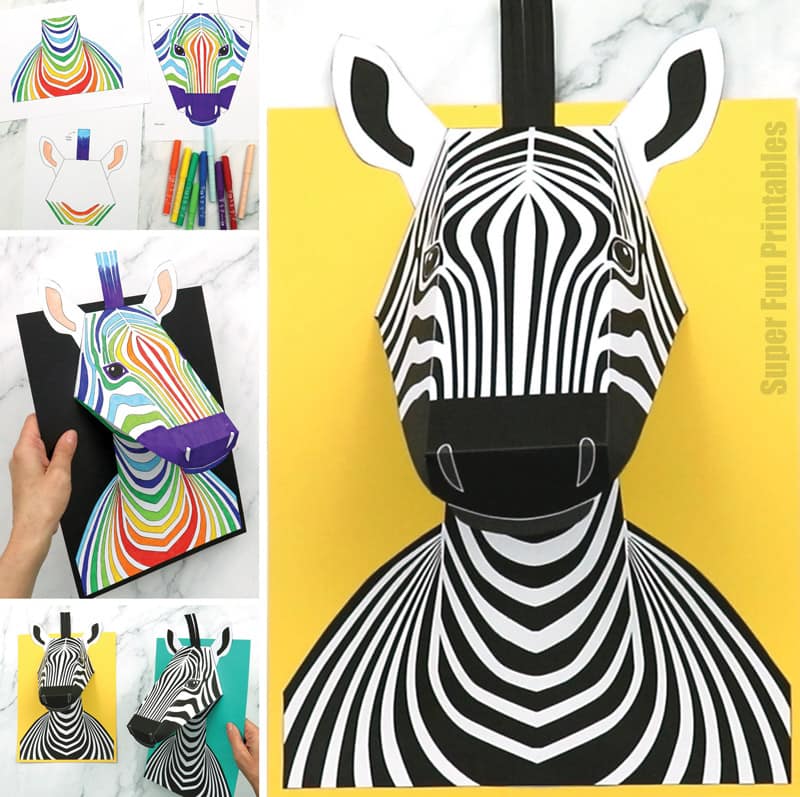
Are you ready to make a 3D zebra craft that looks almost real? This head-and-shoulders portrait of a zebra has been based on the real thing (rather than a cartoon), but don’t let that fool you. It’s super easy to print and create.
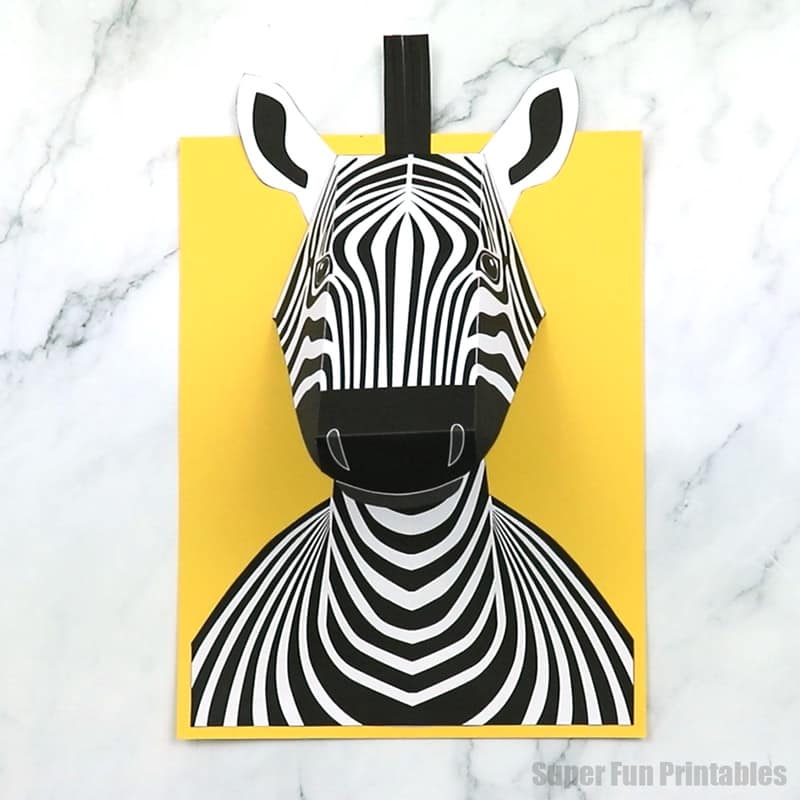
Zebras have to be the snazziest animals in the world. Their stripes are so distinctive and they lend themselves to endless patterning possibilities.
This zebra craft ‘pops’ off the page 3D style. It looks great hanging on the wall and would suit a teaching unit on Africa or African animals, or make a cool craft for a safari-themed party.
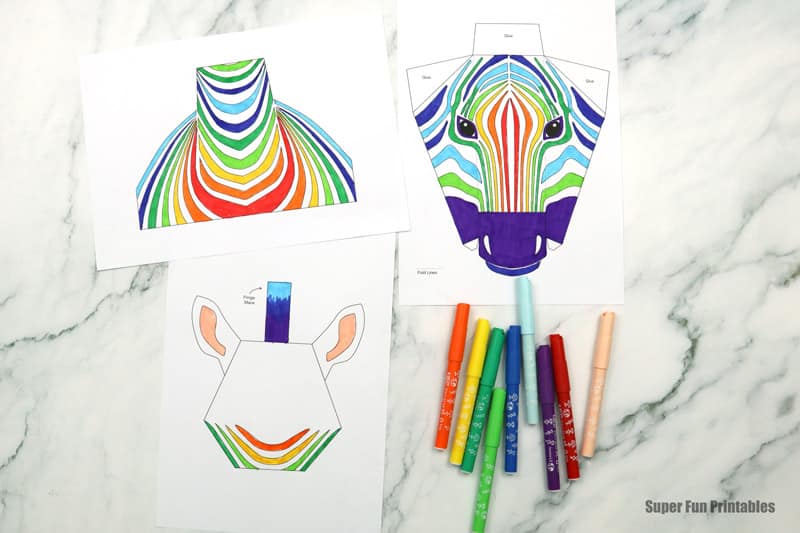
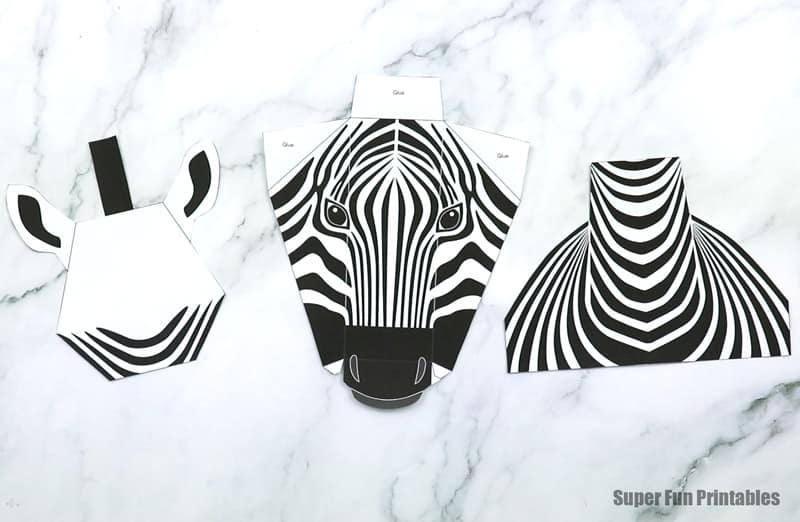
The template comes in both pre-coloured black and white stripes and line art so kids (or adults) can colour and pattern the stripes any way they like. As an example, I’ve gone with rainbow. You could try alternating different colours, or even adding doodle patterns within the lines, alternated with solid blocks of colour.
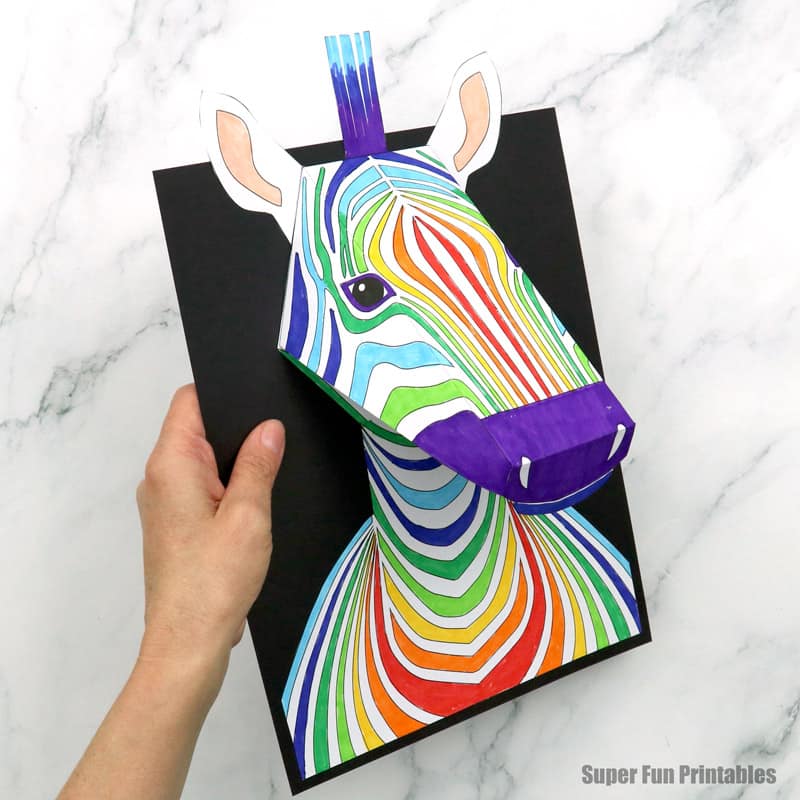
If you choose to colour your own zebra, white card stock is recommended because markers can make already thin printer paper even more thin and flimsy so it might tear when kids try to fold it. But if you’re careful when folding, ordinary paper will still work. I’ve used ordinary printer paper for both the full-colour and pre-coloured version and plain coloured card stock as the base board.
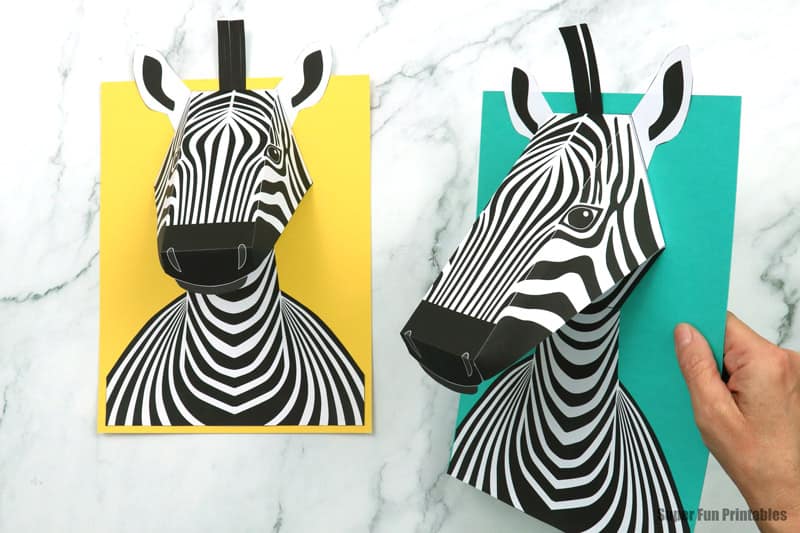
This craft has been designed for kids aged 7+. Extend the activity for older kids by using the colour-your-own version.
Lets get started …
How to make a 3D zebra craft
You will need:
- Card stock backing sheet
- Ordinary white paper for the pre-coloured black and white zebra, or white card stock for the colour-your-own zebra (3 pages per zebra).
- If using card stock, scoring is recommended so you will also need a scoring tool (or blunt butter knife), a metal ruler, and a cutting mat
- Scissors
- Glue stick
- Markers, pencils, crayons, etc if colouring your own
- The printable template, available in both our printables store and TPT store
How to
Print the template of choice to white paper or card stock (if using). If using the colour-your-own version, colour the stripes in.
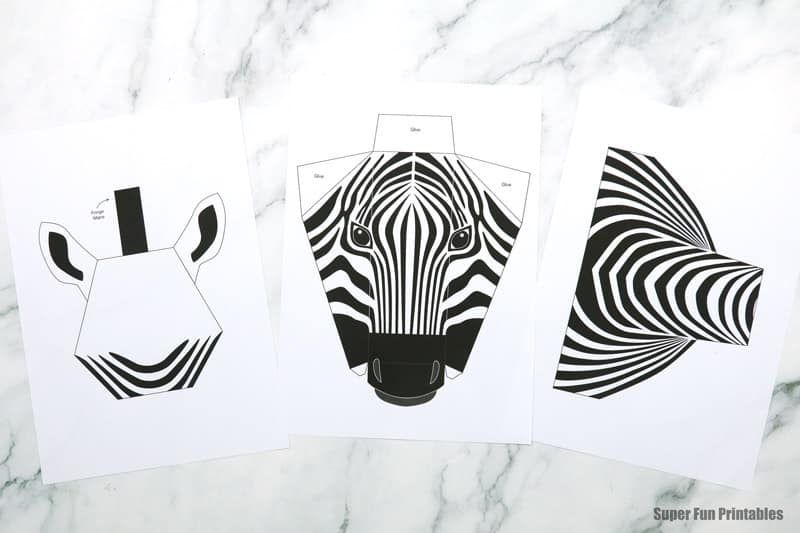
Cut the shapes out.
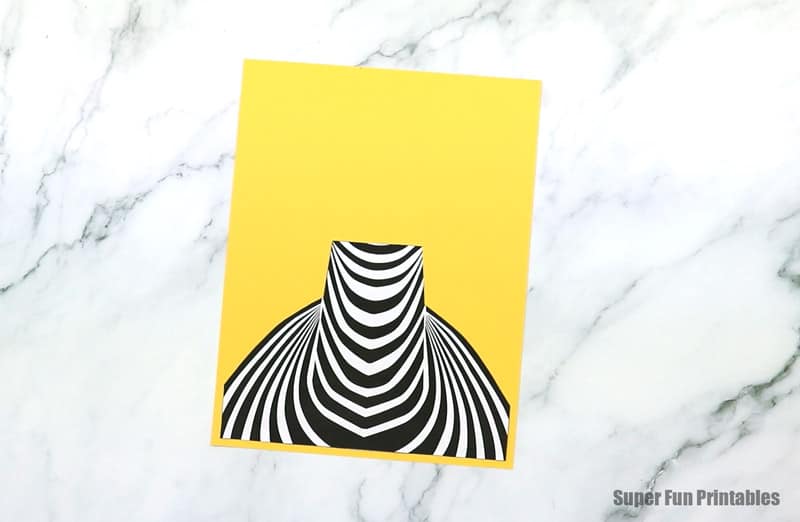
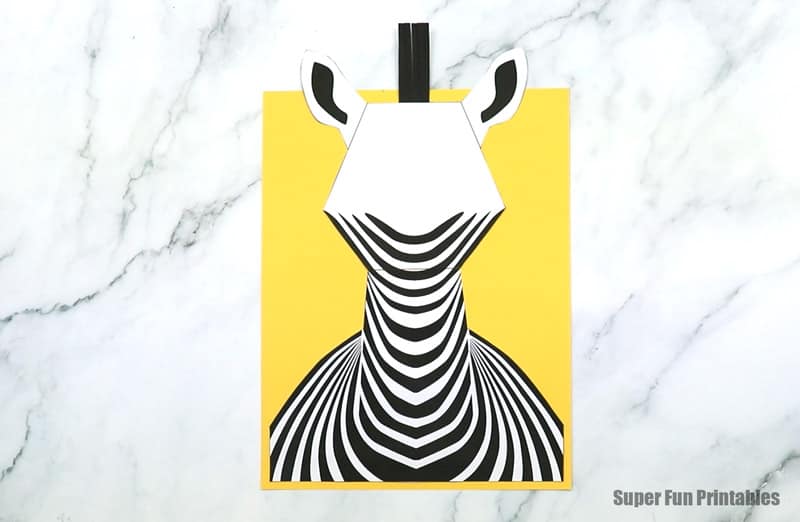
Glue the body along the lower edge of your coloured backing sheet, leaving a 5mm (0.2”) gap to create a border
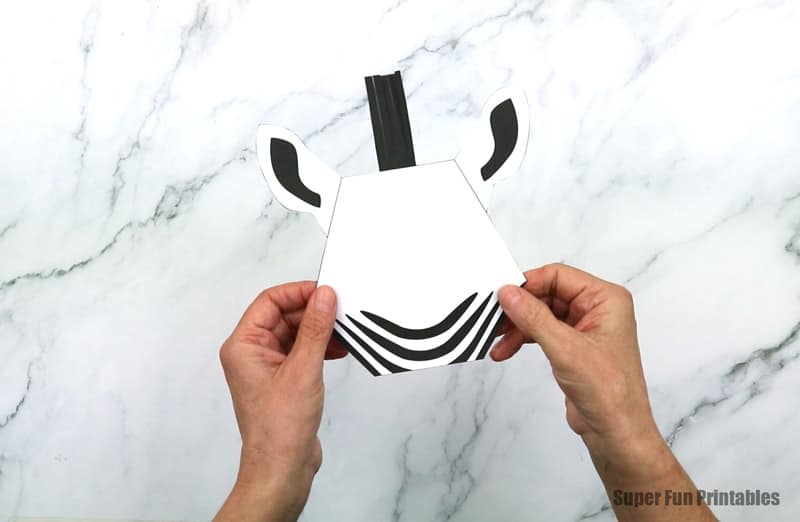
Fringe the mane on the geometric piece with the ears, and glue in place, matching the stripes up at the neck.
Fold the tabs and fold lines marked on the face and snout. If you’ve printed to card stock, I recommend scoring the fold lines first using a metal ruler and scoring tool (or blunt butter knife) to create indents along the fold lines over a cutting mat. This makes them far easier and more accurate to fold.
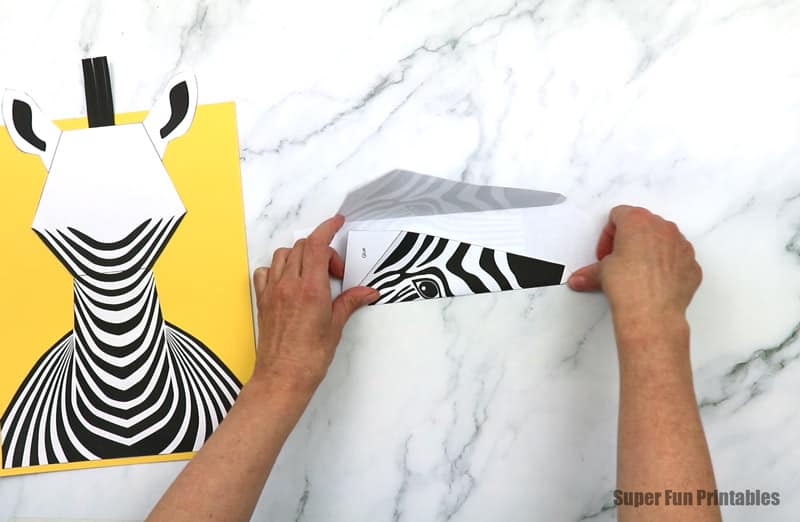
Place glue on all the tabs, then glue the face to the geometric piece at the back. Start by lining the top of the head up to the ear piece, then glue the side folds down at angles that match the shape. Finally, glue the tabs on the snout into place. You’re done!
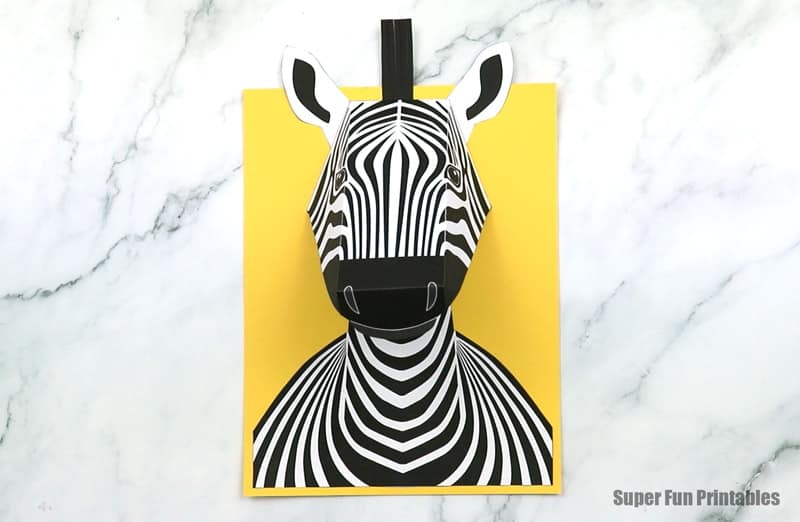
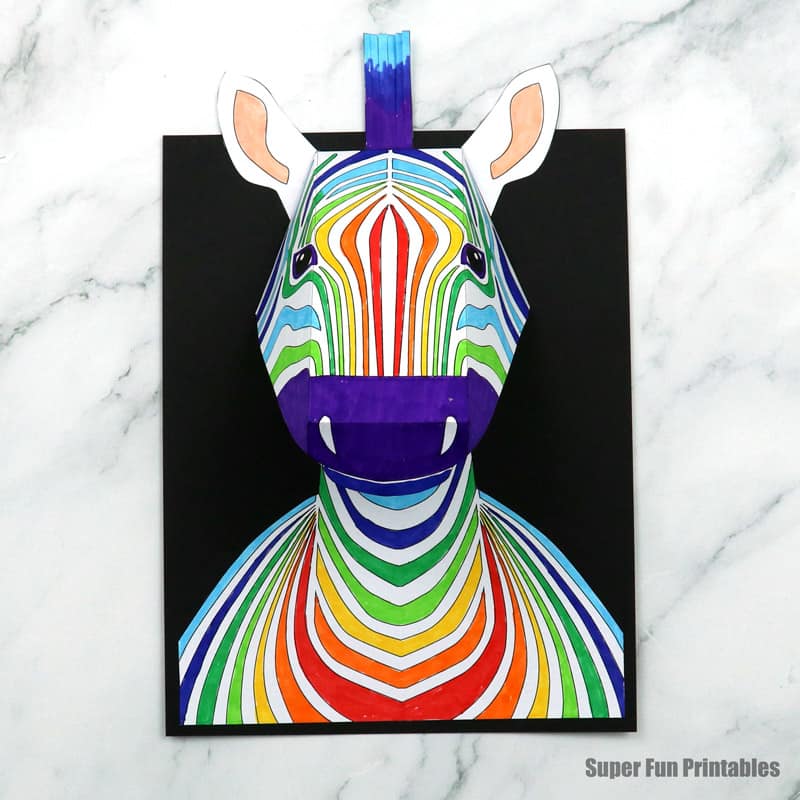
Now all that’s left to do is give them names. I named both of mine Debra!
More crafts based on realistic animals
- Make a 3D model bee complete with anatomy labels
- We also have a 3D Monarch Butterfly or a Dragonfly
- Use our template to make a paper chain Jungle Carpet Python or Green Tree Python
- Check out our paper plate ocean animal collection. Fourteen templates based on marine animals complete with fascinating facts about each one

非常感謝🙏