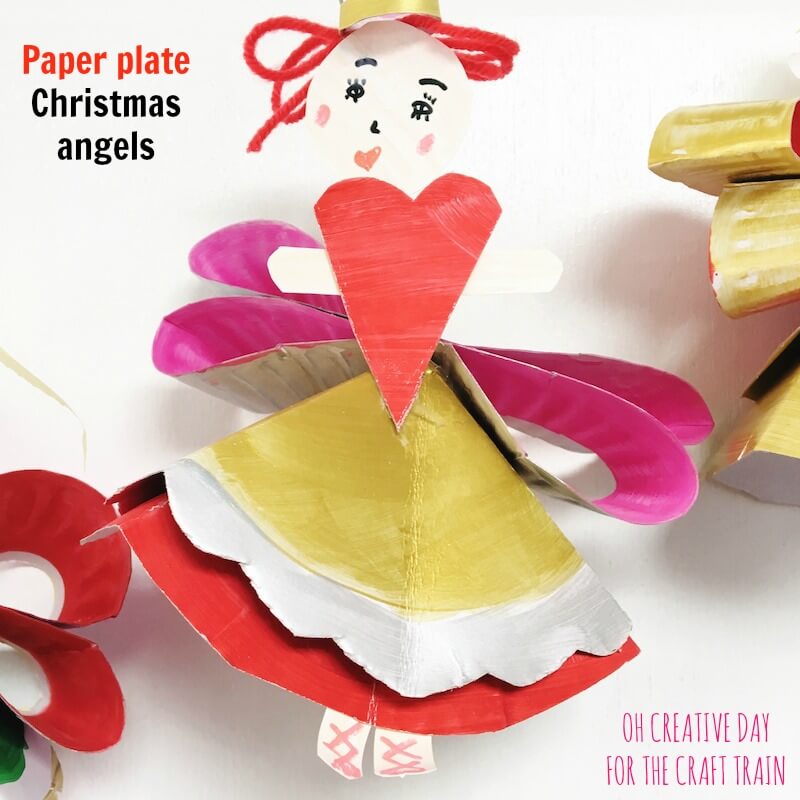
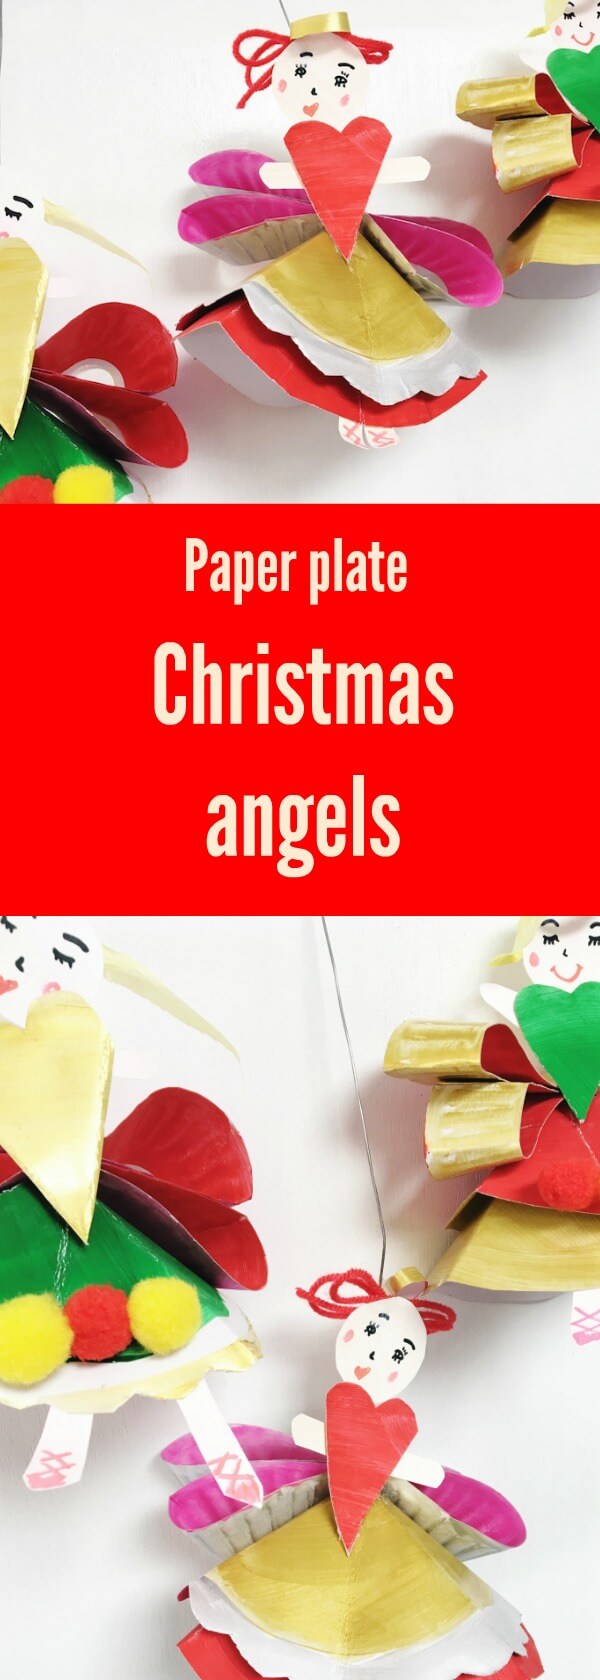
These paper plate Christmas angels are a fun craft idea for kids of all ages (or even for kids at heart!)
One of the best things about having a craft blog has been getting to know other creative people who share the same passion as me. The craft blogging community can sometimes be a little competitive, but it’s also warm, friendly and supportive. If it were not for the friendships I’ve made online with other crafters over the years I don’t think I’d still be blogging today.
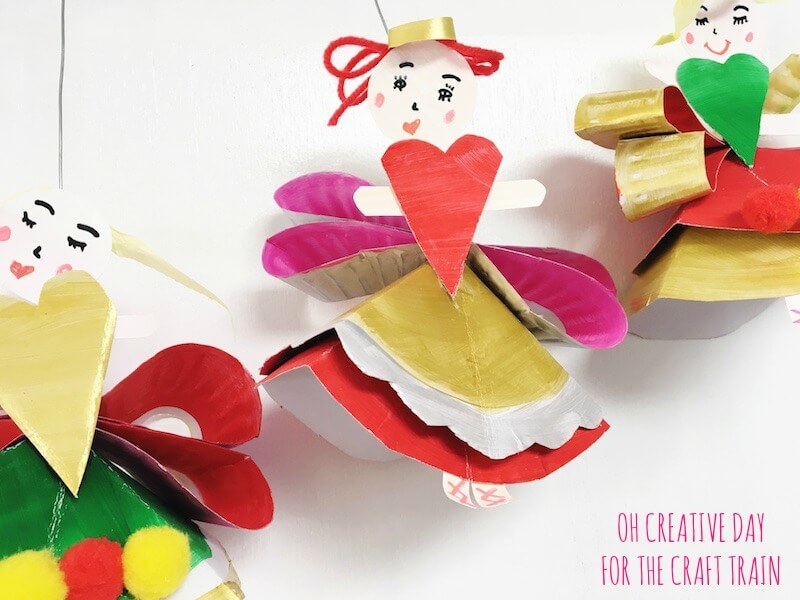
Today let me introduce you to an amazing crafter who is guest posting this tutorial for how to make paper plate Christmas angels. Seriously, aren’t they the cutest angels you’ve seen? This craft is by Shannon, a mother of three and fellow Aussie who blogs at Oh Creative Day.
How to make paper plate Christmas angels
We’re big fans of paper plate craft here. As a Kindergarten teacher, I almost feel as though it’s a prerequisite of the job! These festive angels are a perfect addition to the Christmas tree. Maybe you could make a garland filled with them? Or they’re perfect as puppets. You could opt to leave the halo off and create a sugar plum fairy instead! One paper plate- so many possibilities!
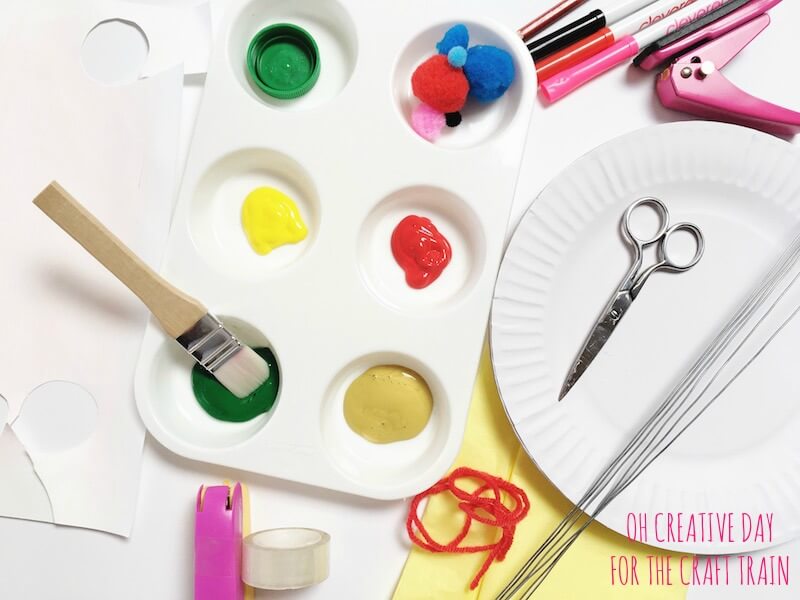
You will need:
• Paper plates
• Jewellery or floristry wire
• Paint (we used acrylic)
• Craft glue
• Sticky tape
• Scissors
• Hole punch
• Stapler
• Markers
• Embellishments for hair
• A lid for tracing around
• Extra card for legs, arms and face
• Optional – pom poms, glitter
How to:
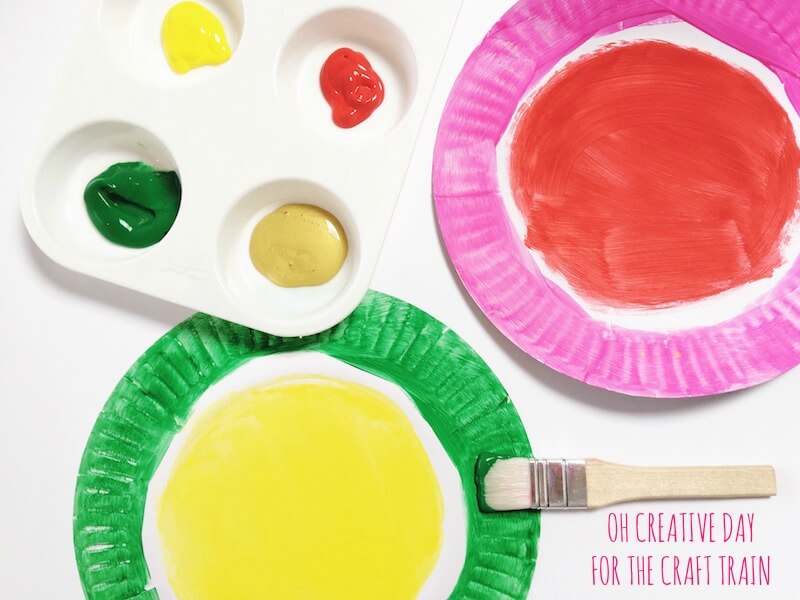
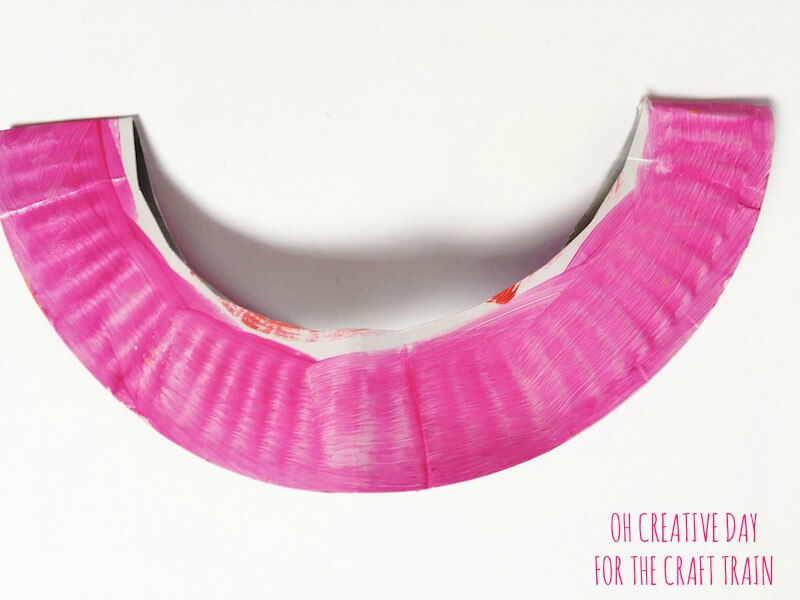
- Paint the centre and rim of the plate in separate colours. You can choose to paint both sides of the plate. If you do this, you will get glimpses of colour on the underside of the skirt and inner of the wings. If you choose not to paint both sides, the underskirt and inner wings will simply show white.
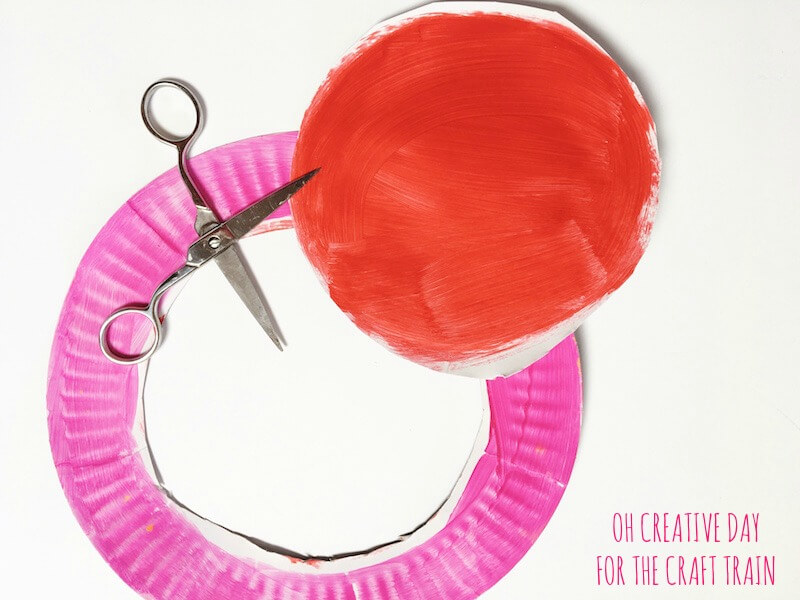
- Once dried, cut the inner circle out whilst leaving the rim intact.
- The inner circle becomes the angel’s skirt. Fold the circle into eighths. You will cut one triangle out, and this becomes the angel’s torso. You will use the remaining seven-eighths to create a skirt. Glue the skirt together.
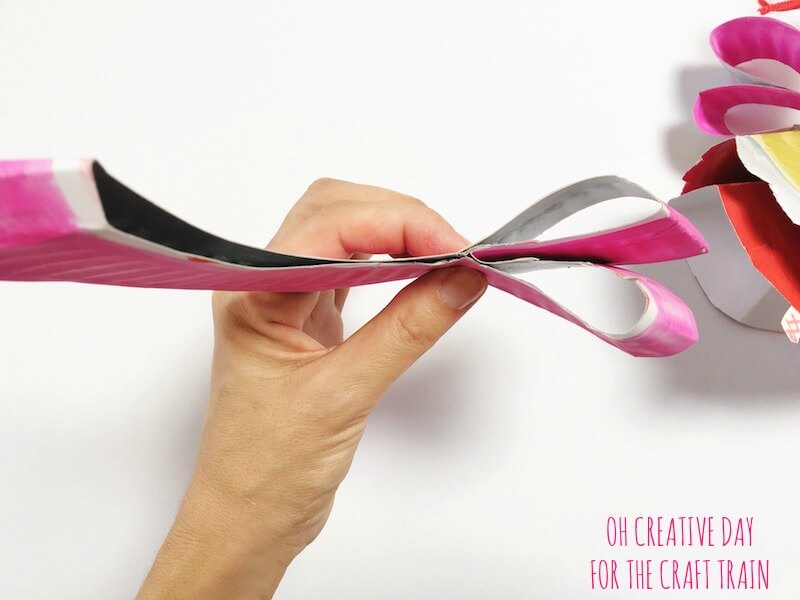
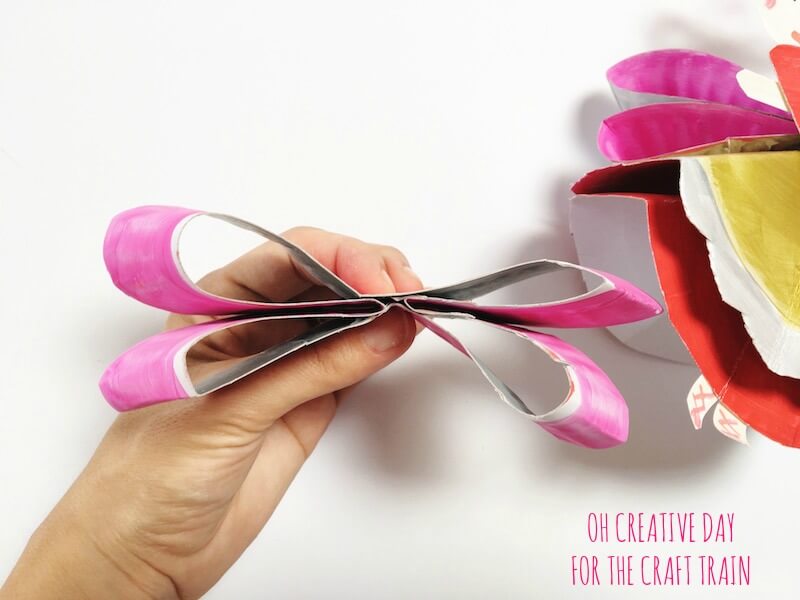
- The plate rim becomes the wings. Fold the rim in half and then half again. Pinch the rim together on the bottom fold. Push the outer half towards the middle to create 2 sections to the wing. Repeat on the other side.
- Staple together and punch a hole in the middle of the wings.
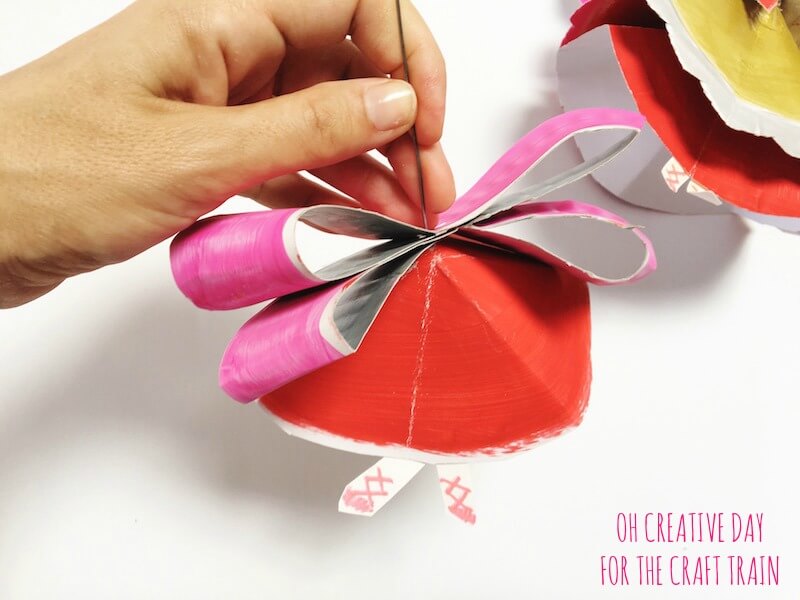
- Twist the end of your wire. (It can be sharp. Do so carefully!) Thread your wire through the apex of the skirt and then through the hole in the wings.
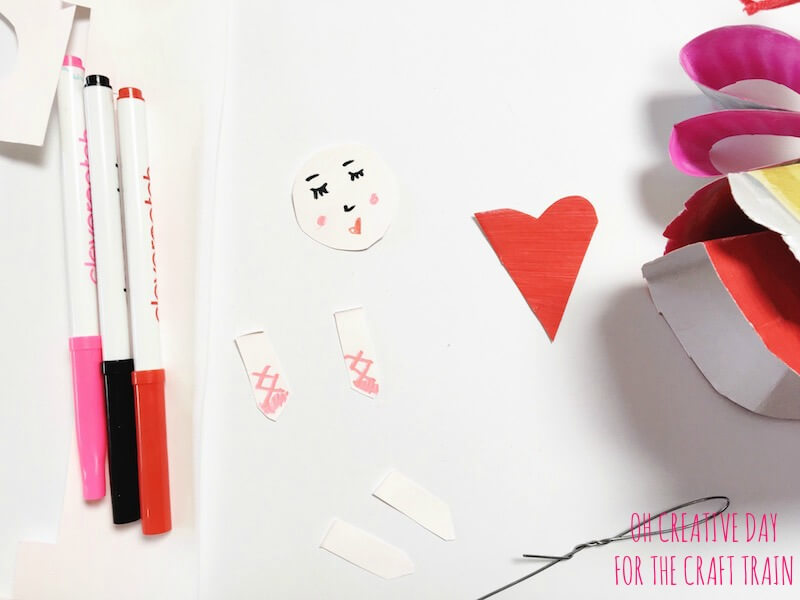
- Cut out some arms and legs and tape to the underside of the skirt. Trace around the lid to create a face. Add hair and a halo.
- Tape the arms and face to the torso. Tape the torso to the wire. Decorate with pom poms and glitter if you so wish.


About Shannon
Shannon is a mum and a teacher who believes that reading and creative outlets are as important as breathing. She blogs at Oh Creative Day where she celebrates her perfectly imperfect attempts to live a creative life. AKA trying to remain sane whilst raising 3 kids under 4. She has an unhealthy addiction to Instagram, coffee and pom poms and is vehemently opposed to glitter. You can find her on Instagram, Facebook and Pinterest
More fun projects from Oh Creative Day….
• These festive angels are a variation of these paper plate dancers we made earlier in the year
• Ideas for mess-free art projects
• Make your own paper flowers
• Check out her 12 Creative Days of Christmas ebook – it looks gorgeous!
Pin it:

Leave a Reply