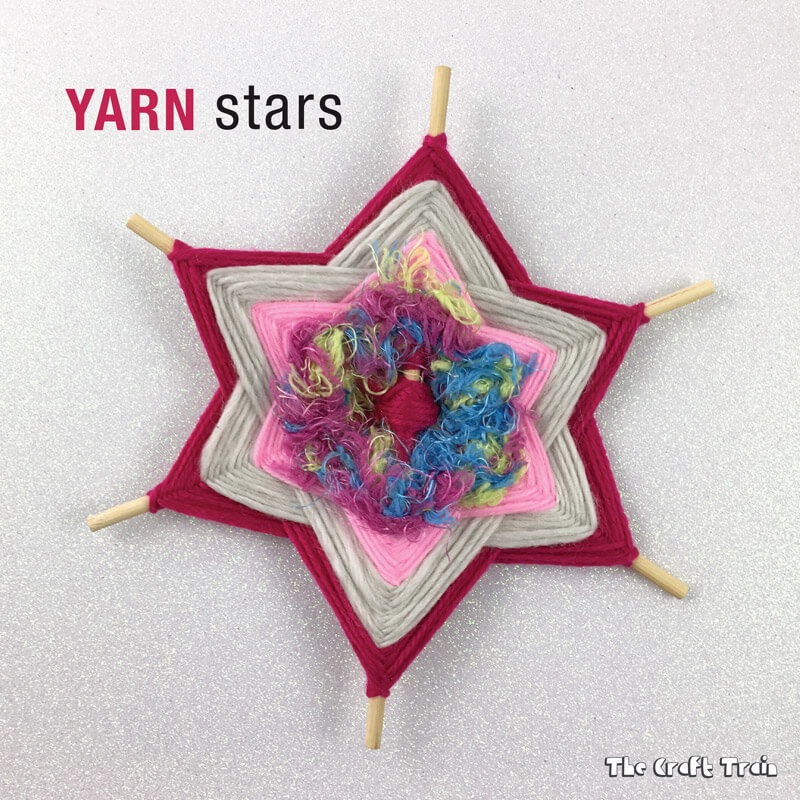
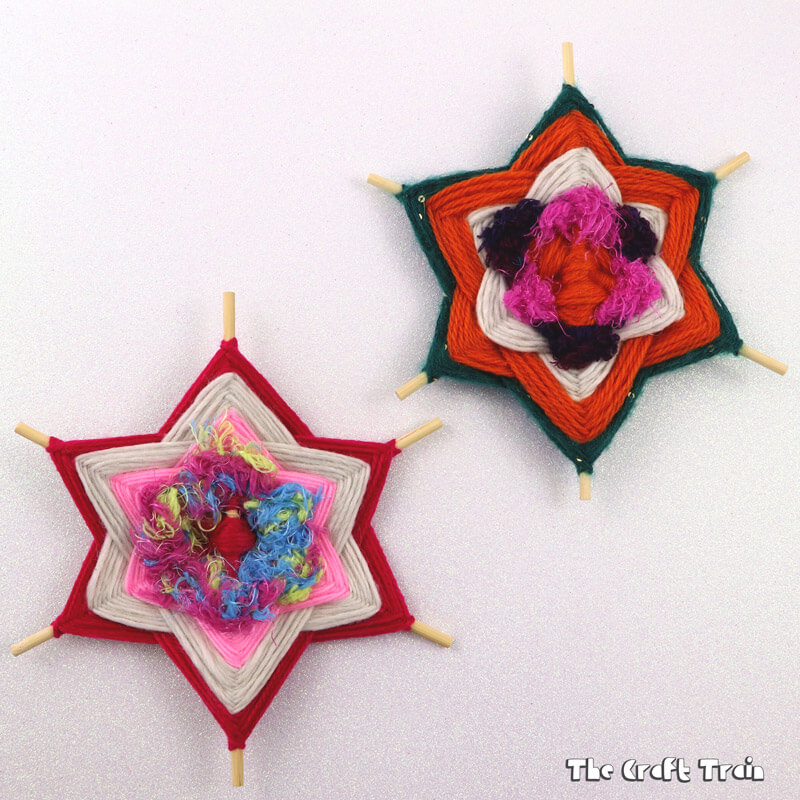
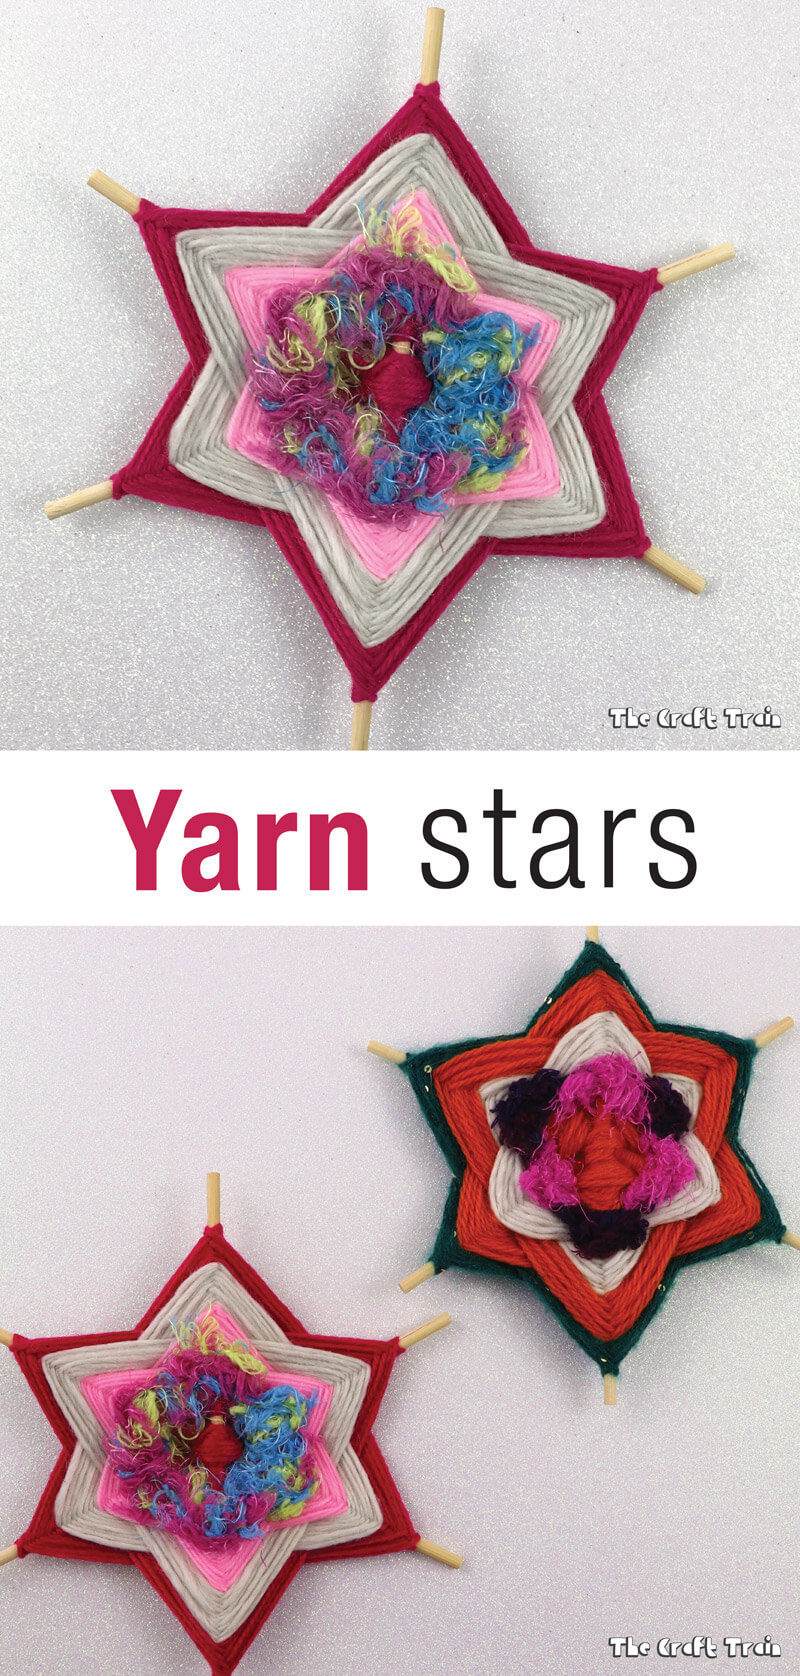
Make gorgeous yarn stars using the traditional God’s Eye weaving technique.
Many of you would have made or at least heard of God’s Eye weaving crafts. They are a traditional craft with spiritual significance originating in Mexico, but the technique has been adopted around the world as a fun and easy craft for kids.
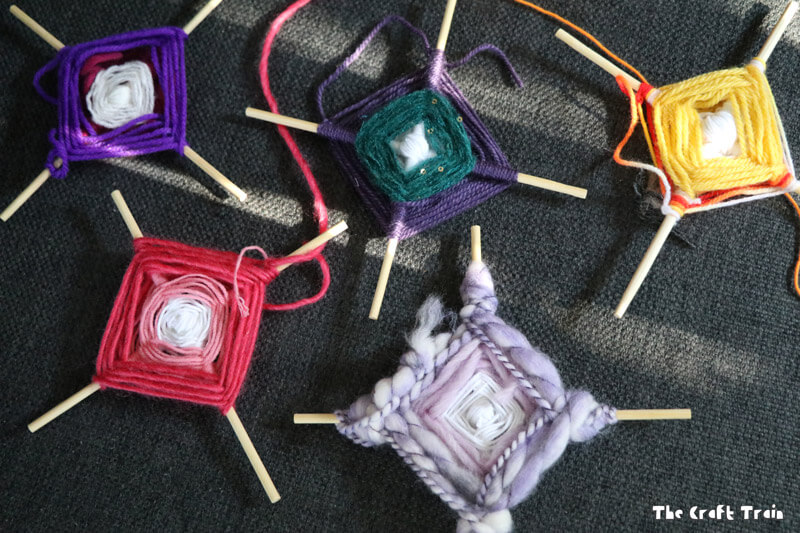
My kids (aged 8 and 9) love to make God’s Eyes, and we have their kid-made versions hanging all over the house. I haven’t shared a tutorial here on the blog yet (although I’ve always mean’t to “one day”). Here is a pic of some my kids have made to give you an idea of what I’m talking about.
Well, here are some yarn stars you can make using the Gods Eye weaving technique. It uses three sticks instead of four and is slightly more complicated than the traditional four stick approach.
How to make Gods Eye yarn stars
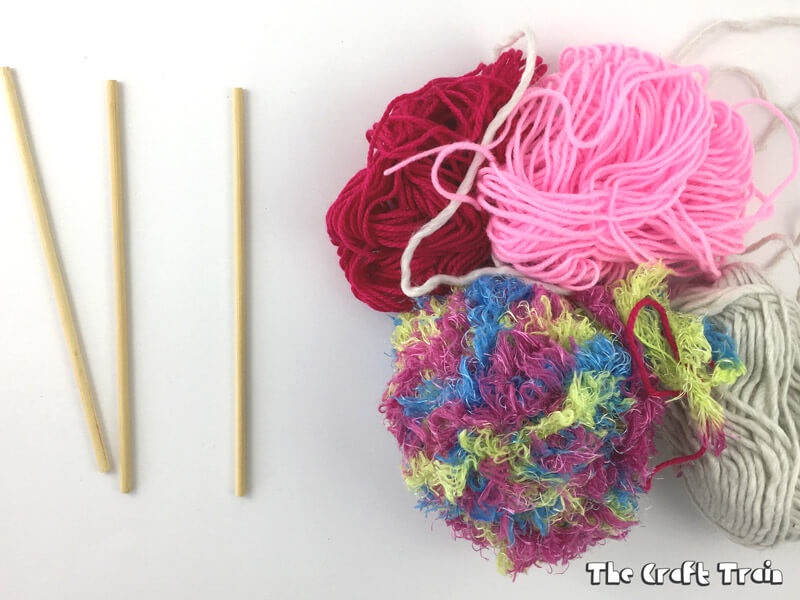
You will need:
• Yarn in assorted colours
• Craft rods (dowel rods), or chopsticks – 3 per star. It doesn’t really matter what size they are, the bigger the sticks the bigger the star.
How to:
- Bundle the sticks together and wrap your yarn around the centre a few times. Twist the sticks into a star shape and wrap the yarn between each individual spike to secure the shape until it feels a little more sturdy.
- Now you have a star shape you can begin weaving. Wrap the yarn around a spike once, going over the top and around, then skip a spike by going behind it and wrap it around the next one. Repeat this pattern until you have a small triangle.
Note – in my image and video tutorial you might notice that for my first triangle I’ve wound the yarn around the spikes in the opposite way (going around under the spike instead of over it) which was by accident. It doesn’t really matter, I switched it back for the rest of the colours and you can’t notice at all on the finished star. - Using the same colour wrap the yarn around the spikes you missed the first time, creating a second triangle which looks upside down against the first one.
- To finish off the colour, simply snip the yarn and tuck it into the last piece of yarn on your triangle.
- Repeat this weaving pattern with more colours. The larger your star gets the more defined the shape will become.
- Finish off your star by tying the final thread to one of the other threads on the back. Snip the loose ends off to tidy it.
- Finally, tie a loop to the one of the spikes so you can hang it on the wall – you’re done!
You could easily design some of your own variations and patterns for these stars. We love how they’ve turned out!
Here’s a short video of how to make it:
Have your tried Gods Eye weaving before?
More yarn craft ideas you might like:
• Make an easy yarn butterfly using the Gods Eye technique
• Here is another kind of yarn star kids can make
• Make some traditional yarn dolls
• Make gorgeous, fluffy pom poms using our DIY pom pom maker
We also have a yarn crafts board on Pinterest with loads more inspiration!


Do you know of any books that show different patterns. Like 12 or 8 point diagrams ?
No sorry, but google should have some answers for you 🙂
I am having a hard time getting it to look like yours. Especially in the transition from the first triangle to the second. Do I just go to the spoke next to the last one and wrap it and start the second triangle there? I want to be able to have my 8 yr old ADHD son do these for his Grandparents and Aunts and Uncles for Christmas presents but if I’m having a hard time I doubt he’ll be able to do it. Would they work just as well with popsicle sticks as well. (Just easier to start with flat sticks I think)
Well I tried it with popsicle sticks which worked better as far as not shifting and lying flat, but I don’t think it looks like a star. I’d share a photo but don’t see how. I watched the video again and saw how you went to the next spoke at least.
It can be tricky at first, but once you get the hang of it it gets easier. Maybe popsicle are were not long enough to establish a star pattern?
what length dowel rod did you use?
From memory around 30cm