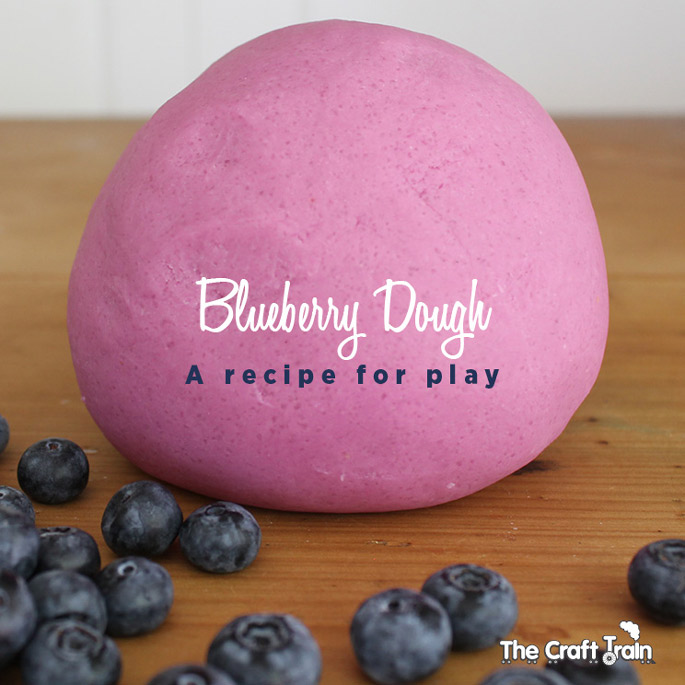
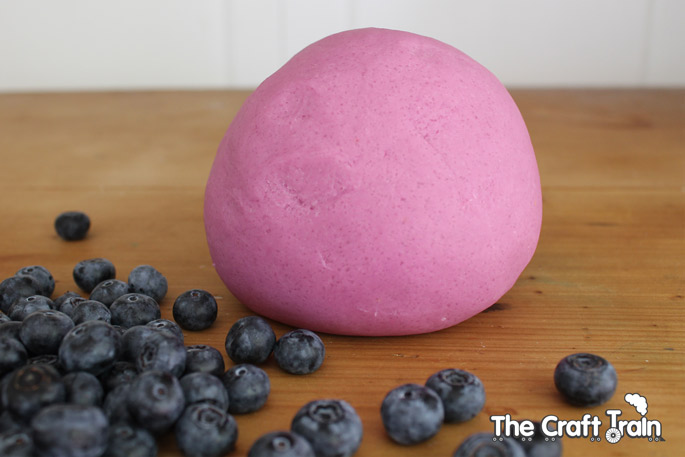
My kids still love play dough, so I am often experimenting with different recipes to make the experience a little bit different for them. This dough uses fresh blueberries to give it a bright purple colour. I know, I know, they are a pricey fruit and we usually only have them as a treat, so isn’t that being wasteful with food? Not really, because this recipe extracts the dye from the berries but the actual berries themselves are strained out and can be eaten as yummy stewed fruit with natural yoghurt or ice cream, so you really get the best of both worlds here. It’s simple to make, not that different from making regular play dough, and you can have yourself a batch of this stuff in just over 10 minutes.
You will need:
– 2 cups plain flour
– 2 cups water
– 1/2 cup blueberries (or more for an even brighter colour)
– 1 cup salt
– 2 tbsp oil (you can use almost any oil, but I used canola oil for this version)
– 4 tbsp cream of tarter
How to:
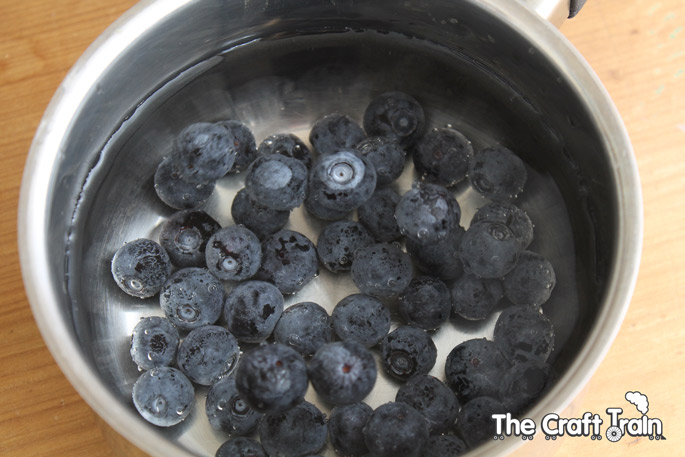
Place the blueberries in a small saucepan with the water, bring to the boil, and then simmer on low for around 10 minutes or until the water darkens and becomes purple in colour.
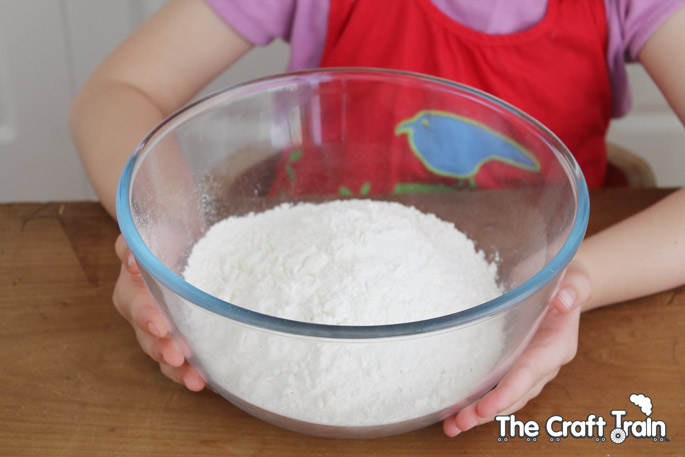
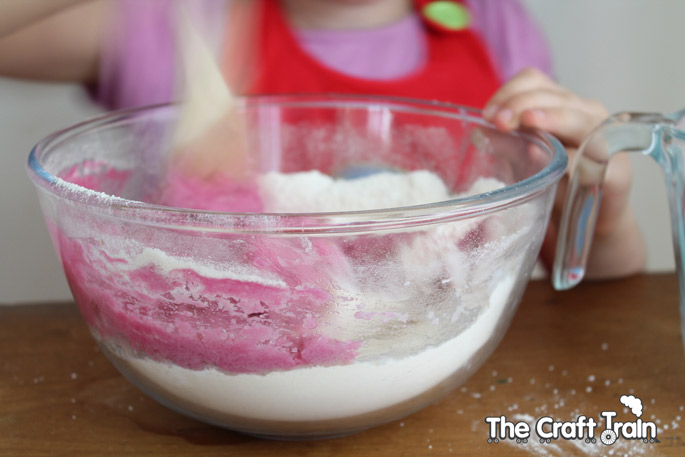
While that is simmering, add the dry ingredients to a heat-proof bowl and mix to combine.
Strain the purple water from the berries and put the berries in a small plastic container in the fridge to eat later as a snack or dessert – yum!
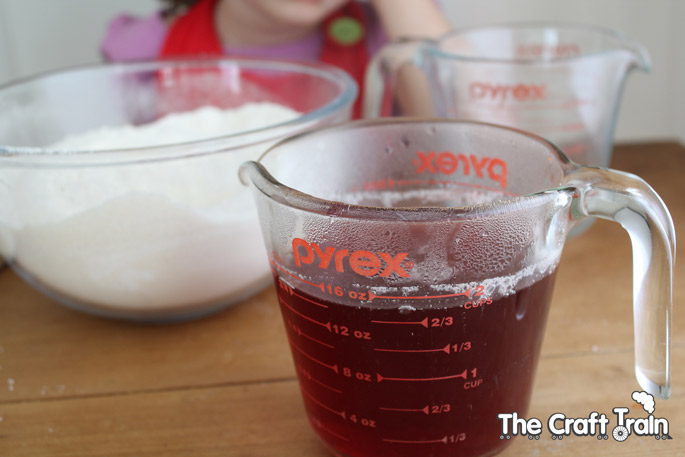
Slowly add the hot liquid – it needs to be very hot – to the flour mixture and stir to combine until it becomes play dough. I put a small amount of the hot berry-coloured liquid in first so that Miss K could have a turn of mixing it in since she really, really wanted to. It was not safe for her to mix the whole jug full in because 2 cups is quite a lot of very hot water and it may have easily splashed out and burned her, so once she’d had her turn of mixing in ‘just a little’ I poured the rest in and stirred it quickly until it became play dough ( a few mins).
Once the dough is cool enough to touch, take it out of the bowl and knead it until it becomes smooth.
Now it is ready for play!
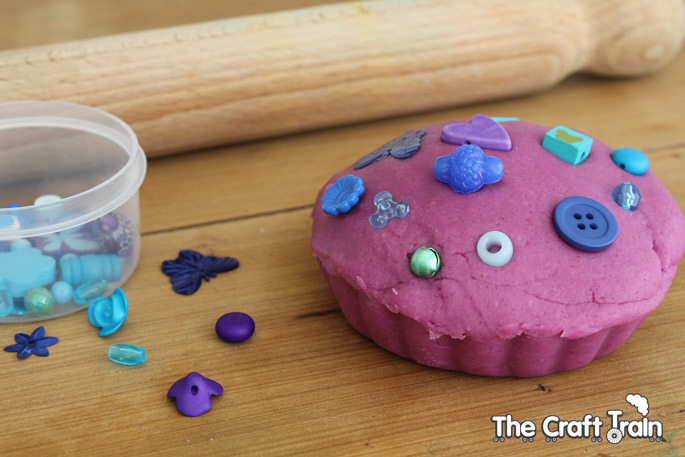
Play idea: You could try putting out some mini pie tins with some assorted small bits and pieces (anything goes), and the kids can make ‘blueberry pies’ or whatever else they fancy.
Unfortunately the dough didn’t take on a blueberry scent as I was hoping it would, but was still fun to make and sometimes it’s just nice not to be using artificial colours, isn’t it?
You might also be interested in our cinnamon cookie or Christmas pudding and vanilla custard play dough recipes.
You can also find LOADS more fun recipes for craft and play on our Craft Recipes board on Pinterest.

Gorgeous! I adore blueberries. Sharing this on FB.
Thanks Kate!
Trying this today! Any tips on storage, and how long it will last?
It’s got lots of salt in it so it will last a while – the same as regular home made playdough
At what point do you add the oil?
Oh I see I forgot to add that in! I’d put it in just before adding the hot liquid so it all gets mixed up together.