These easy clay coil pots are a fun and easy craft for kids of all ages. Made from air-dry clay, they make a lovely handmade gift idea too!
This craft was originally published in 2014 and has been updated and re-shared for today’s audience.
You might also like these handmade gift ideas
Clay coil pots are a simple, traditional craft that I remember making as a kid.
Recently I bought a large packet of air-drying clay and we made a decorative clay leaf mobile from it but there was still plenty left over, so I decided to show Miss K (age 4) how to make a coil pot. They are really very easy, and she was able to make one all by herself.
Here is how we made them.
How to make Clay Coil Pots
You will need:
• Air dry clay
• Rolling pin and something round to cut out the base shape from
• Acrylic paint and brushes
• Sealer (e.g. mod podge)
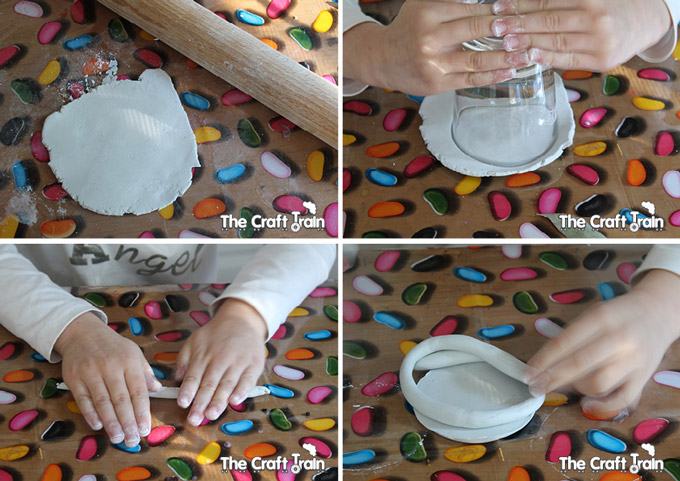
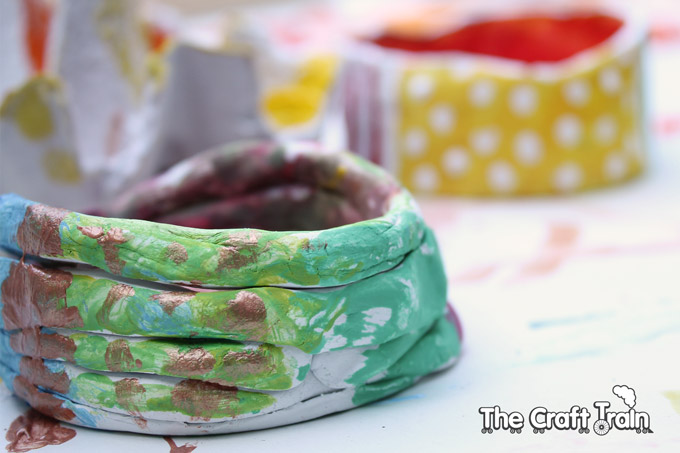
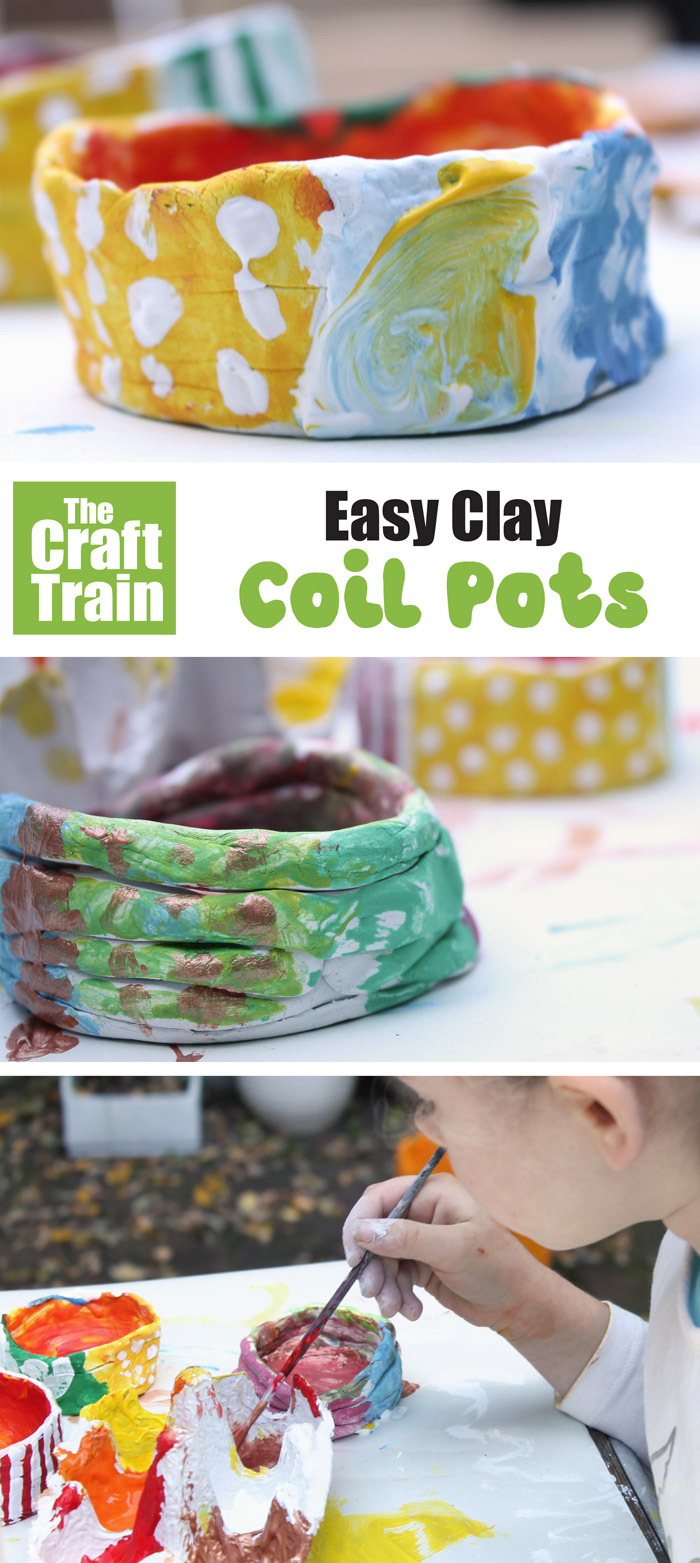
Roll out a piece of clay to about 7mm in thickness. Punch a circle out with a wide-rimmed glass or something similar. Then you need to roll out a long clay coil, and wind it around and around the top of the base. Keep making coils, and winding them around until your pot is a high as you’d like. Once you’re happy with the height, smooth out the coils and make sure they are all pressed down firmly into a nice little pot shape. You can use a blunt kitchen knife to help with this part if you like.
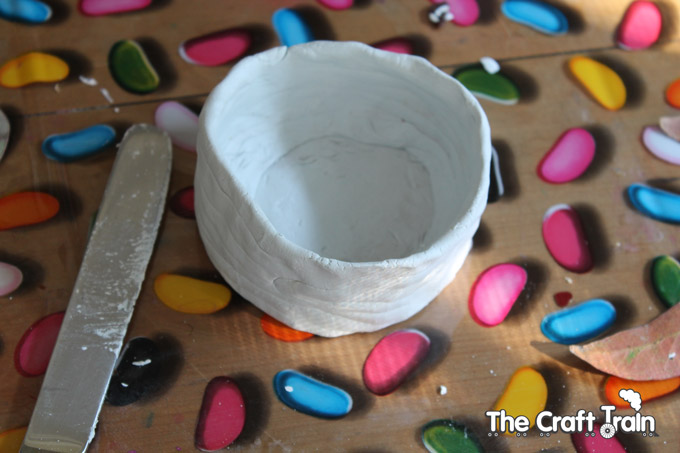
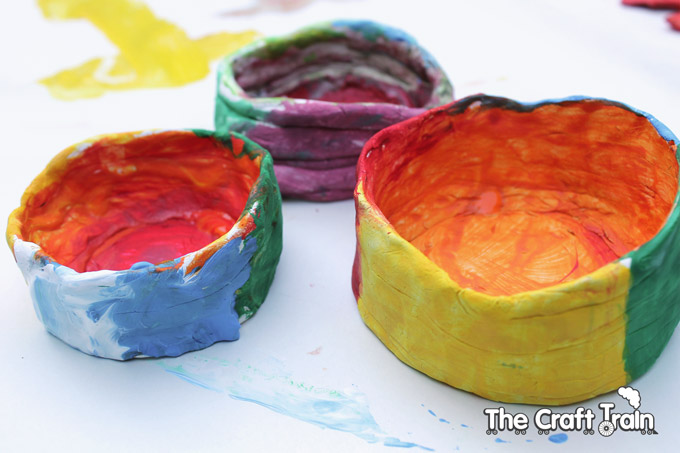
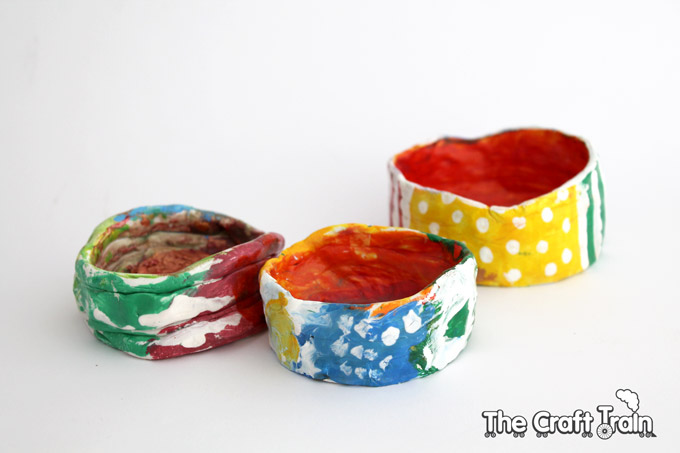
The finished pot should look something like this. Leave it on a shelf to dry for a week or more, until it has completely dried out.
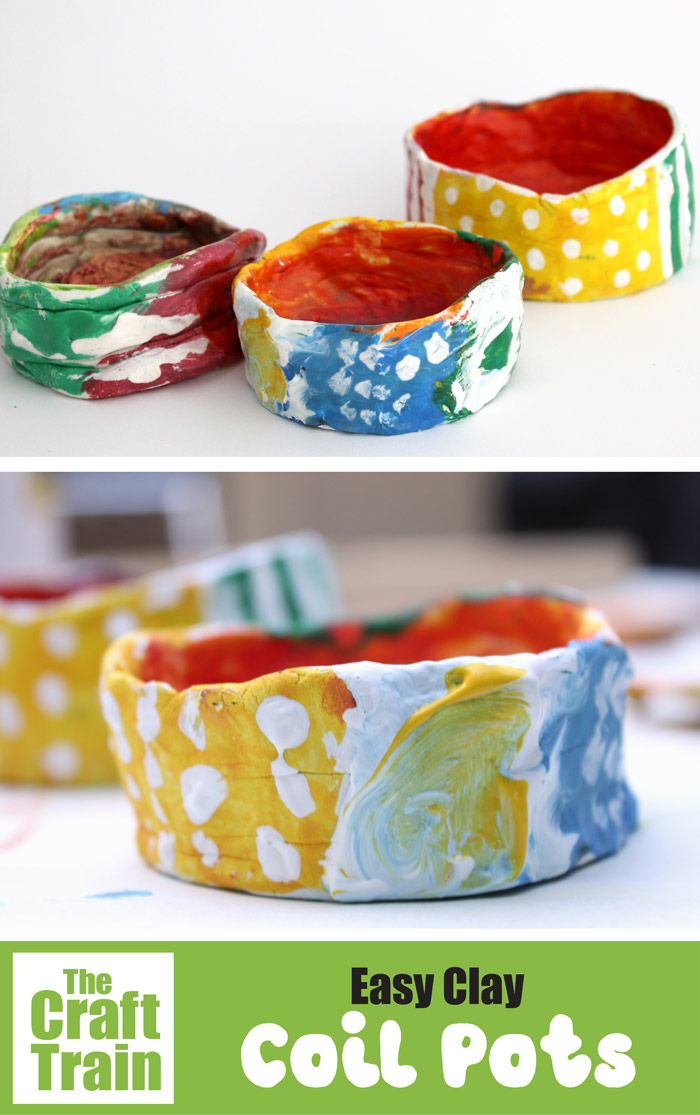
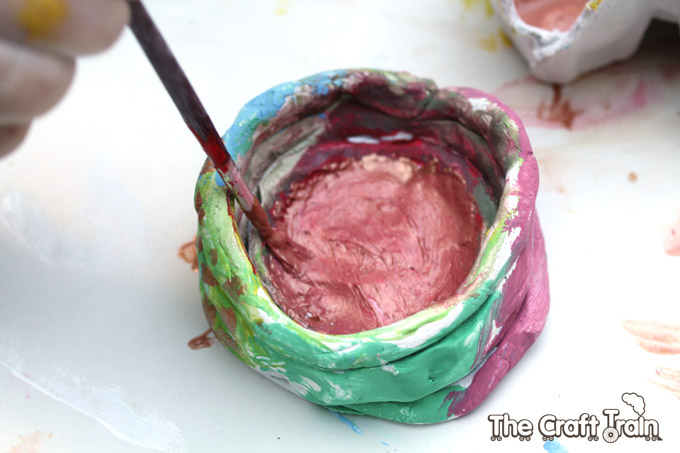
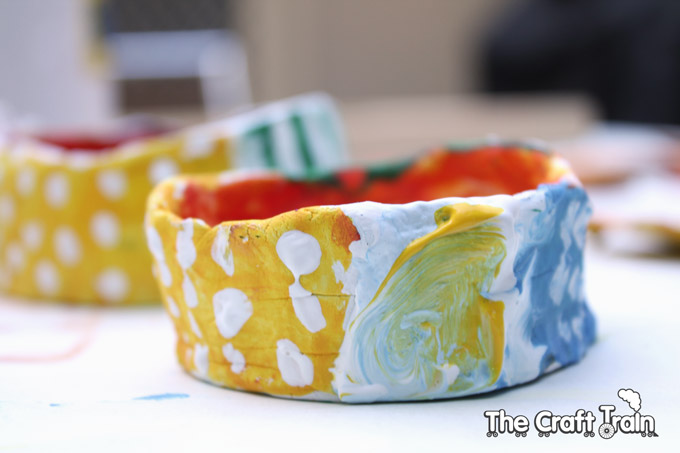
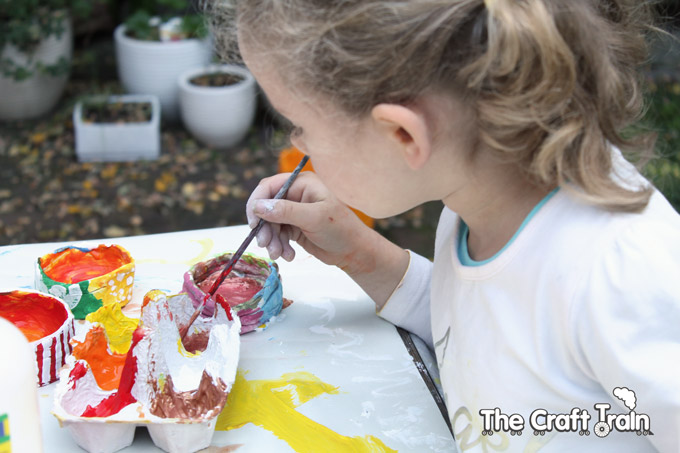
Then it’s time to paint the pots. General kids water-based acrylic paints are fine for this job. We painted ours rainbow colours, but decided they needed a little something more, so once the rainbow colours had dried we added some patterns.
We left the pots to dry in the sun and then painted them with a water based sealer. By this stage Miss K was a bit over it, so I did the sealing part by myself.
The finished pots are bright and cheerful, and would make a sweet kid-made gift for somebody special.
More clay crafts for kids
• Make some gorgeous flower pendants from polymer clay and hama beads
• This Autumn leaf mobile is so easy to make
• Create a school bag tag using polymer clay

Yep – we made those in school, too. Great project for the kids at home!
Hi. I would like try to do this for my class too. I have 20 students. How many grams of clay do you think I will need? I also plan to make air-drying clay using cornstarch and baking powder since I don’t get air-drying clay easily here.
Hi Miriam, I’ve never actually tried the baking soda and cornstarch recipe, but have always wanted to because it looks fantastic. I can’t give you a solid answer on exactly how much clay you’ll need, but I just weighed our largest pot and it is 102g, so at a guess you’ll need just over 2kg, but I’d go for 3-3.5 kg just to be sure you have enough.
How long do these take to dry?
It depends on the weather and humidity level. In winter they took days to dry out properly (about 5 days I think from memory). I’m sure in Summer it would be quicker.