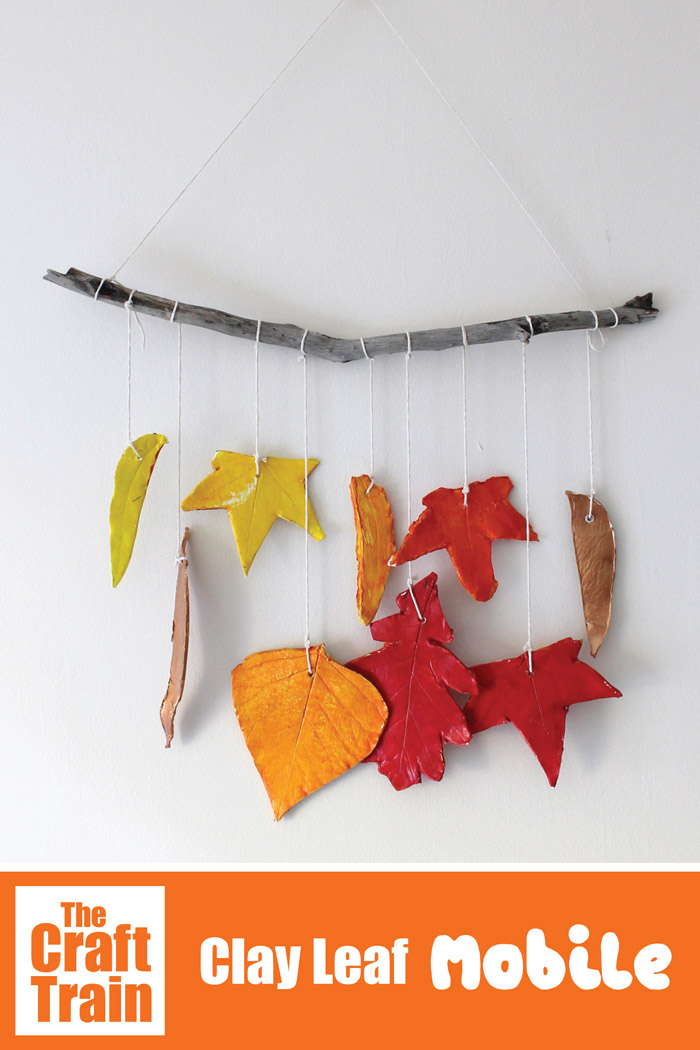
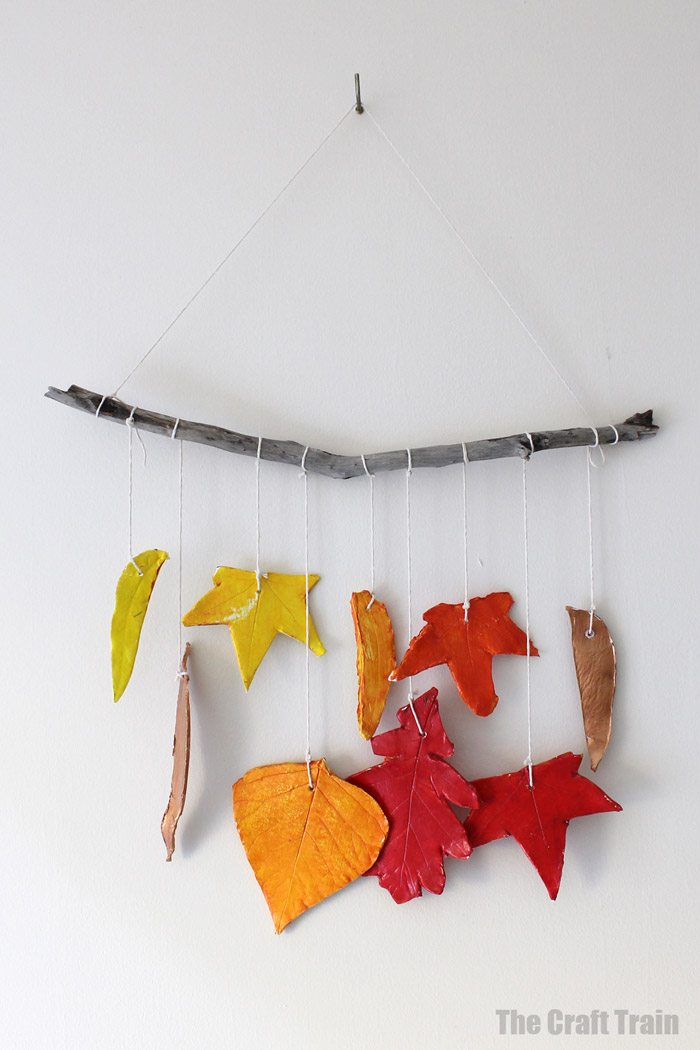
Here’s a gorgeous clay leaf wall hanging that makes a perfect Autumn or Fall craft idea. It’s easy enough for preschoolers, makes great fine motor practice, and is a fun sensory activity too.
This kids’ craft was first published in 2014 and has been updated and reshared for today’s audience.
You might also like our clay coil pots
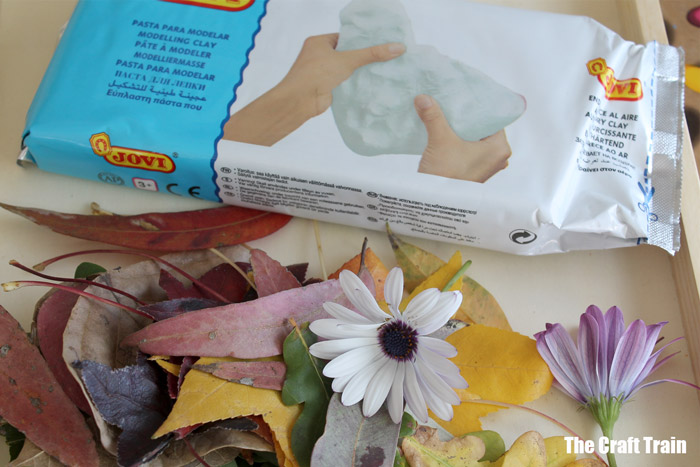
Miss 4 and I have been enjoying the Autumn sun with lots of walks to the park. In the process, we’ve collected lots of colourful Autumn leaves and when there’s any kind of nature collection in the house, I can never just “let it be”. I have to turn it into a nature craft!
We had a packet of air dry clay begging to be used in our craft supply stash, so I decided to put it to good use by making clay leaves with my daughter. We turned these into wall hangings and are super happy with them.
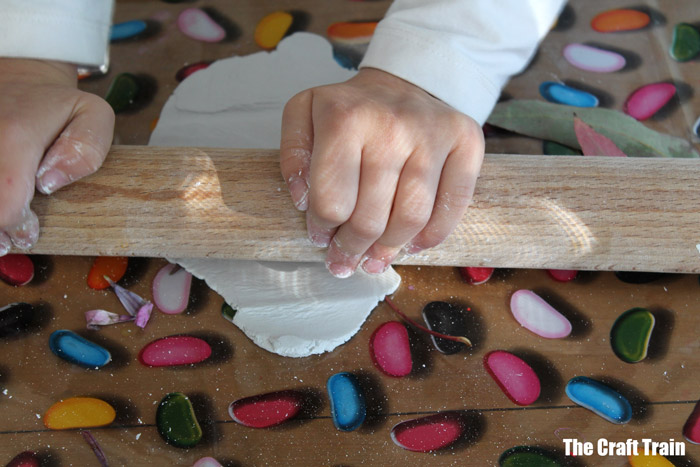
Clay is something Miss 4 loves. It’s a different texture to play dough (another love of hers) and as a bonus you get to keep the creations you make once dry. It’s cooler to the touch and thicker to squish and roll with her rolling pin.
The clay leaves are simple but take some patience because the clay needs plenty of drying time, as does the painting stage.
Whilst our leaf mobile is an Autumn one, Summer or Spring leaves would be great for this project too, you could change your clay mobile to reflect the seasons.
Want to get started?
How to make a clay leaf mobile
You will need:
- Leaves (they don’t need to be Autumn coloured leaves, green will do just as well)
- Air dry clay – we used this one
- A kitchen skewer or similar to poke holes in the clay for hanging
- Kids acrylic paint and brushes
- A sealer (optional) – we used a decoupage non-toxic water based sealer. Mod podge would work well too. You can also make your own mod podge easily using PVA glue and water
- String and a stick to hang them with
How to:
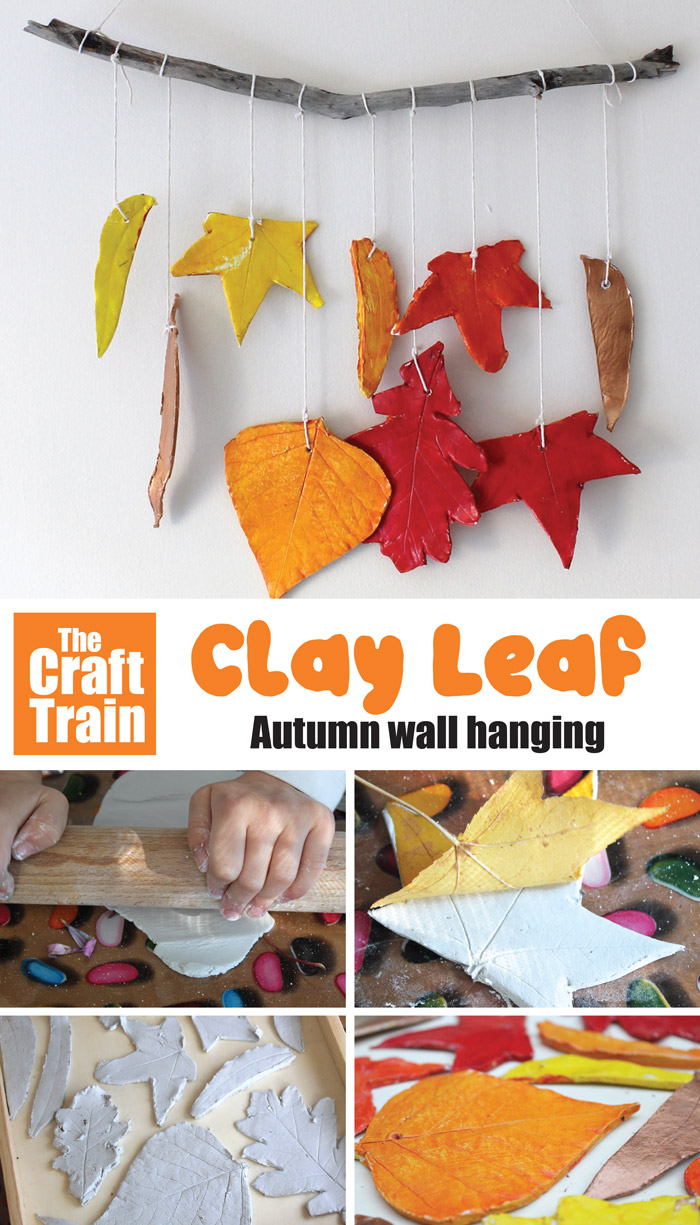
Roll the clay out to a thickness of around 5mm.
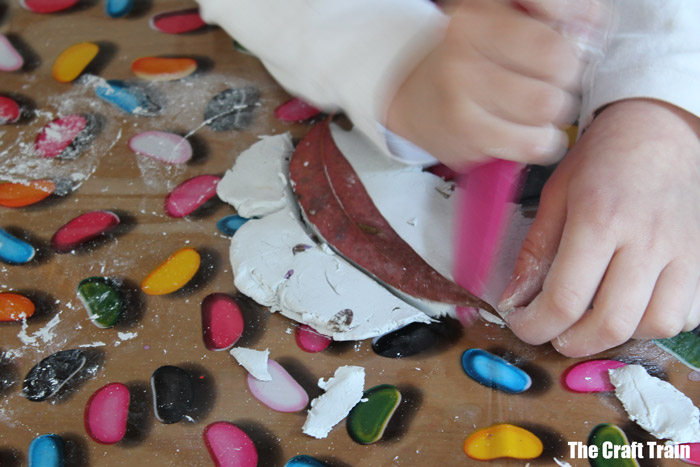
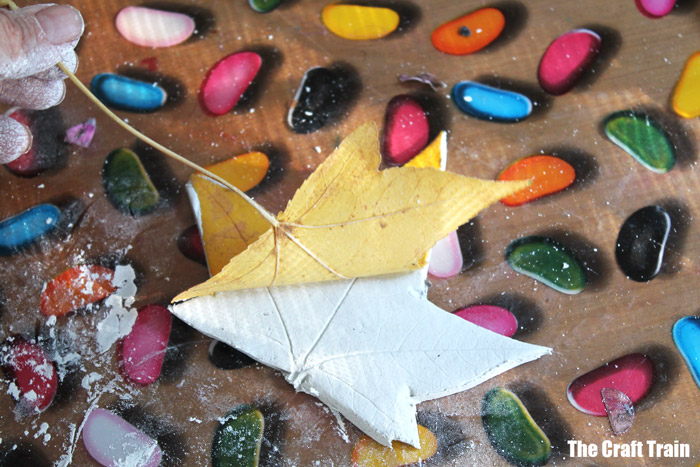
Press a leaf into the clay and roll it in with a rolling pin. Cut around the leaf with a blunt knife (we used a plastic kids knife).
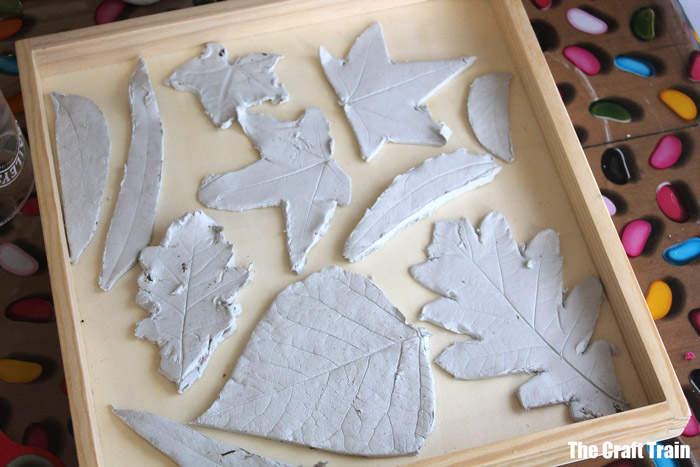
Peel the leaf off and remove the excess clay from around the cut out leaf shape.
Carefully lift the leaf shape from the table, poke a hole somewhere near the top with a skewer for hanging later on, and put it onto a tray to dry out, it should take at least a week and depending on your weather and humidity conditions it may take even longer. We left ours for two weeks before we took them down from the shelf for painting.
Make as many leaves as you like.
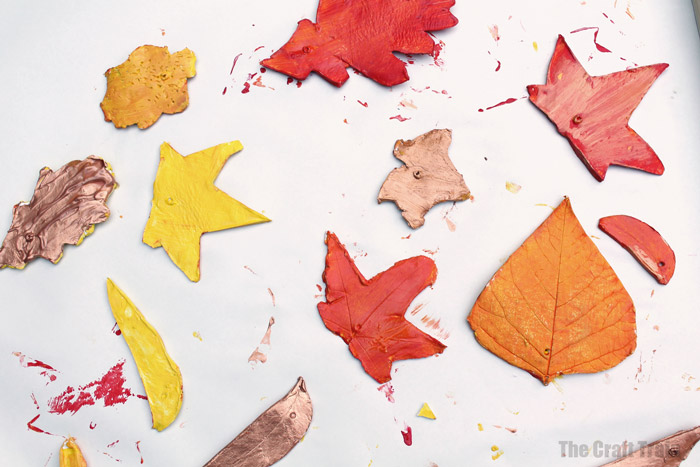
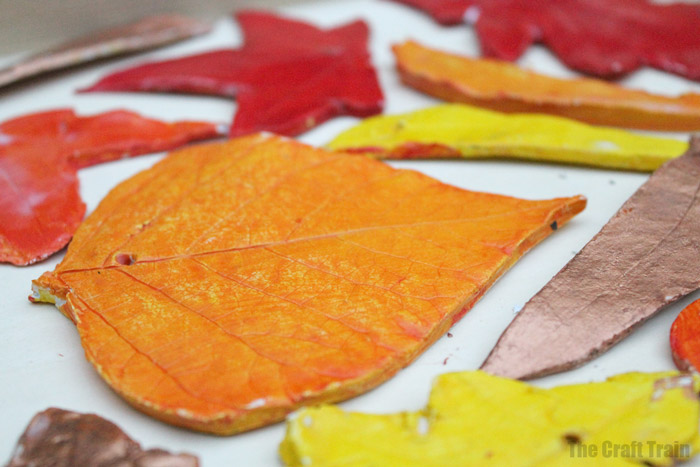
Now it’s time to paint the leaves. Miss 4 helped me to paint the leaves in Autumn colours and then decided to paint her hands too!
You can either paint one side at a time and let it dry or paint both sides and prop the leaf up against something so that both sides can dry at the same time. I propped them up against the sides of the wooden tray we were working with. Another trick is to lay a wooden skewer underneath so the paint doesn’t get stuck to the paper.
They took a couple of hours to dry in the Autumn sunshine outside.
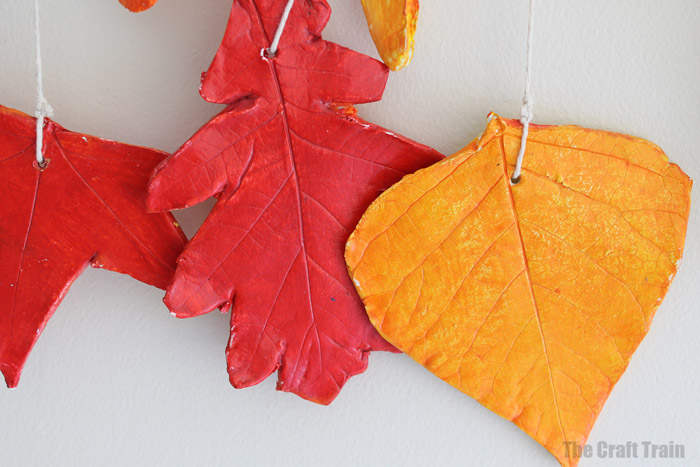
Once the paint had dried I took the optional step of painting the leaves with a water-based sealer that is generally used for decoupage. It gave it a clear, glossy coat on top of the paint.
After the sealer has dried, the only step left is to hang the leaves on a stick, and then hang the stick on the wall.
So pretty. Do your kids like to make things with air dried clay?
You might also like:
- Check out our printable paper leaf set — there are tons of art projects you can create with it
- Create some traditional clay coil pots
- These polymer clay pendants are a fun craft for kids
- Make pressed leaf art on recycled cardboard bases
- Use nature items to create your own nature construction kit
- Here’s a super fun Christmas leaf painting project

GORGEUS;FANTASTIC IDEA