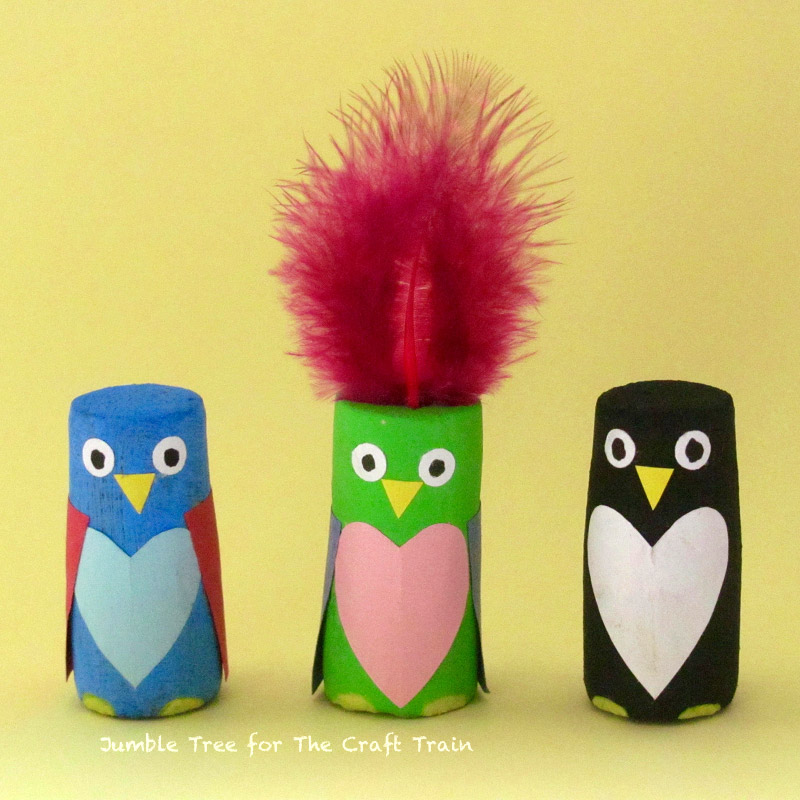
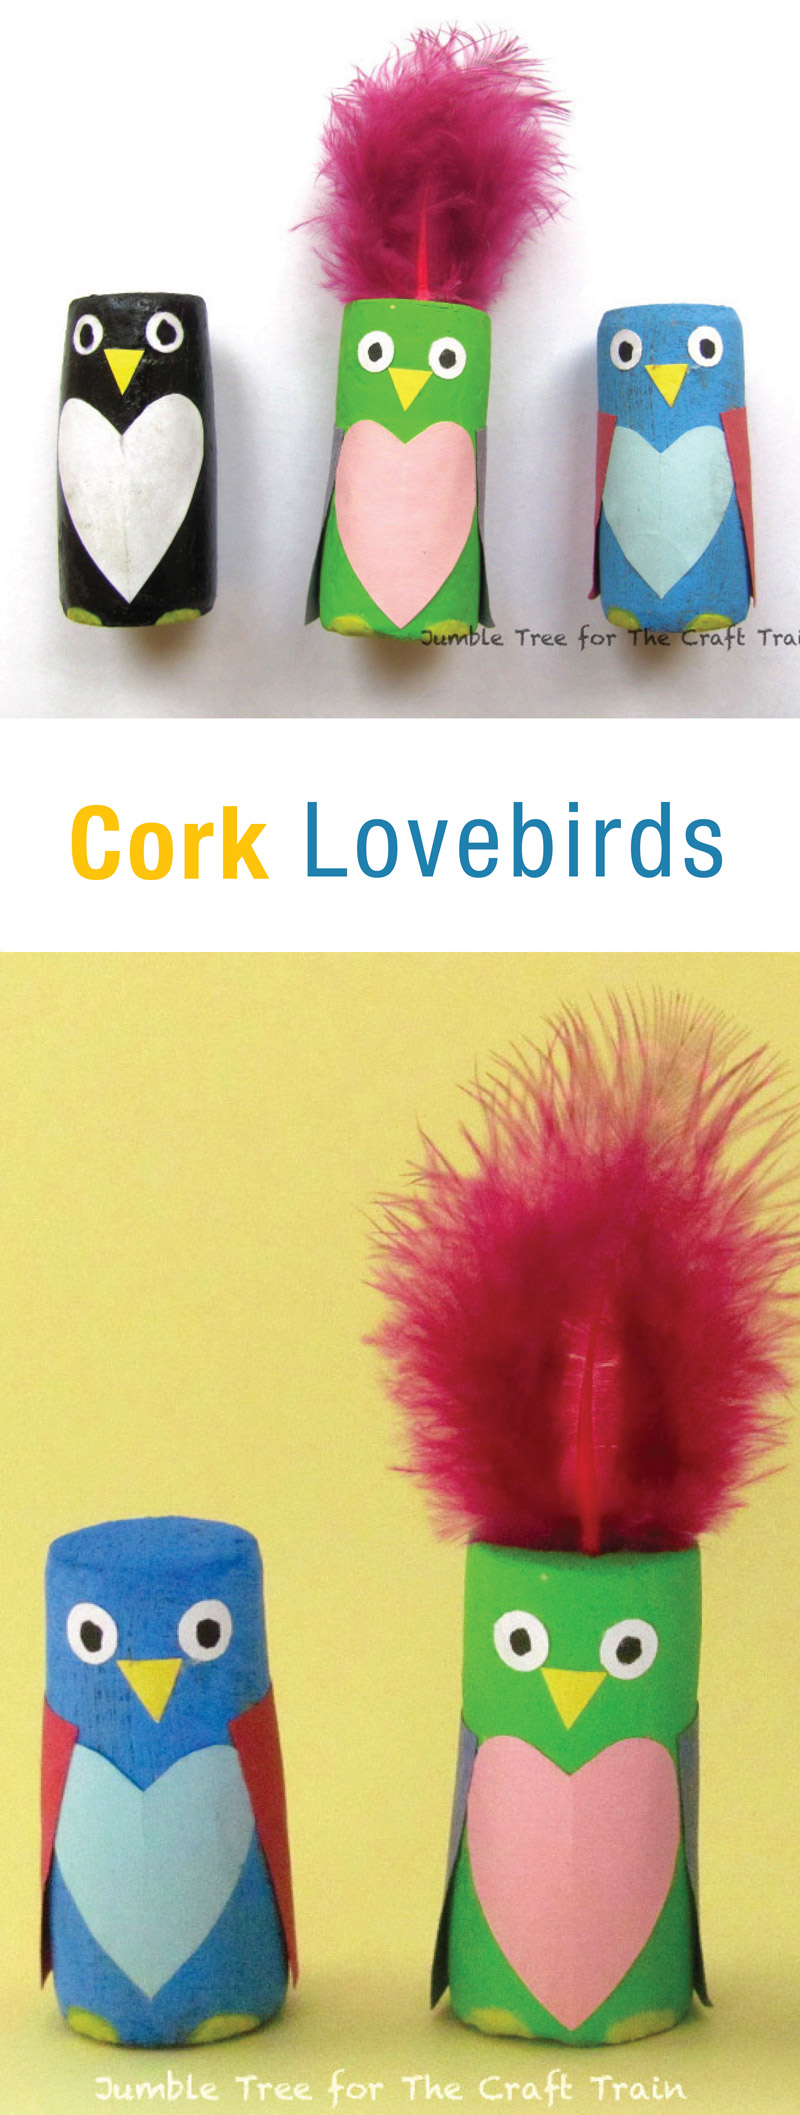
Make some adorable cork lovebirds for Valentines Day!
I’m pleased to announce that in order to bring you MORE fun craft ideas I’ve decided to take on some contributors. Let me introduce you to Tracey from Jumble Tree, who’s work I have often admired on Instagram. She will regularly be sharing some of her adorable crafts here with us this year, like these cute little love birds. Check them out…
These little cork lovebirds make a lovely gift. They can be turned into a keyring or a fridge magnet, and you can also customise them with a little Valentine’s message on the heart.
How to make Cork Lovebirds
You will need:
- Cork
- Coloured paper
- Paint
- Hole punch
- Glue stick
- Craft glue
- Fine black felt tip or gel pen
- Feather (optional)
- Mini-eye pin (optional)
- Keyring (optional)
- Small magnet (optional)
- Strong all-purpose glue (optional)
How To:
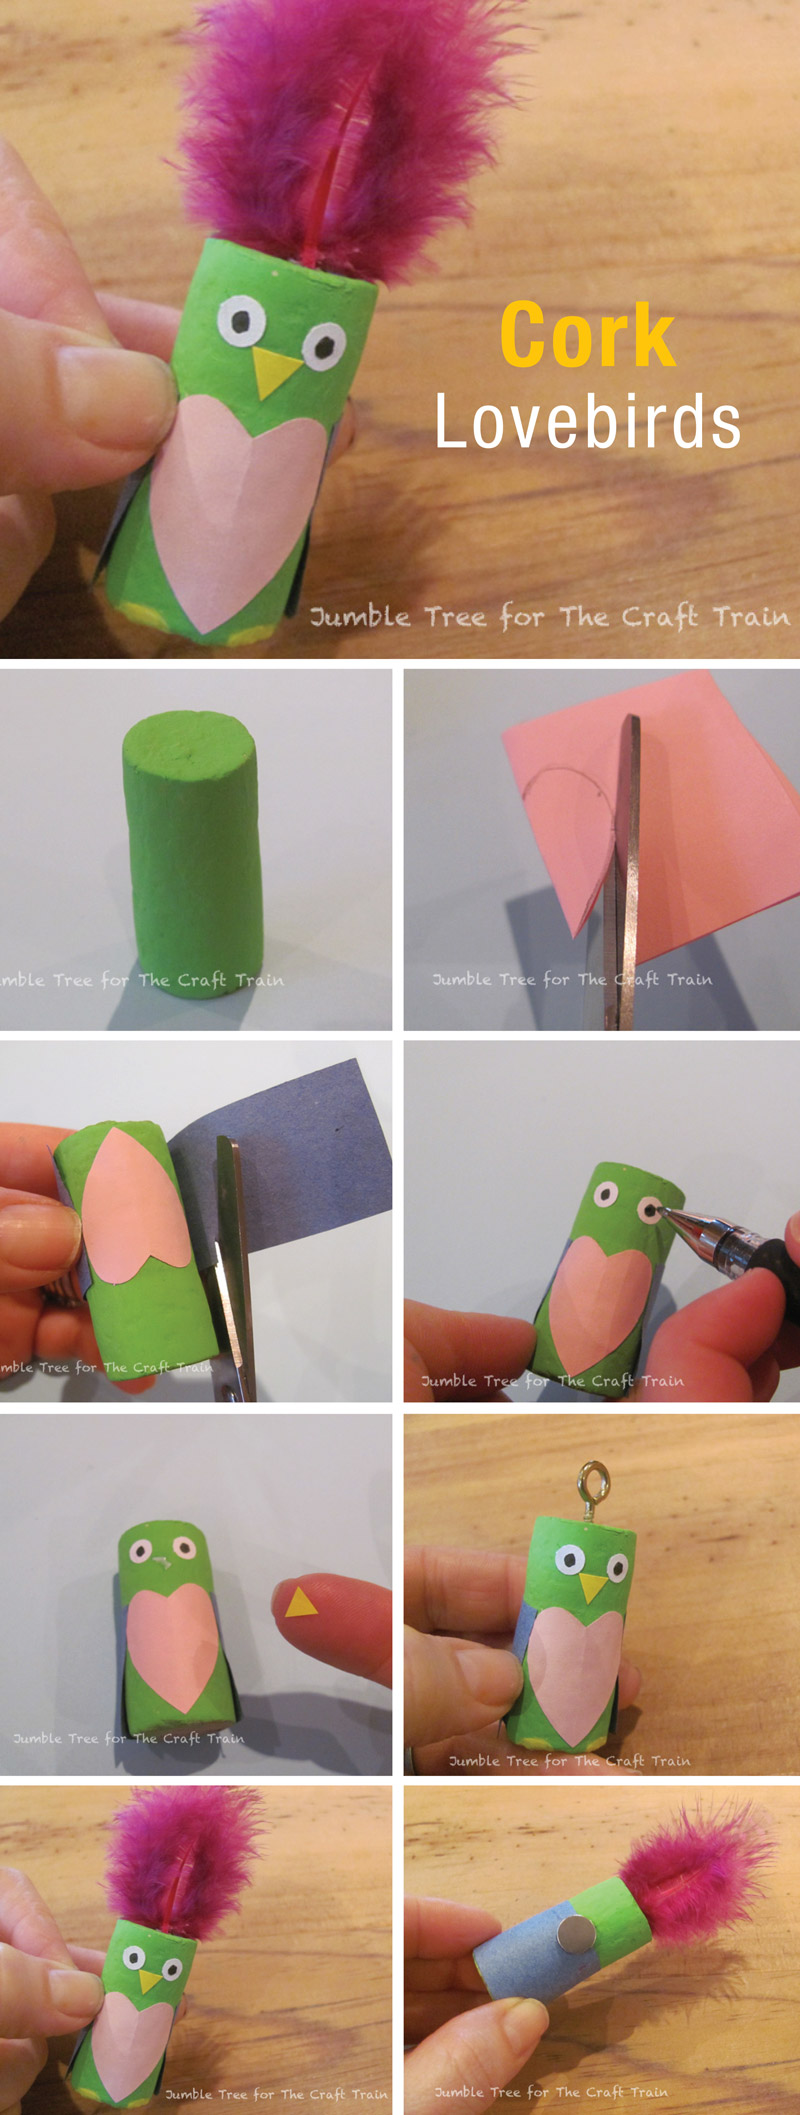
- Paint the cork any colour you want.
- Fold a small piece of coloured paper in half and draw half a heart on the fold. You want it to be roughly half to two thirds the length of the cork – and make it narrow too. Carefully cut around the shape and open it up. Place it on your cork to check the size, and if it looks too big, fold the heart in half again and trim until it looks right.
- Rub some glue stick on the back of the heart and glue it to the cork, with the point almost touching the bottom edge. Cut a strip of different coloured paper for the wings – make the shorter side about the same height as the heart. If you’re making a penguin, leave out the wing strip.
- Line the edge of the strip up with one side of the heart and the base of your bird, and wrap the rest around the cork. Cut away any extra paper where it touches the other side of the heart.
- Rub glue stick on the top half of the strip only, and glue in place, so the bottom of the wings stick out slightly.
- For the eyes, use a hole punch to punch out some circles. Rub a little glue stick where you want the eyes to go on the cork, wet your finger to help pick up the little circles, and stick them in place. Use a fine black pen to dot on the centres.
- For the beak, cut out a small triangle from yellow or orange paper (or colour in some plain paper), rub glue stick just below the eyes, wet your finger to help pick up the triangle, and glue in place.
- Paint feet on the bottom edge with yellow paint and leave to dry.
- To add a feathery head plume, make a hole on top by screwing in a small screw, nearer to the front of your bird. Take the screw out.
- Choose a feather, dab a little glue on the pointy tip and push into the hole.
- To make it into a keyring, screw a mini eye-pin (seen in step 9) into the top of your cork and attach a keyring. Or, for a fridge magnet, glue a small magnet to the back of your bird. Use strong all-purpose glue like UHU.
About Tracey
You might also Like:
• These whirly gigs with printable patterns are a fun DIY toy
• Here’s a simple DIY for a recycled cardboard pom pom maker
Pin it:


Leave a Reply