My eldest baby turned eight not long ago and more than anything she wanted a Butterfly Just Dance party. I was apprehensive about this because last year I discovered the beauty of an outsourced kid’s party venue and swore I’d never again go back to throwing a kid’s party at home. It was brilliant! The venue even supplied invitations and an ice cream cake, all there was left for me to do was pack a few party bags. So you might understand why I tried to talk Miss R out of her Butterfly Just Dance Party at home, but she wouldn’t hear of it. No amount of sweet talk about how much fun some of the options around our local area were could convince her, so a butterfly party at home it was. I agreed on the terms that we make it a ‘small’ party, with only eight children invited.
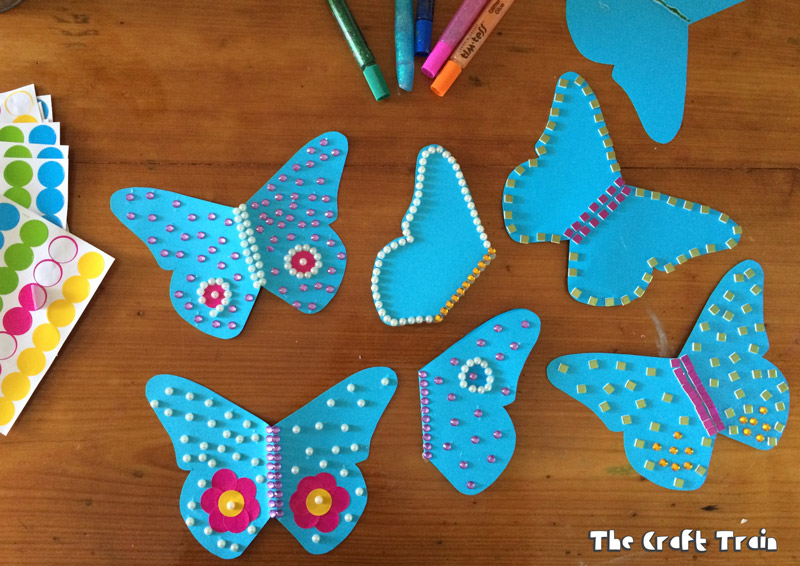
I have to admit that although I’m an introvert at heart and don’t relish the thought of hosting a crowd there is a part of me which loves planning parties and coming up with themed ideas and activities. Like mother like daughter, as a worldly eight year old Miss R had a very specific idea of what she wanted and immediately began planning and making her own invitations from a butterfly shape template I printed out for her. I’ll share the butterfly template in another post soon, but they turned out looking like the picture below. She was so excited that the invitations were handed out a whole two months early!
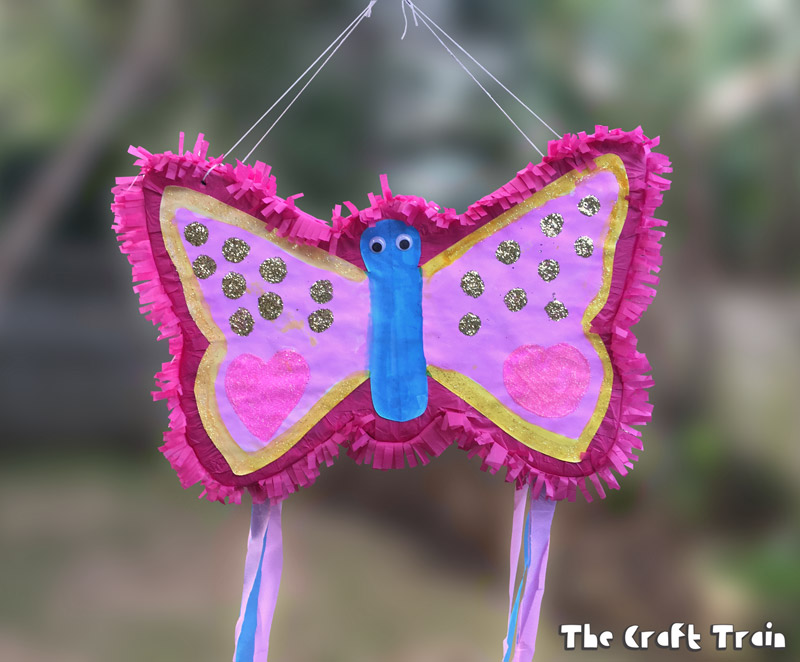
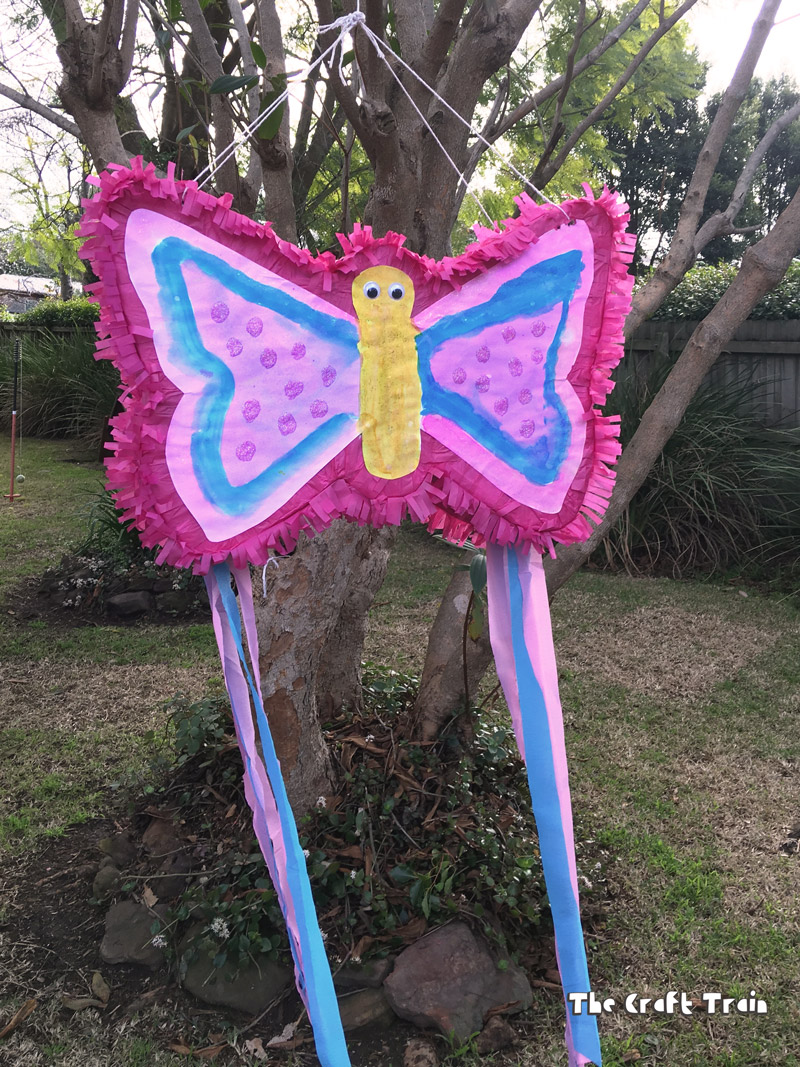
My young party planner knew that she wanted a craft table with butterfly tiaras for her guests to make and also began sketching cake designs for me to choose from to bake for her. She decided on all the games we would play which ended up being a Just Dance competition (on the wii), musical statues, pass the parcel and a treasure hunt. The grand finale was to be a butterfly-shaped pinata, which she helped me to make by painting a butterfly design to stick to each side. We were pretty happy with the way it turned out.
A pinata is a craft that is very simple but can be time consuming to make. I made this one over a few days, working on it when I had the time during the week leading up to the party. You can use the technique we are sharing to make a pinata of any shape to suit your own party theme but our tutorial is only for a butterfly one.
You will need:
• 2 sheets of A2 sized paper
• Paints, we used liquid watercolours but any sort will do
• A large cardboard carton to cut up
• Masking tape
• Tissue paper
• A glue stick plus a small amount of pva or craft glue
• Optional glitter
• String
How To:
To begin with stack the two pieces of paper one on top of the other and fold in half horizontally. Sketch one butterfly wing against the fold then cut along your pencil line and unfold to create two large butterfly shapes.

Paint a butterfly design on each shape and allow to dry.
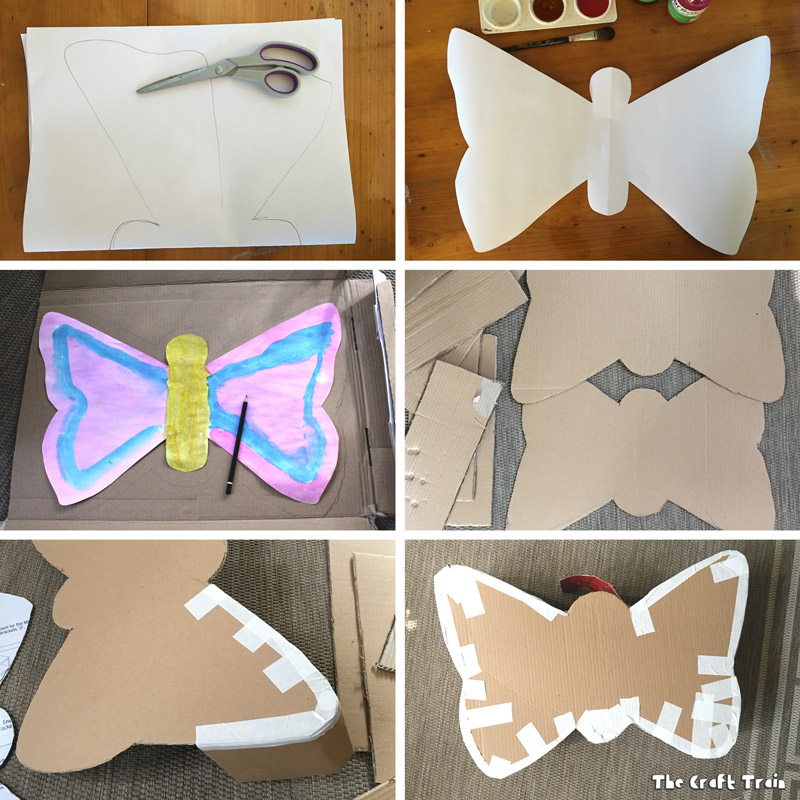
To make the shell
- Place a dry butterfly shape on a large piece of cardboard and trace around it leaving an approximate 2cm gap of extra space around the edges. Cut out your shape and use this as a template to trace around to get the second side.
- Cut out some long rectangular strips to make the sides. They don’t need to be any particular length or width, just as wide as you’d like the pinata to be.
- Bend and curl the strips a bit to get them a bit more flexible to make your next step easier.
- Stick the strips all around the edges of one of the butterfly shapes to create a wall. I placed masking tape all around the outside as well as all around the inside join.
- Stick the second butterfly shape in place. For the second butterfly shape I didn’t put masking tape on the inside only the outside. Be sure to leave an unsealed ‘lid’ on the top to put the treats in later.
Decorating the Pinata
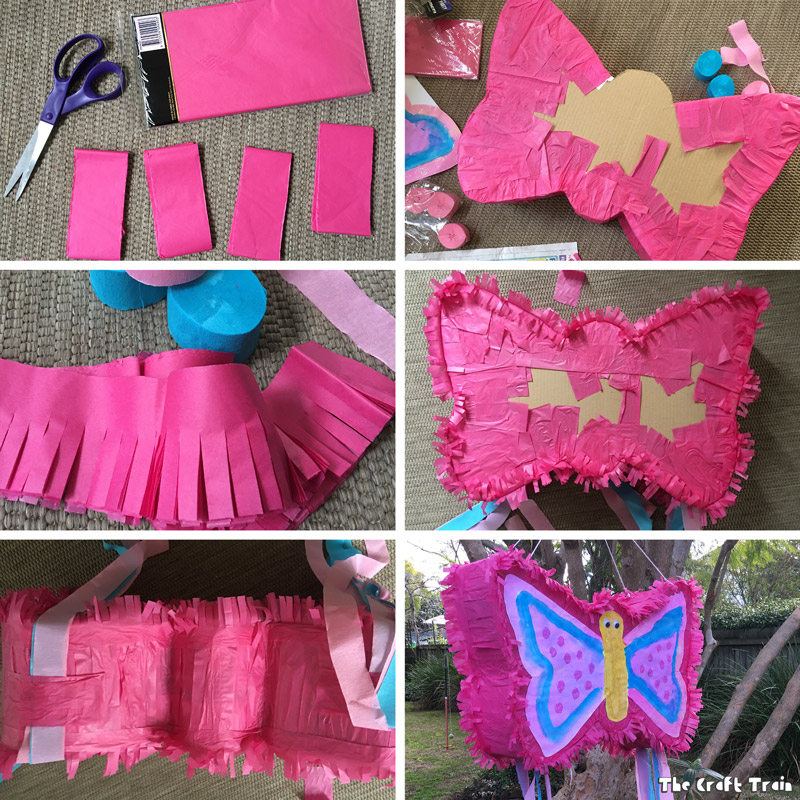
- Cut a bundle of tissue paper into even sized strips (I used a whole packet of pink for ours, and didn’t need the extra pack I had on hand just in case one wasn’t enough)
- Use a glue stick to stick the strips all around the edges of the butterfly shape, so that it covers all the sides and the outside edges of the butterfly shape itself. Don’t worry about the bare patch in the middle, this is where the butterfly artwork goes.
- After sticking the tissue paper strips all over the sides cut more strips into fringes and stick all the way around the edges to make a fringed border.
- Staple bunches of long streamers together in the middle and use a bit of craft or pva glue to stick these down, one on the bottom of each wing. Allow the craft glue to dry before sticking a few more paper strips over the top where they have been glued on for added strength.
- Poke a skewer through the top of each wing on both sides and thread the string for hanging through here before sealing the pinata up (I made the mistake of sealing it first before adding the string and believe me it would be easier the other way around).
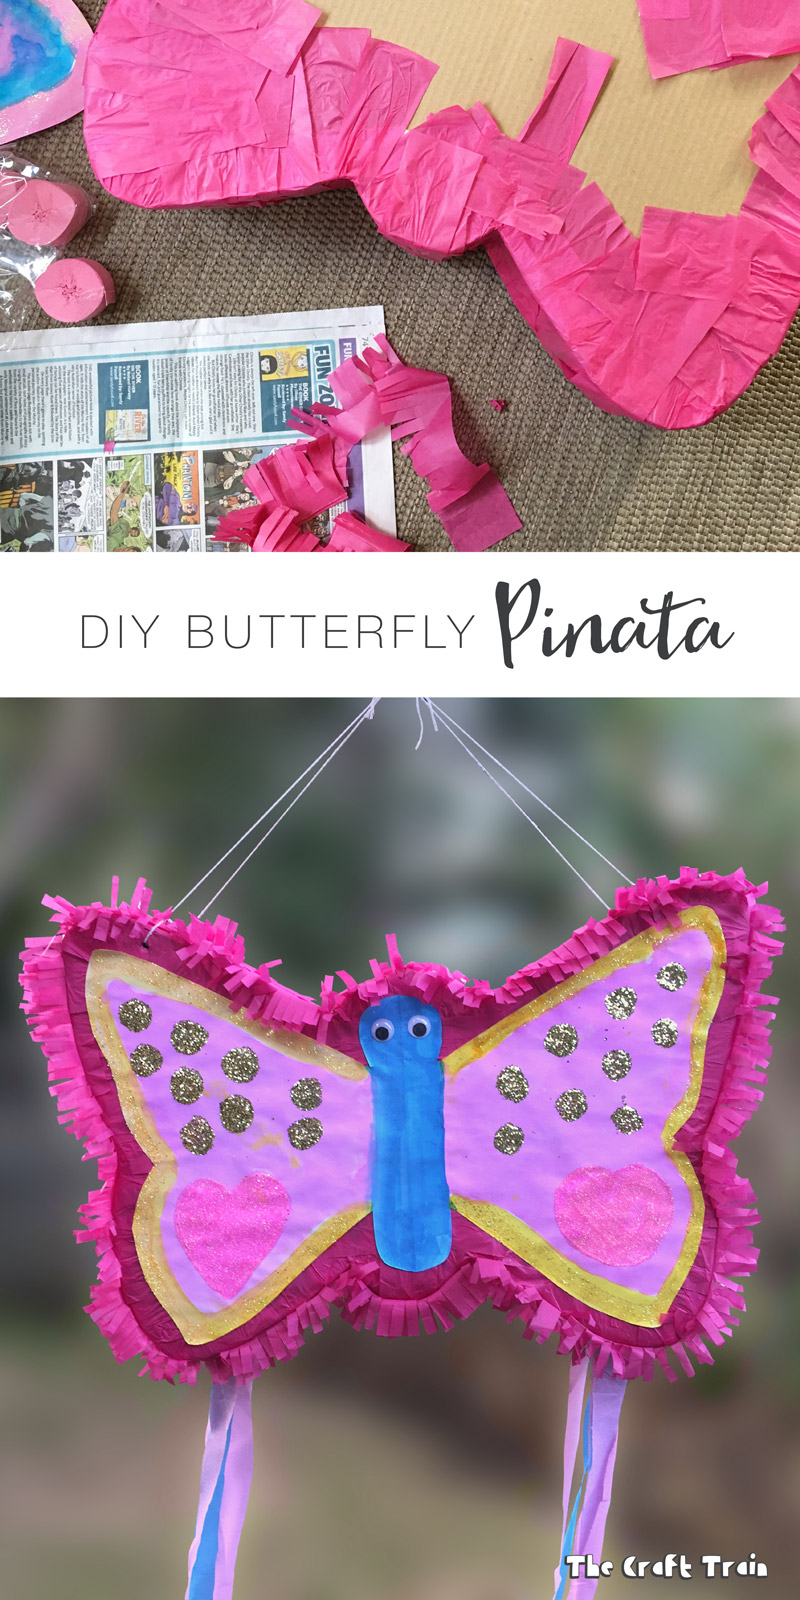
- Add some glitter to the butterflies before sticking them on the front and back of your pinata. I added glue to ours by painting spots with pva glue and then sprinkling them with glitter.
- Finally it’s ready to fill! Ours was filled with a couple of boxes of wrapped chocolates, party poppers and some bouncy balls.
Hang your Pinata to a tree or similar as a fun party decoration waiting for the kids to crack it open!
I made a last minute blindfold from a piece of construction paper and since we hadn’t thought of finding a suitable stick beforehand the kids ended up using an upside down hobby horse as a Pinata-whacker.
In the end it was solid as a rock and Daddy needed to come in with the final blow to crack it open, but the kids all had lots of fun trying and it was certainly funny to watch!
Have you ever made your own Pinata?
More fun Party ideas
• Make some fun fairy party crackers
• Use this printable checklist to help plan your party
• Use our printable to make DIY party hats that the guests can decorate themselves
• See our forest fairy themed party we threw for miss K when she turned four
• Make an easy-peasy Frozen themed cake
• These chocolate-dipped marshmallow pops make great party favours
Pin It:

Will the painters tape work to join the cardboard?
You could try it, it would need to be wide painters tape and you might need to use more of it.