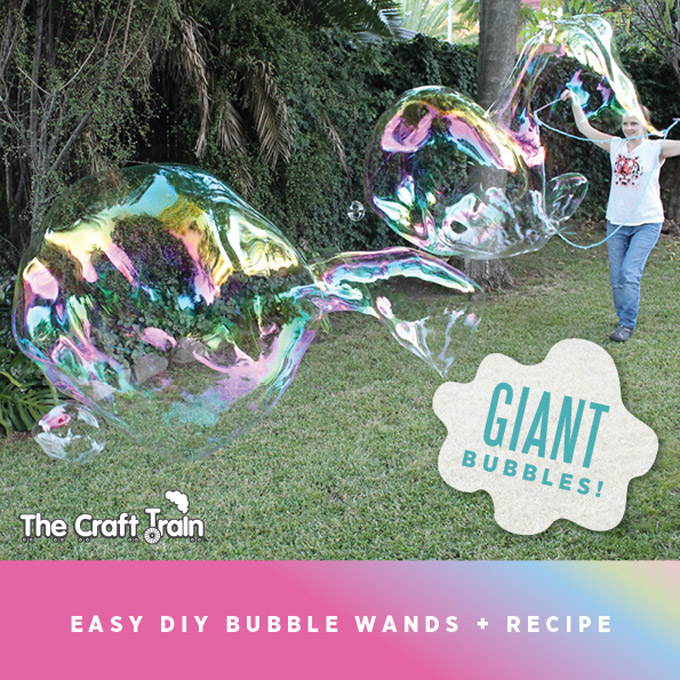
Giant bubbles must be the coolest thing ever. In fact, I think I enjoyed this activity way better than the kids! In this post I’ll be sharing an awesome recipe that really works and two different kinds of easy DIY giant bubble wands.
To make the bubble mix:
We tried lots of recipes and had quite a few failed batches that didn’t work at all (always a disappointment, especially when you’ve waited a week to let it ‘rest’). In the end the winning combination for us is this one, adapted from this awesome bubble website.
You will need:
•12 cups warm water
• 2 cups HOT water (ours was straight from the kitchen tap)
• 1 teaspoon guar gum (found in health food shops – guar gum is used commonly in gluten free baking)
• 1 teaspoon baking powder
• 4 teaspoons glycerine
• 1 cup detergent – I used Fairy, pictured below, but if you are able to get a hold of Dawn or Joy (hard to get in Australia) I’ve read they are the best ones to use. The detergent you use is very important, some brands will not work at all or you would need to add a much greater amount to get the recipe to work.
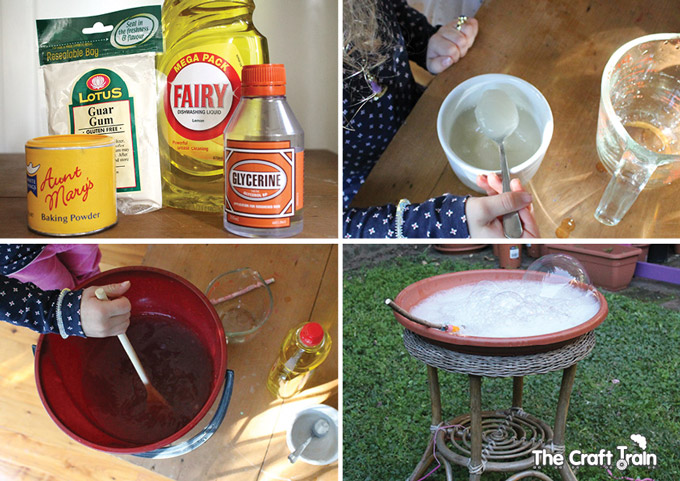 How to:
1. Measure the 12 cups of warm tap water into a bucket or large container and set aside.
2. In a smaller container or jug add the guar gum, baking powder and glycerine. Stir to combine and keep stirring for another 30 seconds. It should thicken and become a bit like a gel.
3. Add the 2 cups of HOT water to the guar gum mix and stir for about 30 seconds until the gel has really thinned out into the water.
4. Add this to the 12 cups of warm water and stir. Finally, add the detergent and stir gently so as not to create too many bubbles. As you can see, my kids did the stirring and created lots of bubbles but the recipe still worked for us.
5. Let the mixture cool, stirring every 10 minutes or so. It should rest for an hour before you use it.
To make the DIY wands…
Repurposed coat hanger wand:
You will need:
• A wire coat hanger
• Some wire cutters
• A straight stick (ours was from the garden)
•Duct tape
• Twine
• Coloured yarn, beads and feathers as optional extras to decorate
 How to:
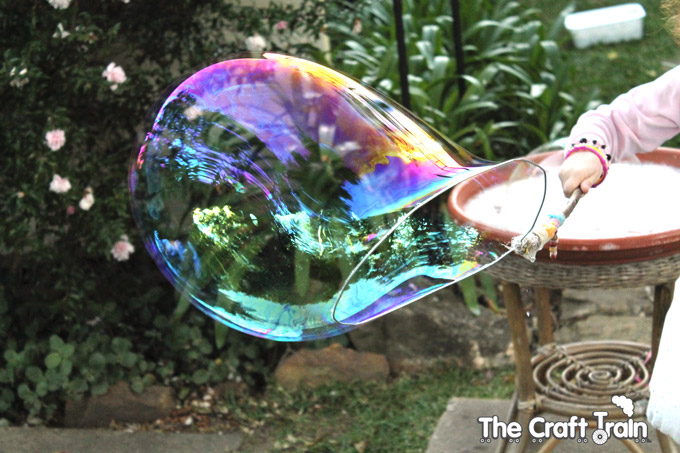
Cut the hooked end off the coat hanger with the wire cutters, attach it to the stick with duct tape and secure well by wrapping twine around it many times. You don’t need to decorate the stick but we like pretty things and I added some coloured yarn and a few beads and feathers at the end.
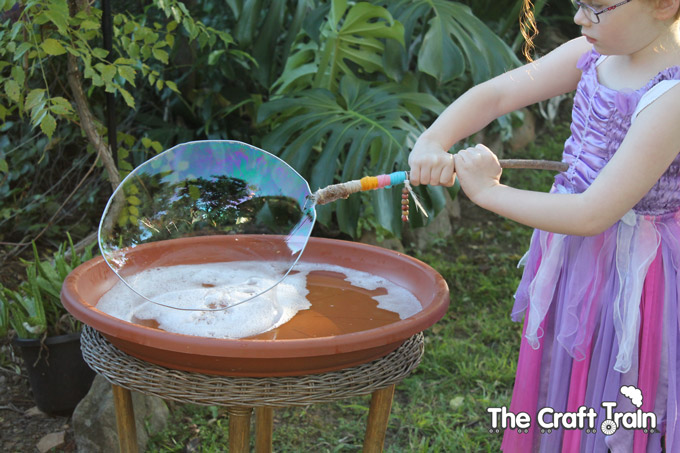
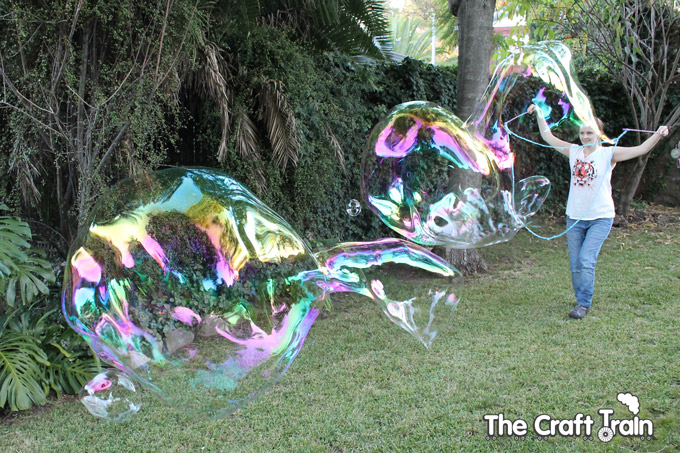
This wand was easier for the kids to use, but for the REALLY big bubbles we used a string wand that was even quicker to make.
String Wand:
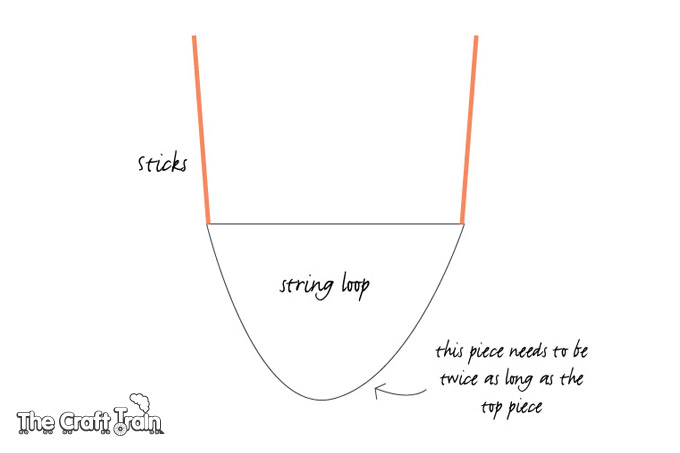
Get two sticks (we used long dowel rods) and tie a piece of looped string to the ends. Here is a simple diagram that explains how we made our string wand. For the “string” I used a very thick wool (as thick as a skipping rope) and just tied it in simple knots at the ends of each stick. The kids found this wand pretty tricky to use because it’s so big, but they had great fun popping all the bubbles I made with it.
Time for some fun!
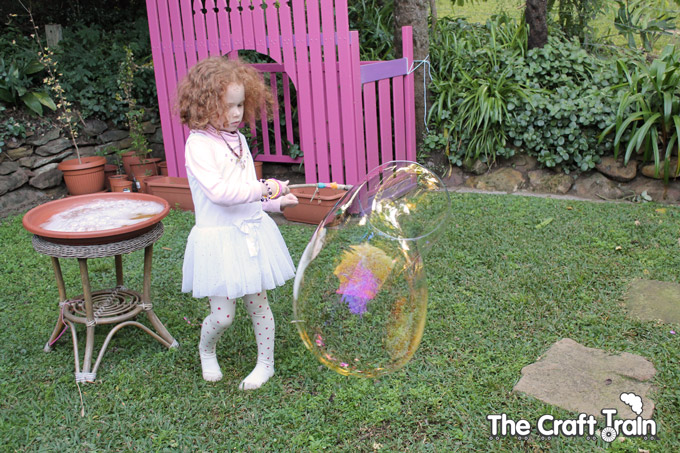
We tipped the bubble solution into a large pot plant tray, because it needs to be big and round enough to fit the wands in easily.
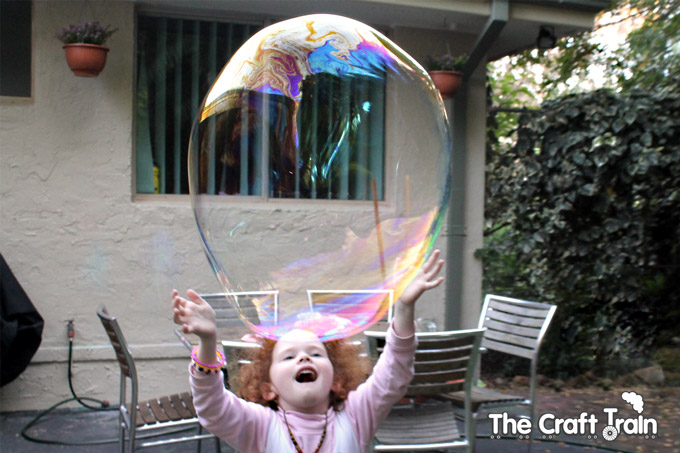
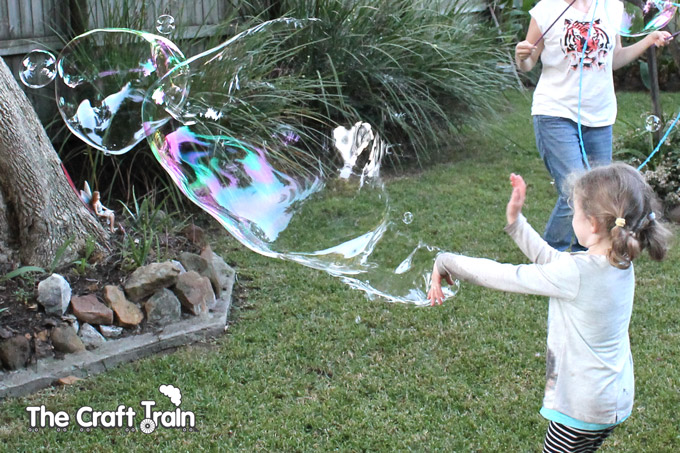
Once we had the mixture working I found the bubble-making somewhat addictive. It’s really hard (even for me) to put the bubble wand down and resist creating just one more. My kids were AMAZED by the huge bubbles they made.
Extra Tips:
• There is a bit of a technique required to getting a real, big bubble floating in the air. My 5 year old mastered it beautifully but my 4 year old only got a few big, real bubbles. To get a good bubble wave the wand gently in large circles in the air.
• If your solution doesn’t work at all, don’t be afraid to experiment by adding extra detergent or guar gum.
• If you can’t find any of the above detergents, try a brand that has good de-greasing abilities. I tried several common Aussie brands before I found Fairy in the local IGA supermarket, but this brand can also be hard to find in Australia.
• The longer you let the solution ‘sit’ the better the bubbles will be. Leave it for one week for best results.
Have fun!

It is a real great idea, I was looking for good idea for the kids birthday party. I got it. Thank you,
Sounds awesome, would definitely work at a party!
That looks like so much fun!!!
Wowsers! That looks incredible. What gorgeous pics you got. Featuring this in this weeks Tuesday Tots.
I hope this woirks I tried the cornstarch one and had no luck kids were sad
Hopefully this one will fare better! We tried the cornstarch recipe too before this one and had no luck with it either. It seems that the brand of detergent you use has a big impact on how successful the batch of bubbles is.
We tried this out for my daughter’s birthday party and it was GREAT. EVERYBODY was crazy about “the giants”. Thanks Kate!
Fantastic!! So glad it worked for you and everybody had fun.
Would it work for 10 kids for a couple of hours or would I have to double the recipe?
I think it should definitely be enough for 10 kids. It makes quite a lot.
Just wanted to say thanks for sharing this recipe and the instructions for the bubble wands! As you said in your post, the bubbles work better the longer they sit – my boys were a bit disappointed with the results on the first day (after letting it rest for only an hour), but the next day the results were amazing! Also, we tied yarn around our coat hangers to give the bubble solution more to cling to – that helped give us better results as well. Anyway, thanks for the fun idea!
Fantastic idea with the string and coat hangers. I’m so glad the recipe worked for your boys, they are fun!
Hi, thank you for this, used all the brands you used and had terrific results after 1 hour cant wait to see what it’s like tomorrow, and I might make myself a huge bubble wand too!
Awesome! Hope they turn out great for you 🙂
I’ve been looking for the giant bubble recipe and I would love to try this for my son’s birthday.and I have a question.Everyone says let it sit longer works better,so thinking to make a week before the party.is that too long???and how do you usually keep then while you let them sit..do they have to be in the container with a lid on??or ok to just leave them in a bowl???Im very excited to try!!!
What a fun idea for a party! I think a week before the party sounds fine for making it. The bubble mix improves over time so it is definitely better than making it the day before. You can leave it in the bucket, or in a container with a lid whatever you prefer. If you have a lid on it will help to stop evaporation. Hope it all goes well for you and your son has a great party! 🙂
It would help to know what area you live in and what the humidity is like. The guar gum bubbles are very sensitive to the relative humidity of the area in which they are made so what worked for you may not work for someone in a different region. They may have to adjust their recipe with baking powder until they get a solution that produces bubbles. Also glycerine slows down evaporation. So if they live in a more arid region they may want to add more glycerin to their solution. Each part of the country wll require it’s own unique solution. It’s the nature of bubble juice.
That’s all very helpful, thank you! It can get very humid where we live, this batch of bubble mixture was created in late Autumn where the relative humidity in our area is at 72% to 80% (according to Wikipedia)
Tried making your recipe but after adding the guar mix to the water I got big lumps that did not disolve with stirring…Help!?:))
Did you add hot water to the guar gum mix to thin it out before adding it to the bucket of warm tap water? Our ordinary tap water runs very hot so I used that, but if your hot water is not hot enough you may need to boil it first. Hope you figure it out!
Your recipe is amazing! Best of about 10 I’ve tried! Must say that Dawn does make MUCH better bubbles than Fairy. (I couldn’t believe the difference when I finally bought it from an American Foods website in Australia, and apparently Costco has it too) Thanks!
That’s great to know! And very interesting about the Dawn, I have only tried Fairy
is there a substitute for the quar gum?
I’m not sure, but there are other recipes out there which I haven’t tested