Quite a while ago my girls and I attended a community event in the park – Carols by Candle Light, run by one of our local churches. It was a great night of Christmas carols held outdoors under a summer sky and we all had a blast. At the event they had a stage with a contemporary rock band playing all our favourites while the girls danced with glow sticks and fake candles, plus there were food stalls and extra activities set up for the kids – including a GIANT game of snakes and ladders along with a giant dice. Ever since we played that giant game I’ve wanted to make my own giant dice just because they’re awesome. It’s been a while (two years in fact) but I’ve finally gotten around to it.
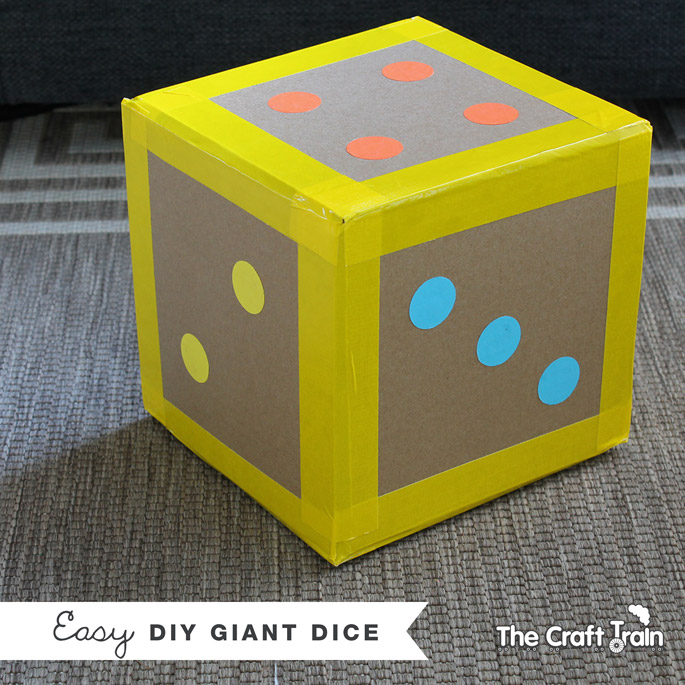
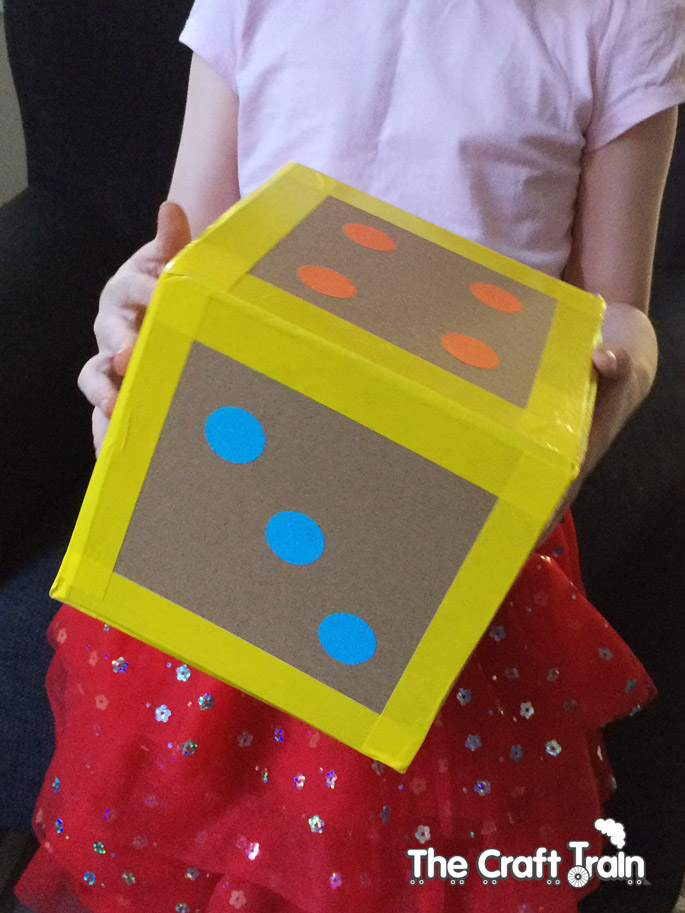
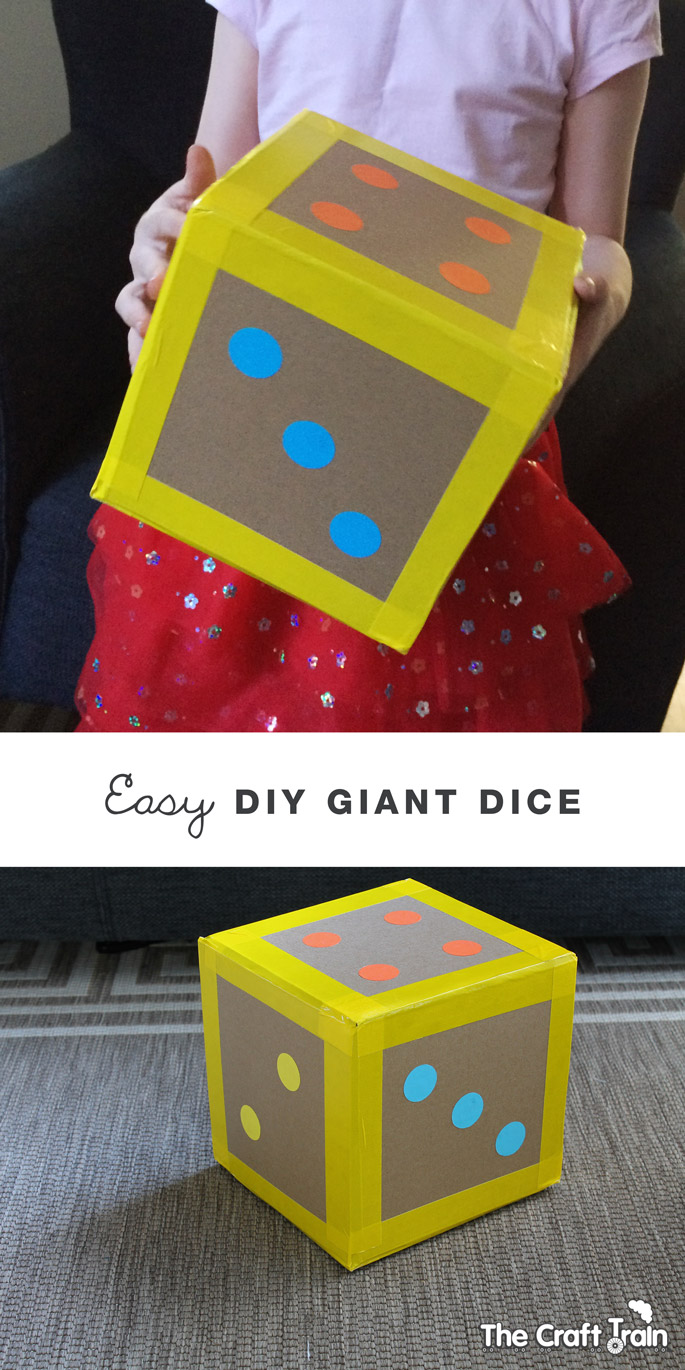
The original dice was a beauty – a square-ish cardboard box painted thickly in bright colours with hand-painted numbers on each panel. I wish I could find a picture of it. The one I’ve made is about half the size and constructed a bit differently, but it’s still very simple to make and you can be done and dusted in under 30 minutes.
You Will Need
• recycled scrap cardboard carton, enough to cut six panels of the same size
• duct tape
• brightly coloured paper
• a large round circular hole punch
• sharp scissors or a metal ruler, craft knife and cutting mat
• glue stick
How To
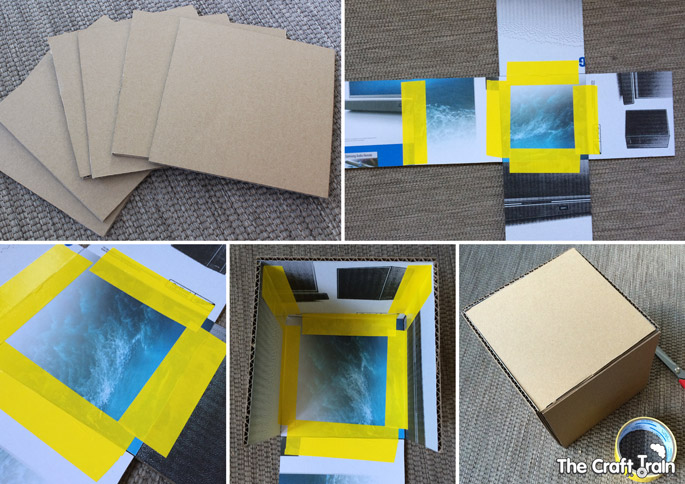
Cut six square panels from your scrap card. To get them all the same size, first cut out one and use it as a template to trace five more. To get the original square you can use our printable template, or measure and cut one to size to your own preference (you could make it way bigger than ours). It’s important that each corner is exactly square so that it fits together well.
Lay your pieces out in a basic cube pattern, like below, and then tape securely on the back with duct tape.
Fold into a cube shape, taping the inside of the box for extra sturdiness (it’s going to need to withstand a few bumps).
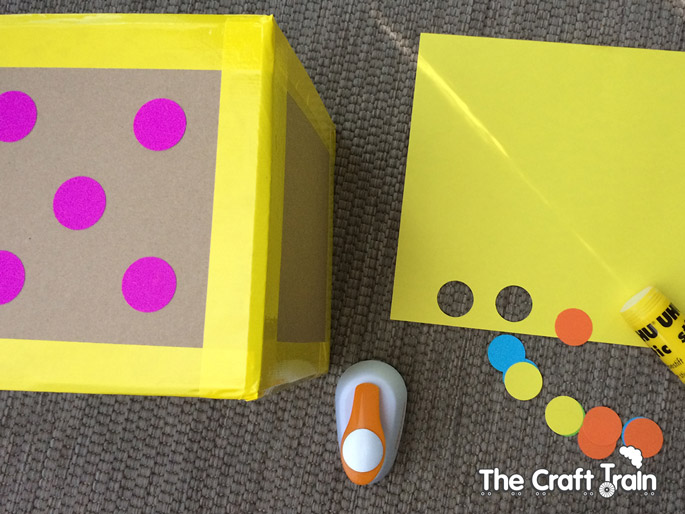
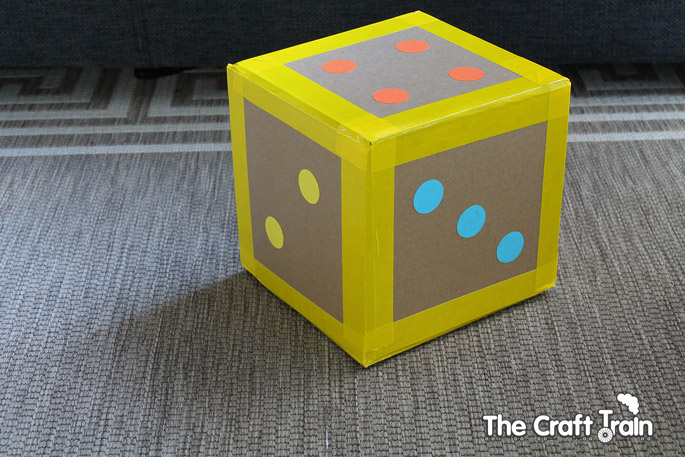
To stick the final panel in place I placed tape on each of the three adjoining sides an pressed the panel down – slightly fiddly but easy enough. When you’re finished this step you should be left with a cardboard cube, and all you need to do now is reinforce the sides with more duct tape on the outside and add the coloured dots. Use your hole punch to cut the numbers from one through to six in different colours and glue on with a glue stick.
And that’s all there is to it!
You might think that a dice created from cardboard wouldn’t be very durable, but’s it’s actually quite sturdy and strong. When used in the way it’s supposed to it should last a while – at least until the kids start peeling off the dots and poking scissors into the side (which happened the first time I made one BEFORE I got the chance to photograph it for the blog, cheeky kids!).
Now your giant dice is ready for some giant games. We’ll have some to post soon here on the blog so if you need some inspiration keep an eye out, or you could let your imagination run wild and design your own. There is also a list of fun and educational dice games to go along with our lucky dice shaker craft that you might like to try, or you could use your dice to solve arguments like we do (e.g. the person who rolls the highest number gets first turn on the computer – it’s way better than flipping a coin because they can’t fight over who gets to be heads and who’s stuck with tails, lol).
More recycled cardboard craft ideas
• Make a simple DIY shoe lacing card
• Create a cardboard castle or sea monster mask
• Make a whirlygig with a scrap of cardboard and our printable templates
• Make a Noahs Ark from a cardboard box
• Construct a flying fairy car from a box
Visit our cardboard creations board on Pinterest for some more amazing inspiration. I love crafting with recycled cardboard, it’s such a great medium and has the added bonus of being free!

Very cool. I will have to show my son because he is always cutting up cardboard and constructing things!
Ohhh fun idea!! So much potential for play here 🙂
Fun!
Dice is so expensive but this is such a simple way to make one and more fun too.
I really must make some of these for class! Such a great idea 🙂
Love this fun and educational idea, will be making one for my class! Thank you
Thanks Kari, hope the class like it 🙂
good idea indeed.
just to have a ‘real’ dice, sum of points on opposite sites must be always 7. meaning that you cannot have 4 and 3 side by side like on the picture. 🙂
Great observation, I didn’t know that!
SIMPLE BUT BRILLIANT! THANK YOU FOR SHARING YOUR IDEA.
Thank you! Glad you like them
So much fun!!
I am making five of these die. They are 3 1/2 “. These is the size you need to play Yardzee. The only thing I did different was I don’t have a paper punch so I am just drawing circles using a template and cutting them out. I also have decided to put Mod Podge on each of the die to secure the dots better. They are turning out really cute and I am excited to use them.
That’s fantastic! I hope you have fun with the yard-zee, what a good idea.
Did you know though that opposite sides of a dice should add up to seven? So four would be opposite three for example.
I Didn’t know that! How interesting and thanks for sharing
Thank you for this simple DIY!
You’re welcome!