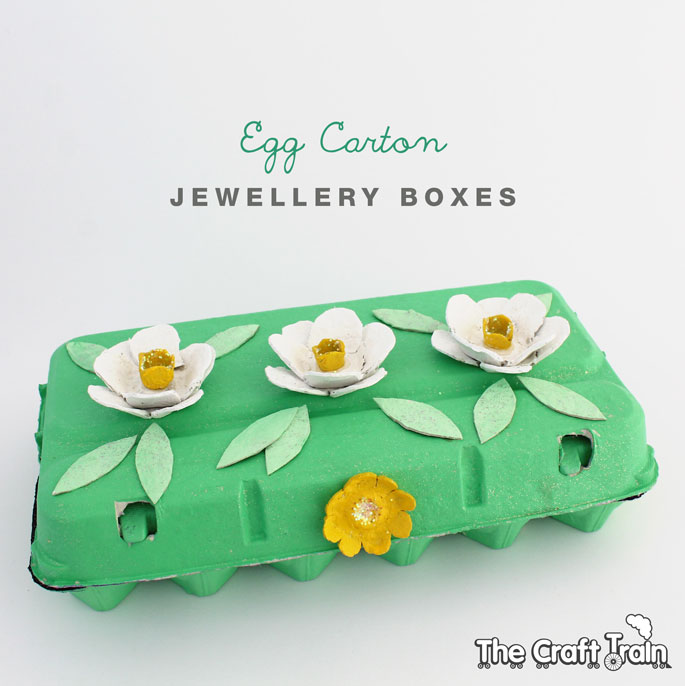
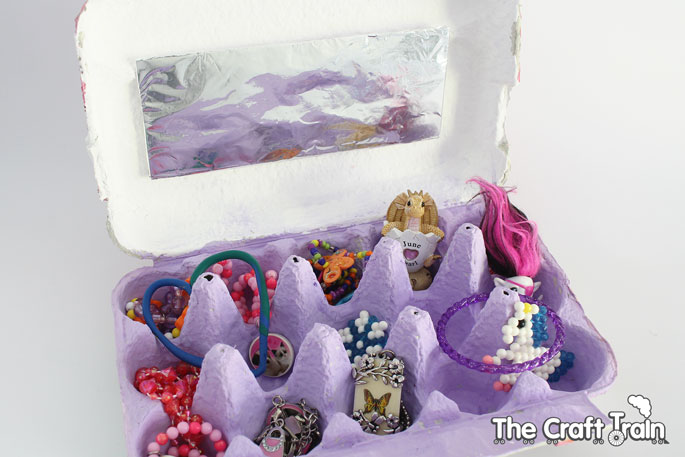
I’ve always wanted to try my hand at egg carton flowers – they are so bright and cheerful! The girls and I decided to make some over the school holidays and we used them to decorate egg carton jewellery boxes. You could use these boxes to store any small knick-knacks and collections (think crystals, shells, loom bands etc. – my kids are BIG on collecting), but we happen to have an enormous stash of plastic kids’ jewellery so ours are officially ‘jewellery boxes’.
There is a great deal of creative licence to be had with this project. You can see how different my girl’s creations are from my own at the end of the post.
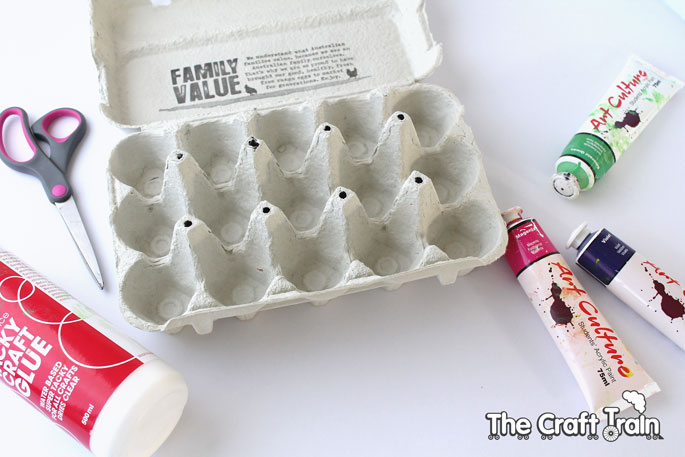
You will need:
• An egg carton as the base of the jewellery box – ours is a from 15-pack rather than the usual dozen but any size will do
• Additional egg cartons to make into flowers (at least one but more is better)
• Paint – we used acrylic paint
• Tacky craft glue
• Shiny mirror board or some foil wrapped around a square of scrap cardboard for the mirror
• Scissors – a small, sharp pair is best for cutting egg cartons
• Glitter (optional)
special note: I’d recommend using white or lighter-coloured egg cartons because the colours will come up far brighter. Saying that many children wouldn’t really care if their cover of paint is not ‘perfect’.
How to:
While this craft is very easy it does require drying time in between stages. For this reason we made ours over a period of three days, coming back to it at different times when the kids were ready and the previous stage was dry.
Stage 1:
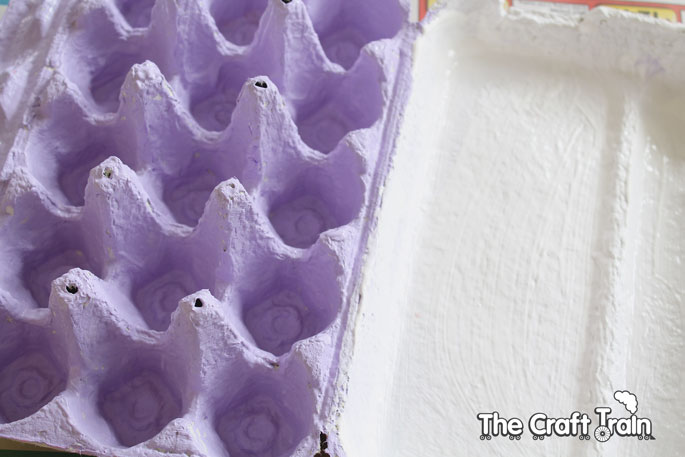
Paint your egg carton. You will need to paint the inside, allow to dry, and then flip the egg carton over to paint the outside and allow that to dry.
Stage 2:
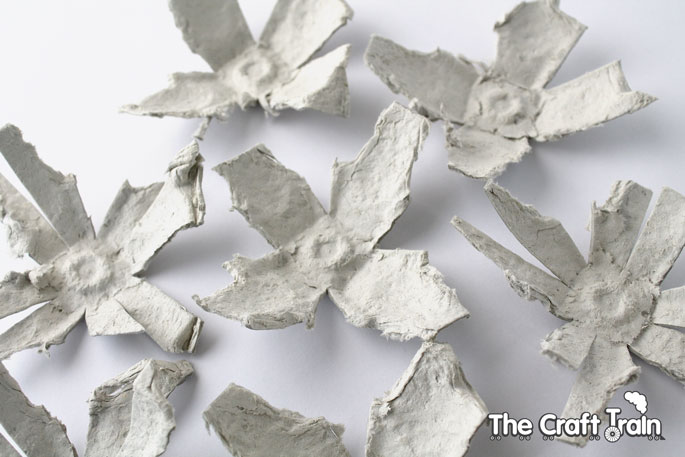
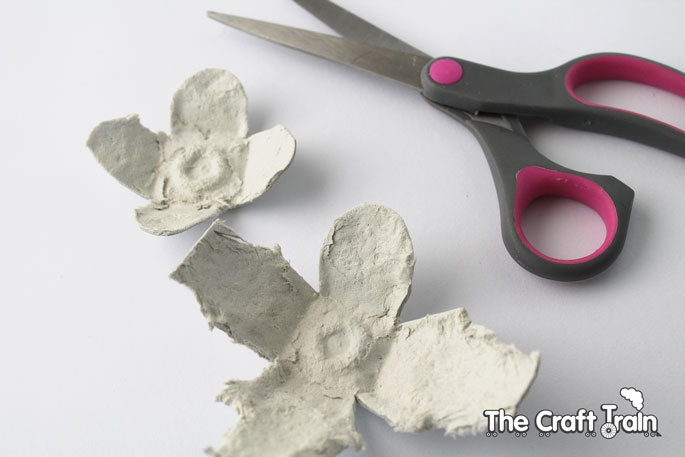
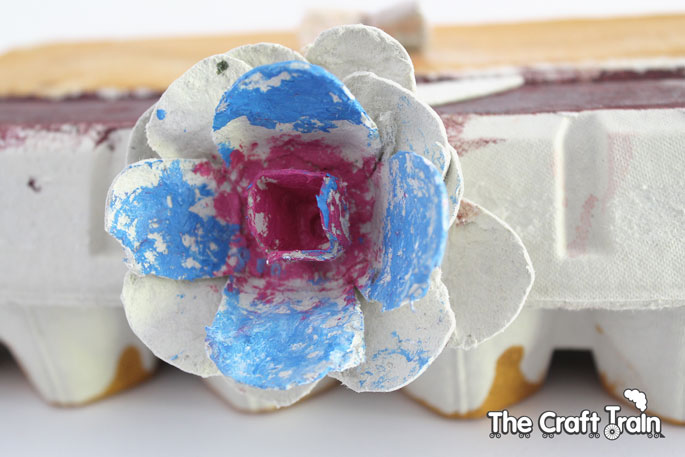
Make the flowers – you could do this while the egg carton is drying. This is the only part that my kids needed help with. Cutting out the flowers is very easy but cutting through egg carton is a lot different to cutting through paper or ever regular cardboard. It requires a bit more strength and patience, so you might need to do this part for them. First cut each egg cup into sections of however many petals you’d like the flower to have. I made ours with either four or eight petals.
Once that is done, cut the petals into rounded shapes.
Paint the flower shapes and allow them to dry before glueing together in layers.
Stage 3:
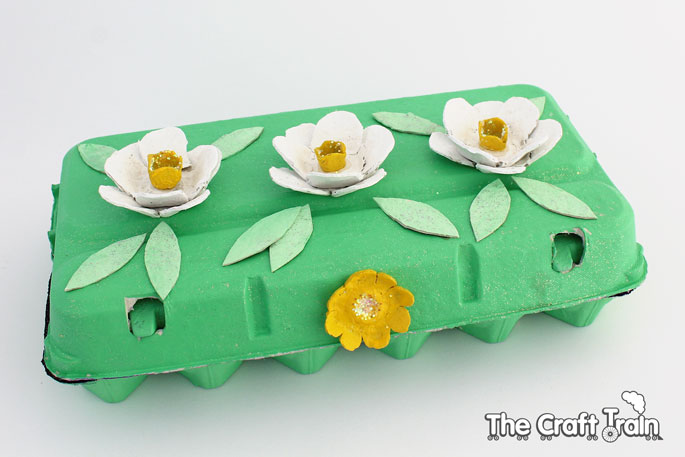
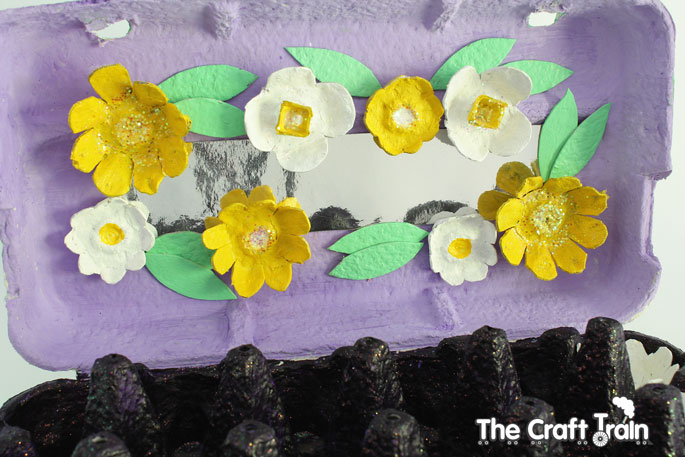
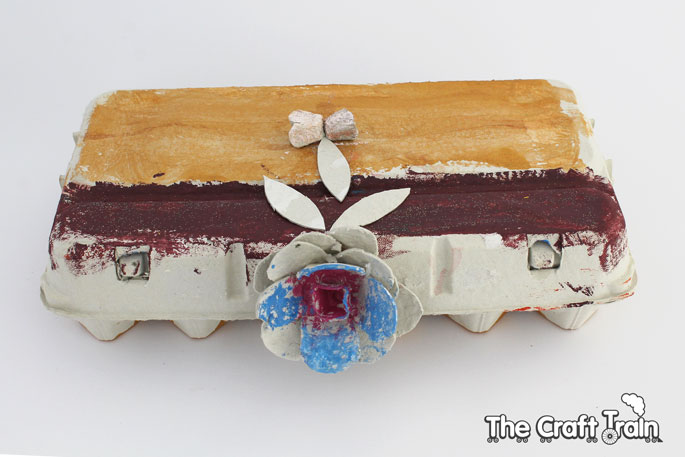
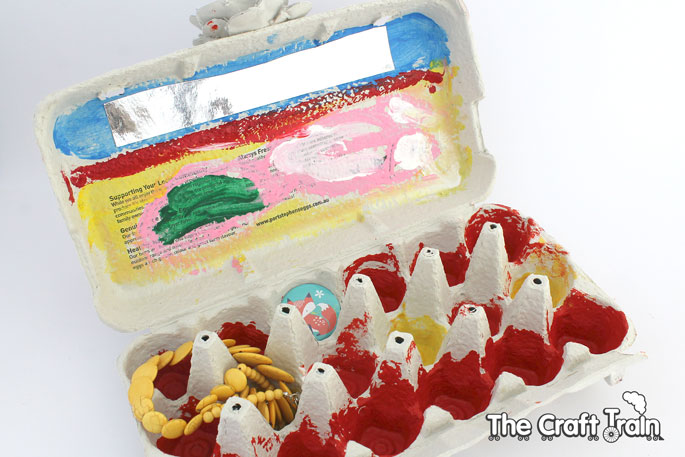
Decorate the egg carton. Arrange your flowers on the lid of the jewellery box, and even on the inside lid if you have made enough for that. Stick a piece of mirror board or a piece of cardboard covered with alfoil on the inside and voila – you have a lovely jewellery or collection box!
Our creations:
My version… you can never have too many flowers!
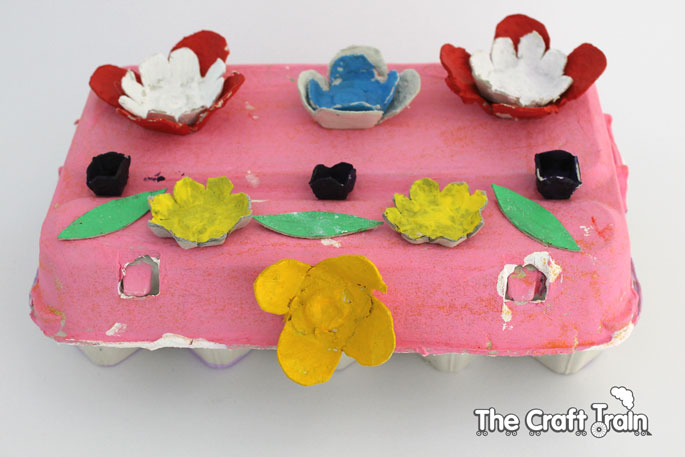
By Miss R, age six:
By Miss K, age 5:
No more jewellery storage problems at our place – haha!
The girls both put in a considerable effort with this project and I love seeing how they are growing more independently creative and individual in their approach. Miss R is very focussed and deliberate in her work, wishing everything to be just so, while Miss K is more free and experimental.
For more recycling craft ideas including egg cartons and more, visit my recycle and repurpose board on Pinterest.
This project is part of the Kids Crafts 101 Series, 14 easy children’s crafts made with everyday materials. Please do check out some of the fantastic crafts in the series.
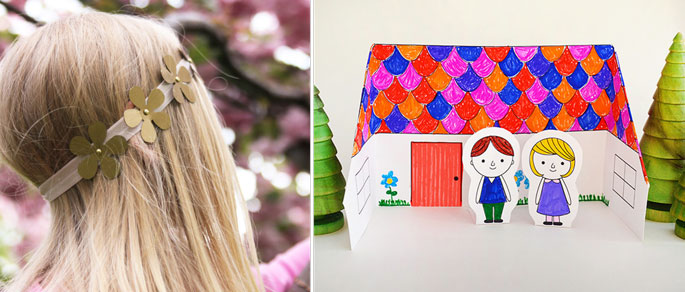
Yesterday Melissa from Mama Miss posted a gorgeous Boho Flower Headband, and tomorrow Kate from Picklebums will be posting a foldable house with people that you can print out and make.

Lovely way to upcycle an egg carton. I m pinning this to make with my daughter when she gets a little older.
Such pretty Spring Colors! I can really imagine kids having a lot of fun making these!