This glow bug craft for kids is a cool way to upcycle used plastic yoghurt tubs. Keep them as DIY night lights or simple decorations if you don’t want to bother with the LED candles we’ve used to light them up. There is a free printable template for the eyes, wings and other bug parts.
Make glow bugs as a Spring or Summer craft. They’re also a fun activity to support kids learning about insects or minibeasts.
You might also like these light-up crafts for kids

We love bugs here at The Craft Train—really! Last week we shared a realistic 3D paper bee craft complete with anatomy labels. This week it’s bees again only they’re the friendly kind without stingers. We’ve added a friendly grasshopper too (because every self-respecting bee needs a buddy!).

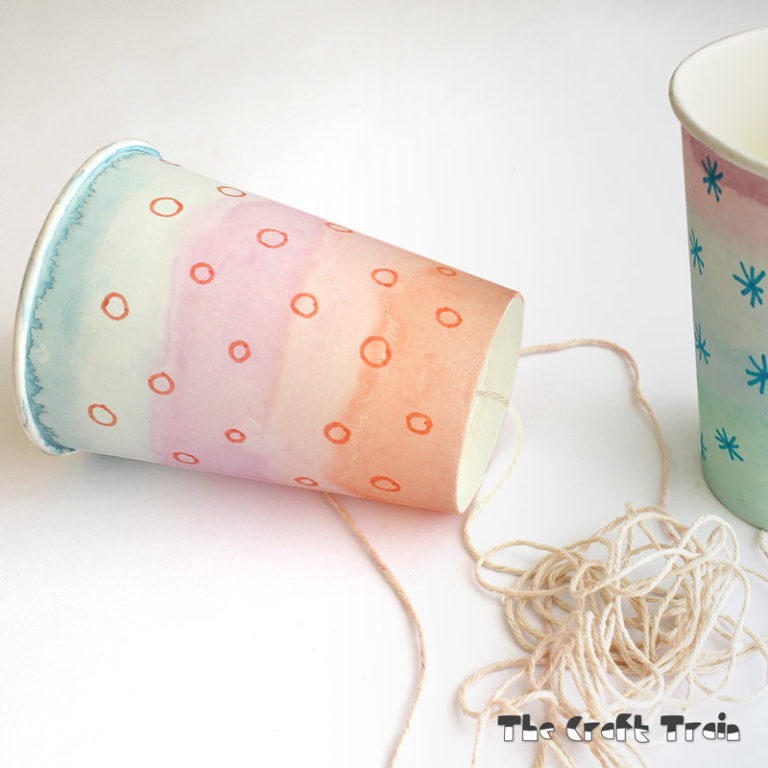
You get to raid your recycling bin for this one. A plain, white, yoghurt tub with the label removed is perfect, but you could alternatively use a frosted plastic cream container, or even a fruit snack tub. Anything that’s around yoghurt tub size and is either clear or light enough in thickness and colour for an LED glow to be visible through will work.

LED tealights are worth the investment as a crafting material because you can reuse them in a multitude of projects. For example, Earth Day Mason jar luminaries, Jellyfish lanterns, and our egg carton reef to name a few (but there are more). LED candles are safe to use with paper because they are battery-operated and generate no heat. If you have littlies in the house who still put things in their mouths, obviously use them only under supervision.


Are you ready to make glow grasshoppers and bees? Let’s get started.
How to make glow bugs
You will need:
- Recycled plastic yoghurt tubs, washed and dried with the label removed
- Tissue paper in yellow for the bee and two shades of green for the grasshopper
- DIY mod podge made from water and glue (or you can use real mod podge if you have it)
- A sharpie marker
- A glue stick
- Scissors
- A paint brush
- The Glow bug parts template
How to
Cut the tissue paper into squares and mix up some DIY mod podge in a jar by adding PVA glue and water with a 50:50 ratio. You can put the lid on and keep the leftover for future craft projects.

Use a paint brush to apply your DIY mod podge onto the yoghurt container and completely cover it in tissue paper squares. For the bee, make it solid yellow. For the grasshopper, put lighter green on the front panel and dark green everywhere else.
Paint a final layer of mod podge over the top of the tissue paper squares.

Print the templates out to card stock. If you have no card stock, ordinary paper works too only the legs and antennae will be more flimsy and will curl after a day or two.

Cut glow bug part shapes out.


Fold the white tabs on the parts and glue them to the yoghurt tub using a glue stick. Eyes on the front, legs on the side, antennae on top and wings at the back. For the bee, glue the stripes close to the base so there’s room for the face and legs.
Draw a smiley mouth on using your sharpie marker.


Your glow bugs are ready to… GLOW!


Aren’t they cute?
More bug crafts kids will love
- Make a handprint rocking bee from a paper plate
- Use our free template to make Monarch and Blue Morph butterfly squish art
- This paper roll grasshopper is super cool
- Check out our realistic 3D insects. We have a dragonfly, honey bee and Monarch butterfly
- Here are loads more bug crafts for kids