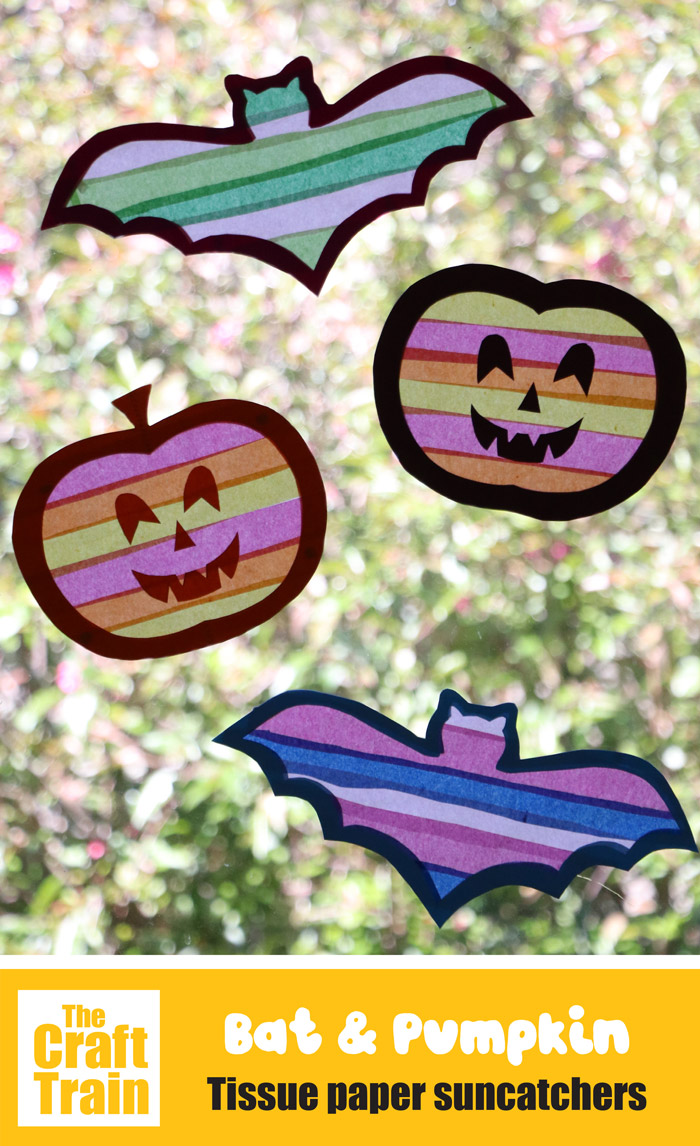
Make some Halloween tissue paper suncatchers in either bat or pumpkin design. This is a colourful and non-scary Halloween paper craft for your kiddos.
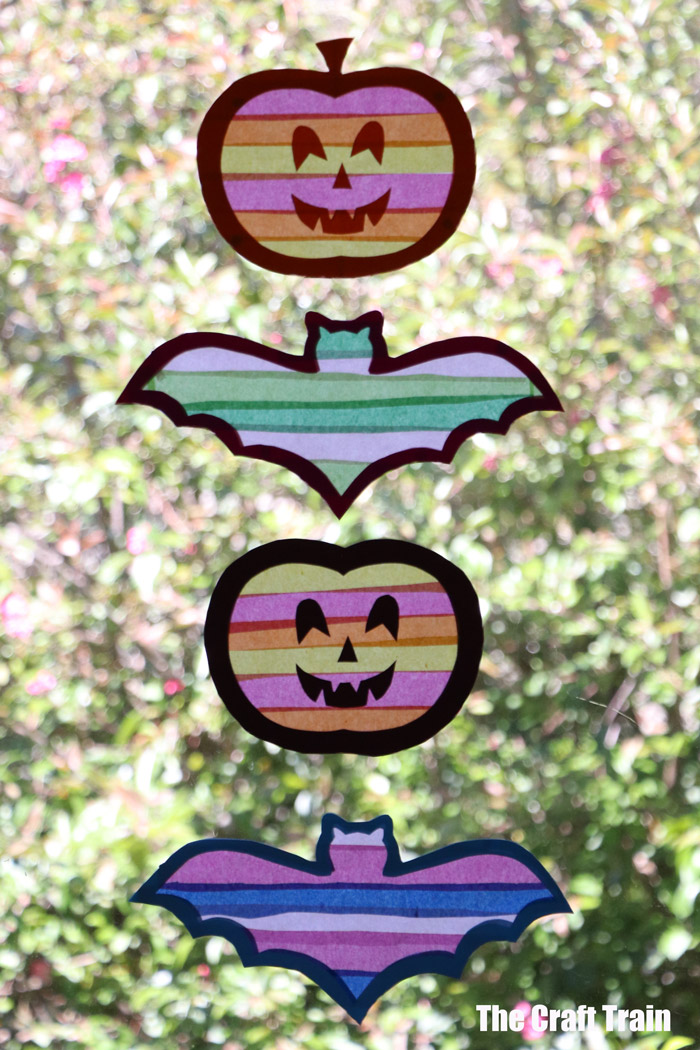
They look fantastic hanging in your window to decorate for Halloween!
This easy papercraft was first published in 2019 and has been updated and reshared for today’s audience.
Get the printable template here
Australia is a confusing country at Halloween time. Young people—especially kids—love it and fully embrace the spooky-themed fun. Older generations, who didn’t grow up with Halloween being celebrated here, think it’s just an excuse for young people to knock on their door and demand treats.
You can imagine then, it’s not easy being a parent trapped in between! Our strategy is to go trick-or-treating at the houses that are decorated for Halloween, and not at the others because we don’t want to embarrass people who’ve forgotten to purchase treats to hand out, nor do we want to annoy the Halloween grinches. We also take some treats with us so we can do reverse trick or treating along the way.
Last year, we decorated our windows with these colourful tissue paper suncatchers as a signal to trick-or-treaters. They’re such a fun way to get into the Halloween spirit!
You can use sticky back plastic for these, but I’ve used white freezer paper to save on extra plastic rubbish. When you hang it against the window you can still see the colours through the white side, but it’s not as bright as it would be if you use plastic.
How to make Halloween tissue paper suncatchers
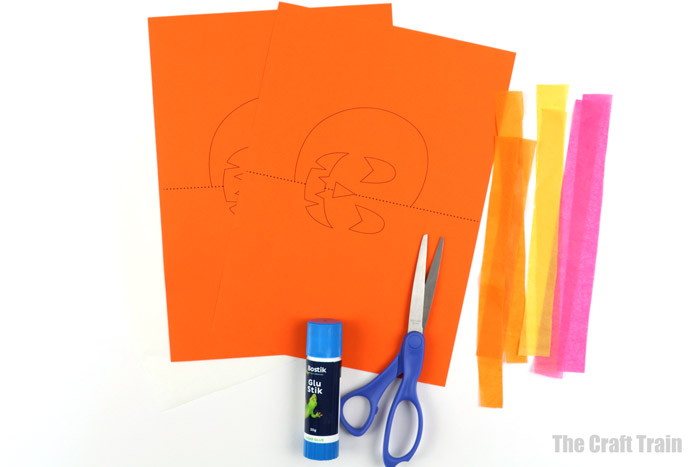
You will need:
- Construction paper in assorted colors – 2 sheets per suncatcher
- Tissue paper in assorted colors, cut into strips
- Freezer paper (or sticky back plastic)
- Glue stick
- Scissors
- Blu-tack for hanging in window
- The printable template
How to:
Print the template directly to colored construction paper. You need two copies for each suncatcher.
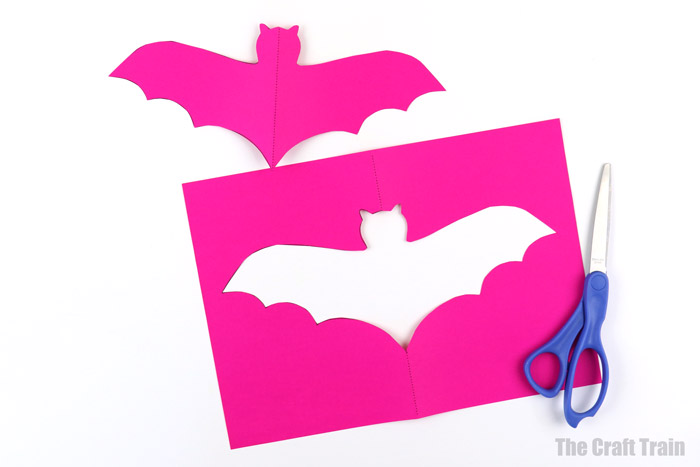
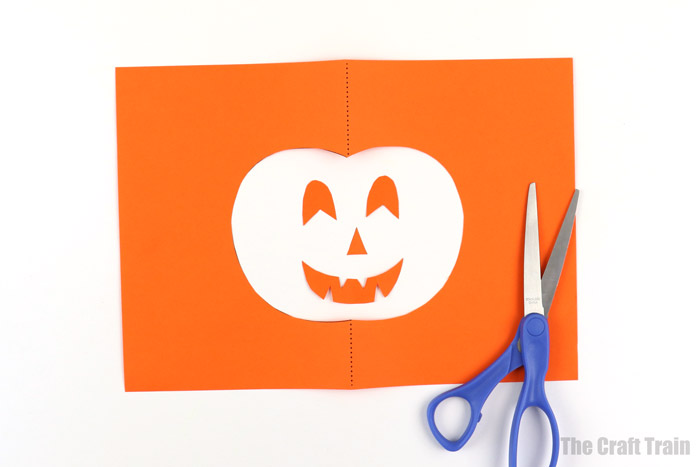
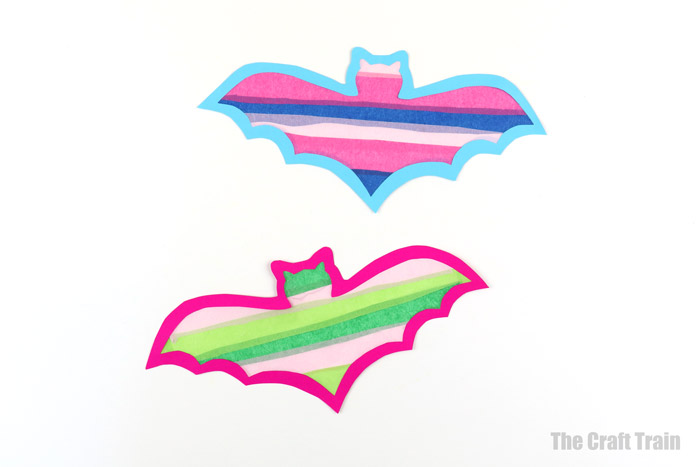
Fold one copy of the template in half and cut out either the bat or pumpkin outline.
Unfold and remove the center shape. You will now have a bat or pumpkin shaped window in the center of your construction paper.
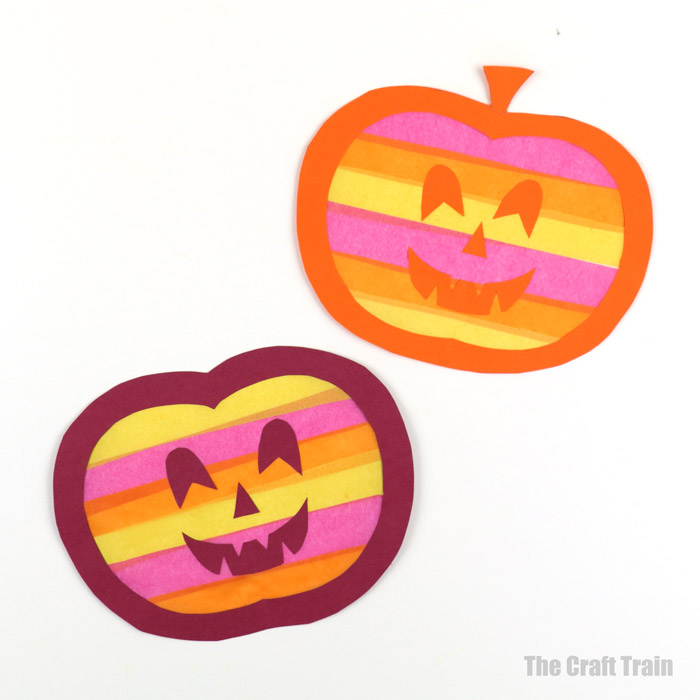
If making the pumpkin, unfold the center pumpkin shape and cut out the eyes, nose and mouth. Keep these aside to glue on later.
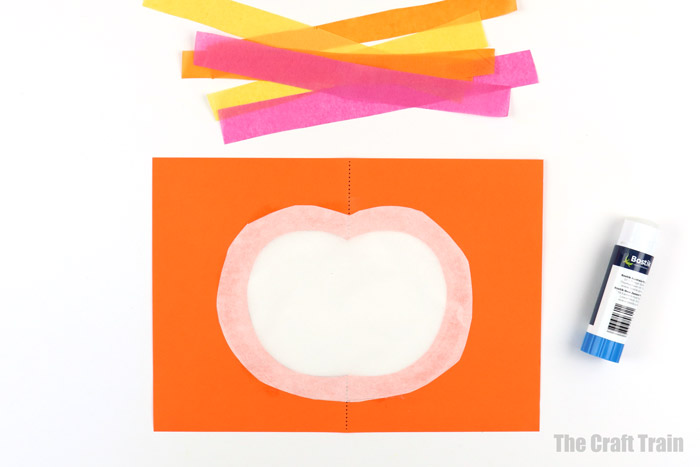
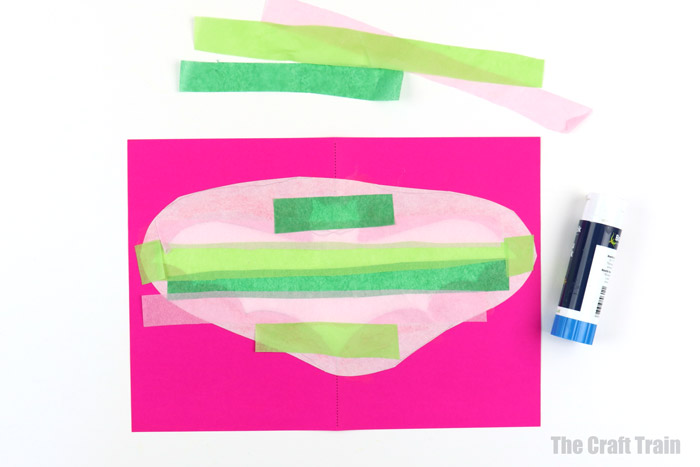
Cut out a piece of sandwich paper to be roughly a bit bigger than the window in the center of your page. Glue it over the window.
Glue strips of tissue paper over the top of the sandwich paper, overlapping each piece and completely covering the window.
Fold the second copy of the template in half and cut out the window, repeating step 2.
Unfold and glue on top of the shape window decorated with tissue paper strips.
Use a lead pencil to sketch a line around the outside of the pumpkin or bat shape to make the frame, approx 3/4” from the edge. For the pumpkin you can optionally add a stalk shape at the top.
Cut along the line you’ve drawn in lead pencil to trim the excess paper from around your suncatcher.
For the pumpkin, glue the eyes, nose and mouth onto the front before hanging up on the window with small pieces of blu-tack. For the bat, hang on window as is!
They look so cheery hanging on the window! You could make them in darker and spookier colours if you want to.
The printable template comes with full step by step instructions and photographs.
We have made similar suncatchers using tie-died paper towel in the past too.
More non-scary Halloween crafts for kids
- Make some ghost pom pom poppers from paper cups
- Here’s a spooky twist on classic yarn dolls
- Create the cutest paper roll ghosts
- We also have a paper roll black cat
- Here are 8 fun printable crafts for Halloween


Love this nice and easy craft. Thank you!