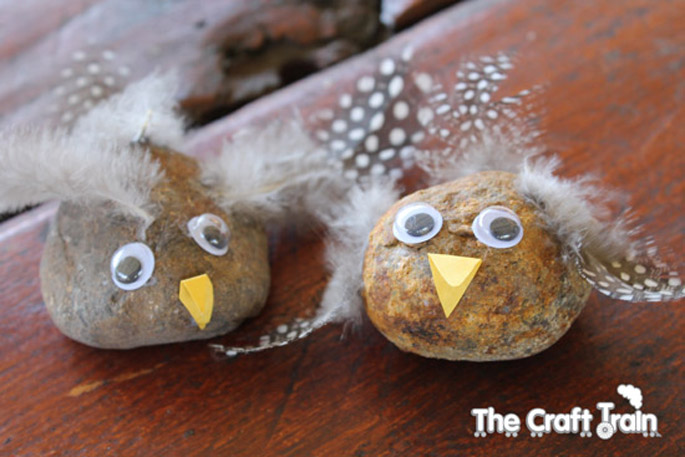
I love nature crafts for many reasons. They are environmentally friendly, inexpensive if not completely free, and you always need to go out outside into the environment to collect the pieces you’ll be using so they truly encourage an appreciation of nature in your kids. One of my favourite nature crafts that we have done in the past are these cute but very simple rock chicks that we made whilst on a farm stay holiday. My kids loved collecting the feathers and rocks as much as they enjoyed making the craft! If you click through you can see all the fun farm pictures as well as a step-by-step tutorial.
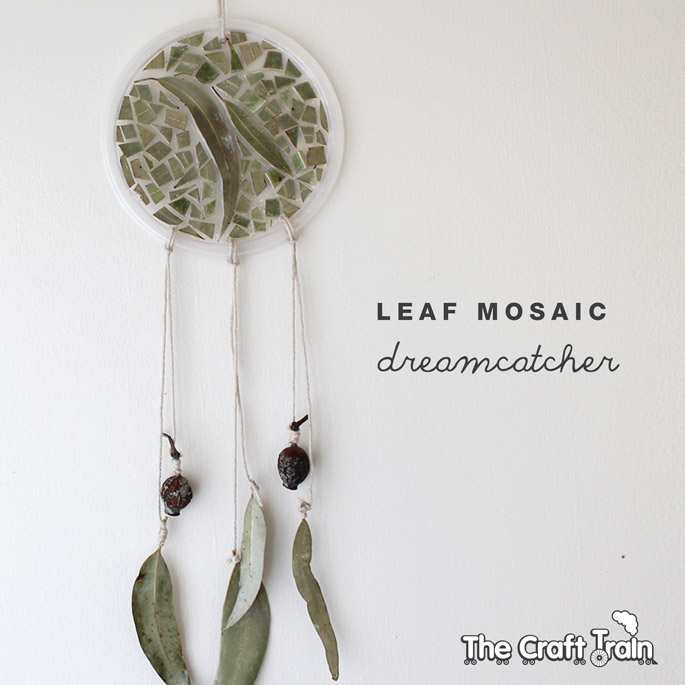
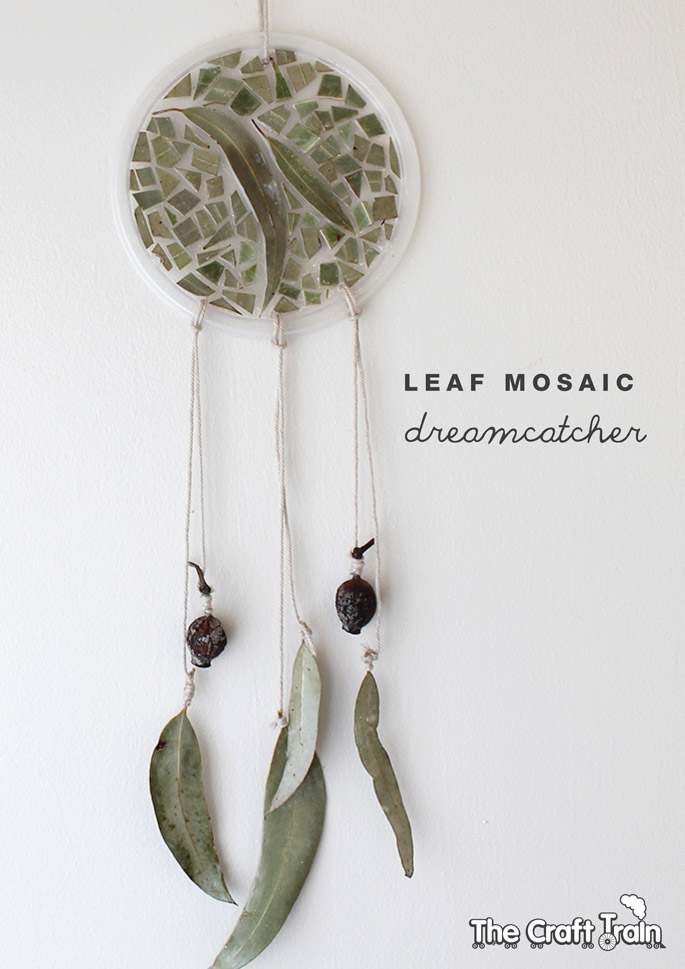
When Maggy from Red Ted Art put the call out for a nature craft blog hop I knew I had to join in. In this dreamcatcher craft (which also works as a sun catcher) I have used gum leaves, but you could use any leaves so long as they are flat. This would also be a fabulous craft to make with pressed flowers or leaves.
These dreamcatchers are very simple to make.
You Will Need
• Gum leaves, or other flat leaves – see what you can find in the garden!
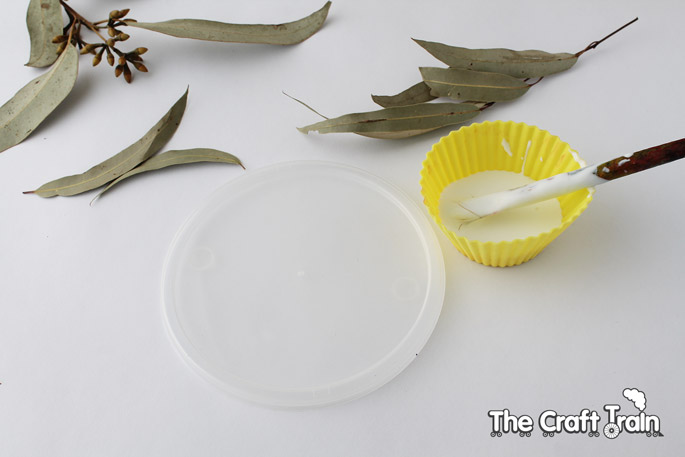
• Mod podge – if you don’t have this you can create a mix of 50% PVA glue (school glue) to 50% water for a DIY version
• A round plastic lid – like a takeaway food container lid or a plastic yoghurt tub lid
How to
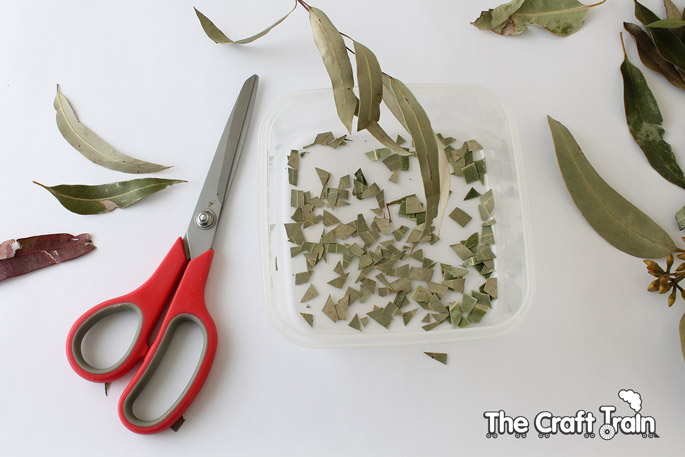
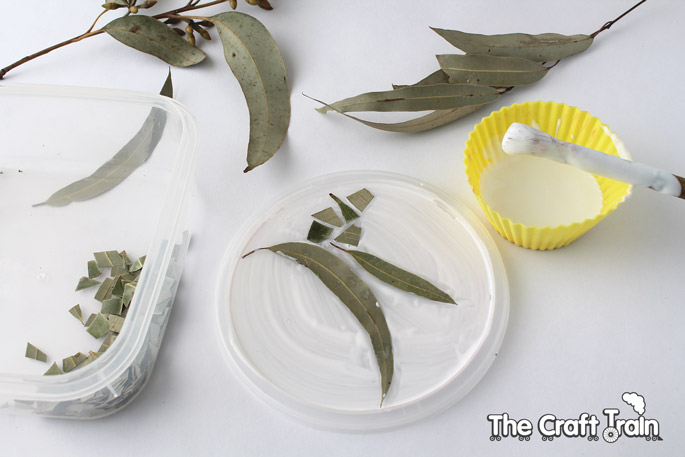
Cut the leaves up into small pieces to make the mosaic. I also chose two small leaves to place in the centre that were left whole.
Paint the lid all over with Mod Podge.
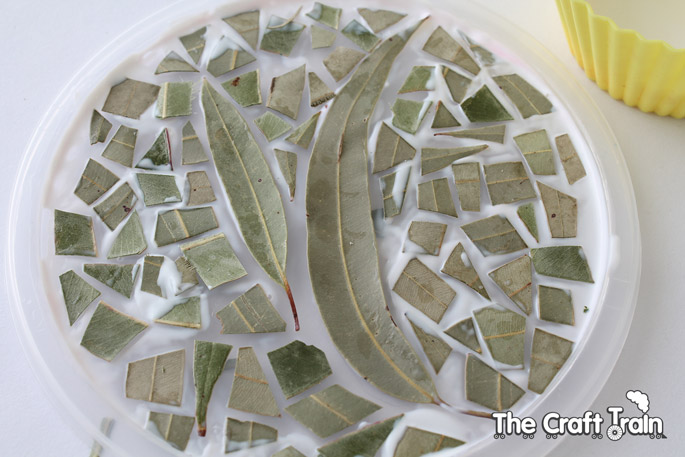
Arrange the leaves and leaf fragments to make your mosaic on the lid.
Once that has dried (time will vary depending on the weather and humidity but allow at least 1-2 hours) add a second coat of mod podge over the top, and leave again to dry.
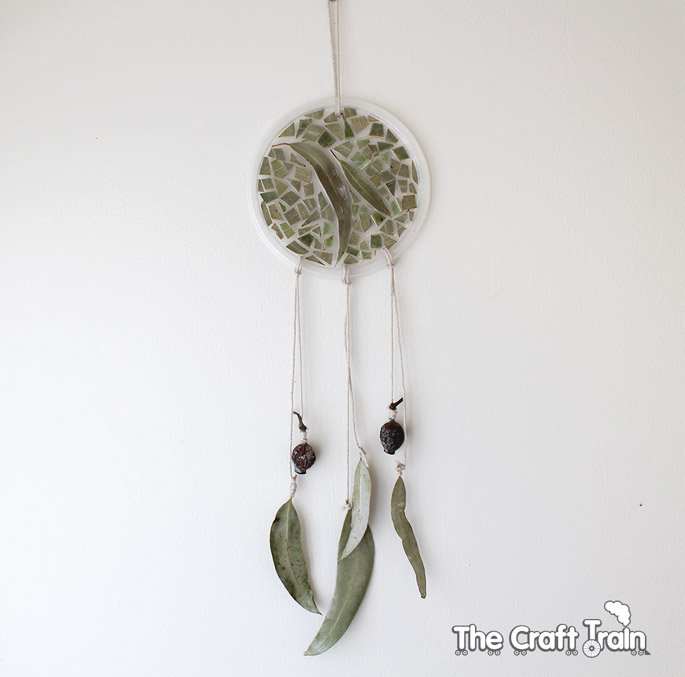
Once the second coat of mod podge has dried make holes in the plastic. I did these holes by heating a skewer over a gas flame and using the hot skewer to make holes (obviously this needs to be done by an adult). A hole punch is another option but I found that this cracked the plastic when I tried it because of the ridge around the edge of the lid and the thick coats of mod podge. I made one hole at the top, and three holes along the bottom for the dream catcher tails. Tie extra leaves, gum nuts, feathers or whatever you think works to the three holes along the bottom with long pieces of string, and one loop of string at the top to hang it with.
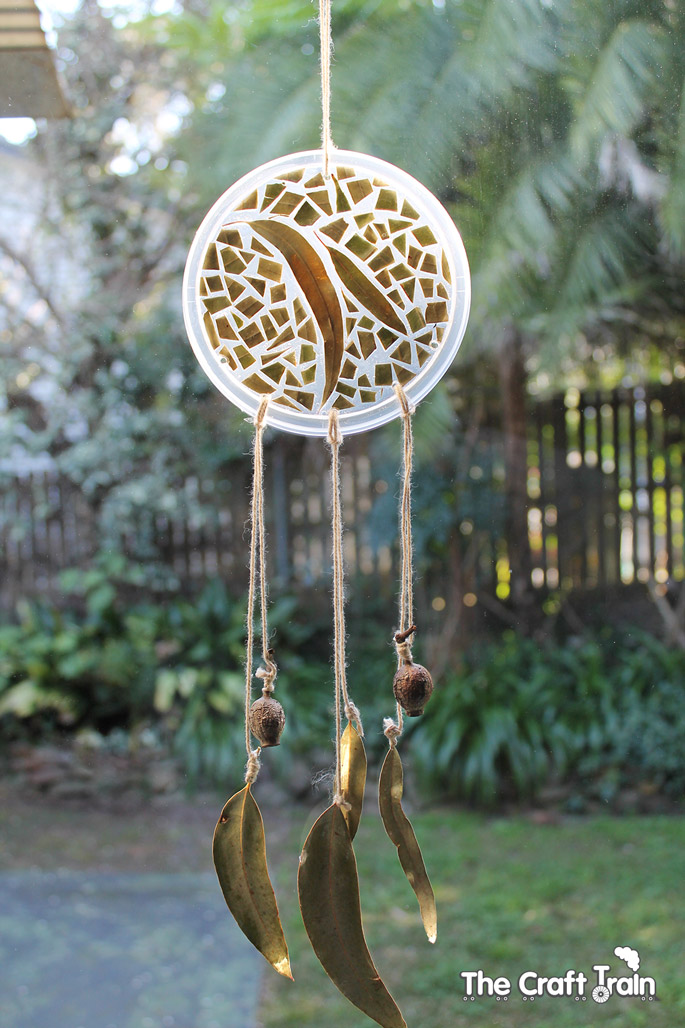
Your dreamcatcher is now complete and ready to hang on the wall or window. You can by suction cups with hooks on them inexpensively from the dollar store or from Amazon (affiliate) for hanging on the window.
Now I’m really looking forward to seeing the rest of the crafts in this blog hop! There are lots of fabulous bloggers to come and I’m sure I’m going to be inspired.
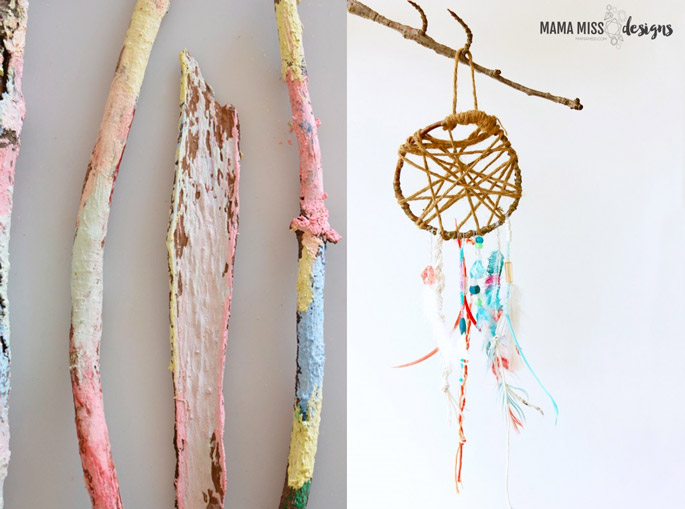
The next craft in the series is nature chalk painting over at Meri Cherry blog, and the final post in the series is this woodland dreamcatcher by Mama Miss. Aren’t they both divine?
You can also find lots more fabulous ideas on our nature crafts board on Pinterest.

Nice!!!
A fantastic idea!
Thanks a lot!
Thanks Hilke! Glad you like them
So gorgeous!!!
lindo y sencillo!!
Such a great idea! Do the leaves in the mod podge decay at all? It doesn’t seem like they would, but thought I’d ask anyway. Love it anyway! Xx
They might if you use fresh leaves of another tree type, but gum leaves are hard and crunchy.