Make a magnetic ice skating craft! This is a fun DIY toy and STEAM learning idea that kids will love.
Note: Magnets are extremely dangerous if swallowed. Please supervise young children around this craft and do not leave magnets laying around where toddlers and babies can reach.
This kids’ craft idea was first published in 2018 and has been updated and reshared for today’s audience.
You might also like our 3D polar bear paper craft
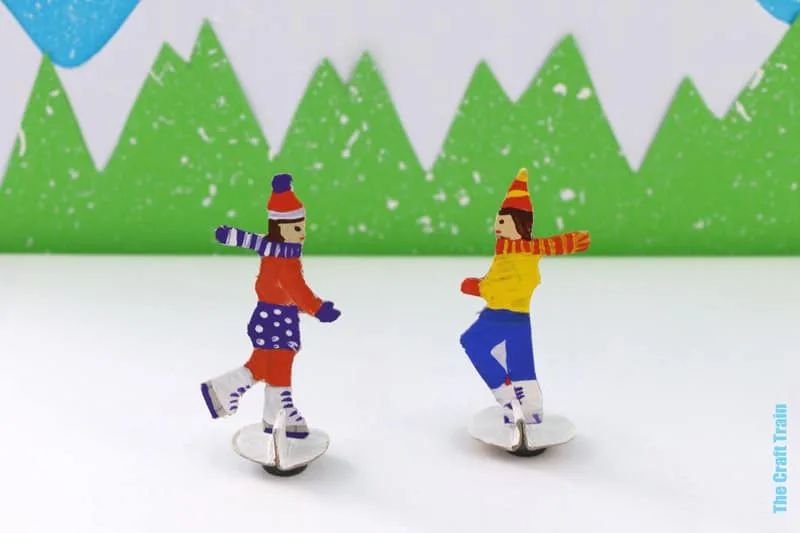
Is it cold where you live right now?
In Australia, it’s mid-summer. We did go ice skating last week but it was in an indoor, temperature-controlled environment whilst it was 42ºc outside (107ºf). It’s been hot here and outdoor ice skating is something me and my kids can only dream of.
Who knows? Maybe we’ll get the opportunity to try it one day and see a frozen lake in real life.
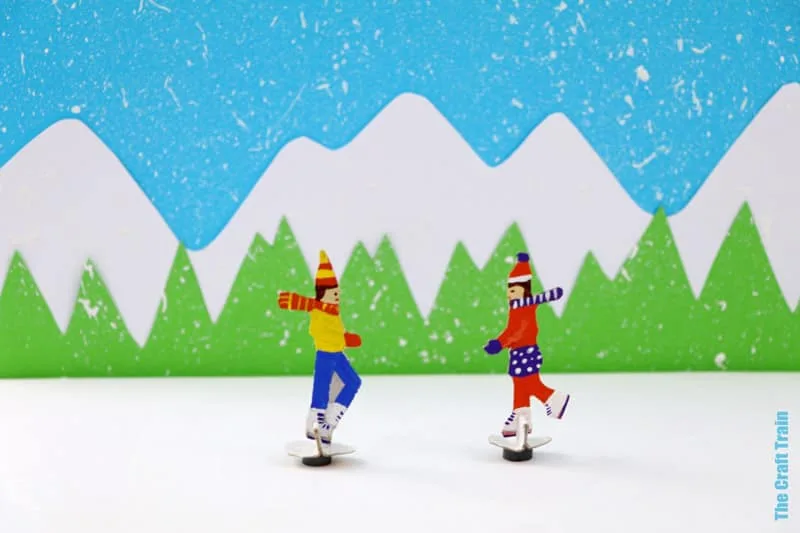
In the meantime, we’ll make our cardboard characters skim and twirl across the “frozen lake” cereal box against a backdrop of snowy pine trees and mountains. It’s practically as good as the real thing!
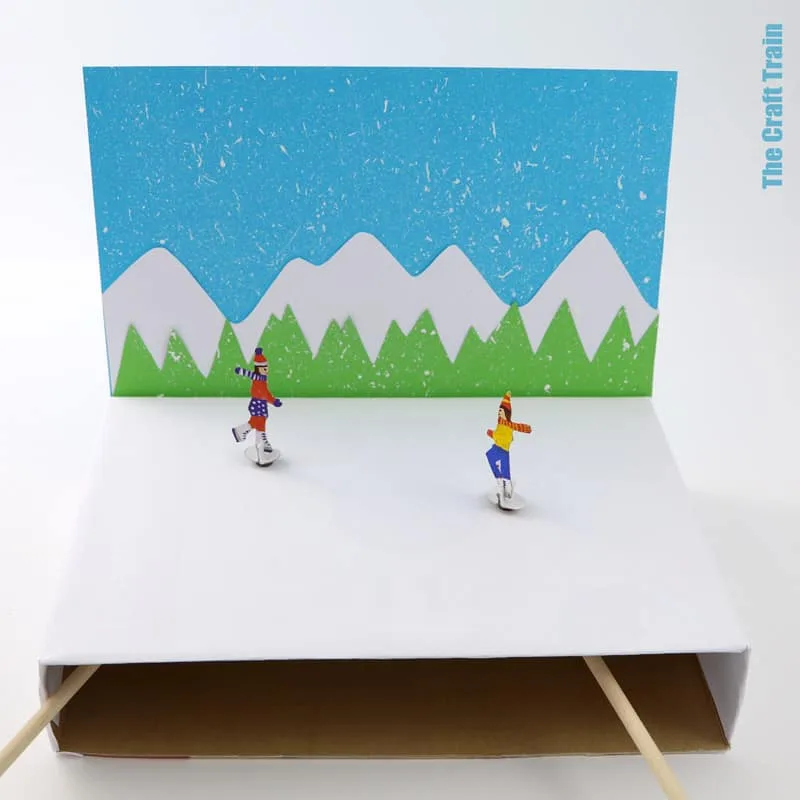
How to make a magnetic ice skating scene
This magnetic ice skating craft is easy to make but it’s a little time consuming because you need make several different parts and pull it all together. It’s worth it though for the cute little cardboard theatre you get at the end, and if you’re cooped up indoors due to the extreme cold (or heat), you may as well be crafting!
You will need:
• A small cereal box (it needs to be the same size or smaller than a sheet of construction paper)
• Construction paper in blue, white and green
• Large sheet of white paper (ours is A3 size)
• Extra scrap cardboard for the characters
• Dowel rods or chopsticks
• Extra strong small magnets – these ones look similar to what I used
• Paint
• Glue stick
• An old toothbrush
• Hot glue gun
• Scissors
• fine paint brush
• lead pencil
• Ruler
How to:
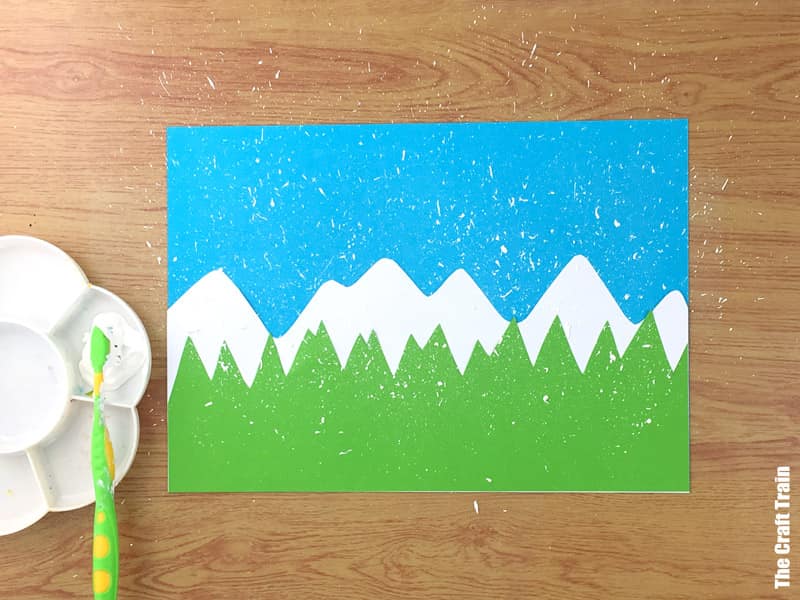
Making the winter scene:
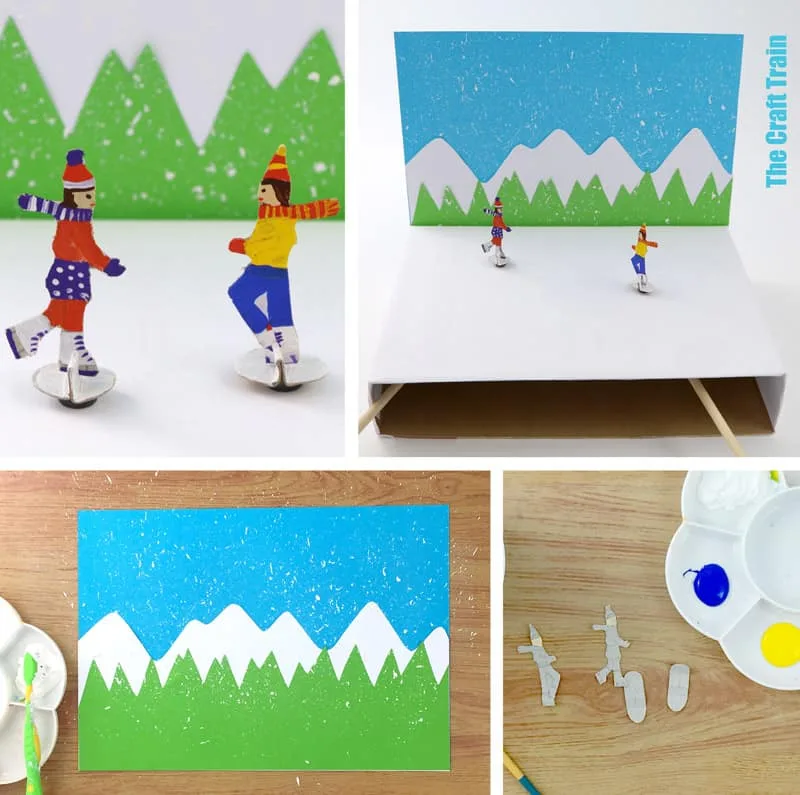
- Sketch a few mountains about halfway up your white sheet of paper and cut them out.
- Sketch some zig zag pine trees about a third of the way up your green sheet and cut them out.
- Glue the mountains on top of the blue sheet of paper and the pine trees on top of the mountains using your glue stick.
- Dip an old toothbrush in some white paint and use it to create snowy splatters across your winter scene. It’s a good idea to place some newspaper underneath first.
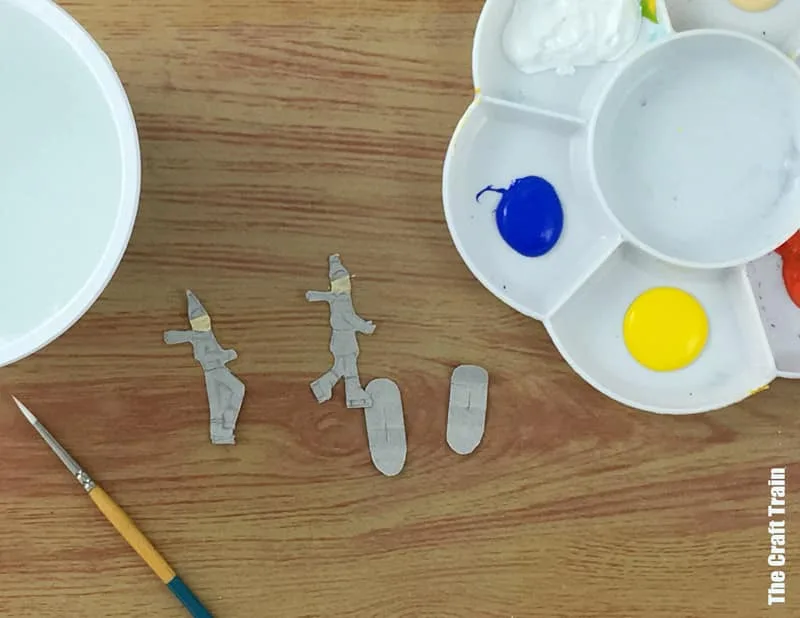
Making the characters:
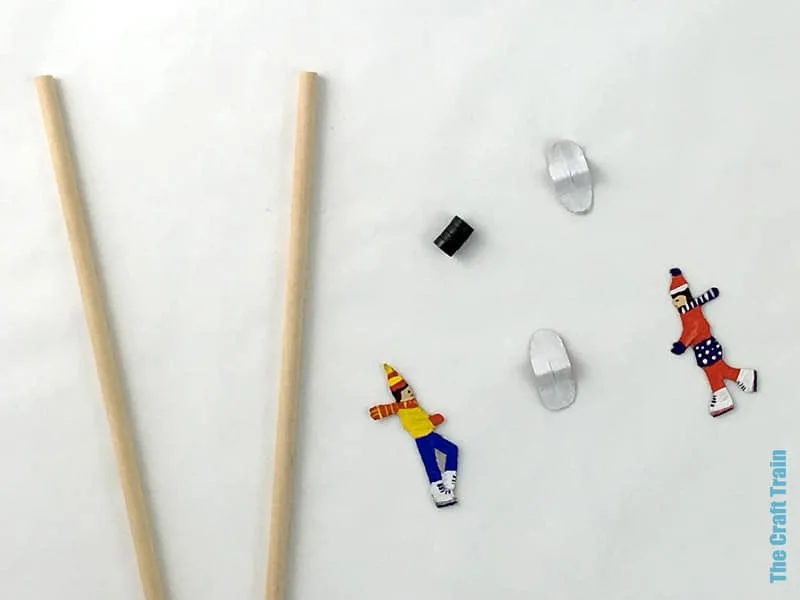
- Sketch some small people in skates and winter clothing onto a piece of scrap cardboard. Mine are approx. 5cm (2 inches) in height. Cut them out.
- Make some small stands for your characters. These are little strips 3cm x 1cm which are folded in the centre with a little slit cut in the middle to slot the cardboard skater into. The ends are rounded and folded flat against the ground.
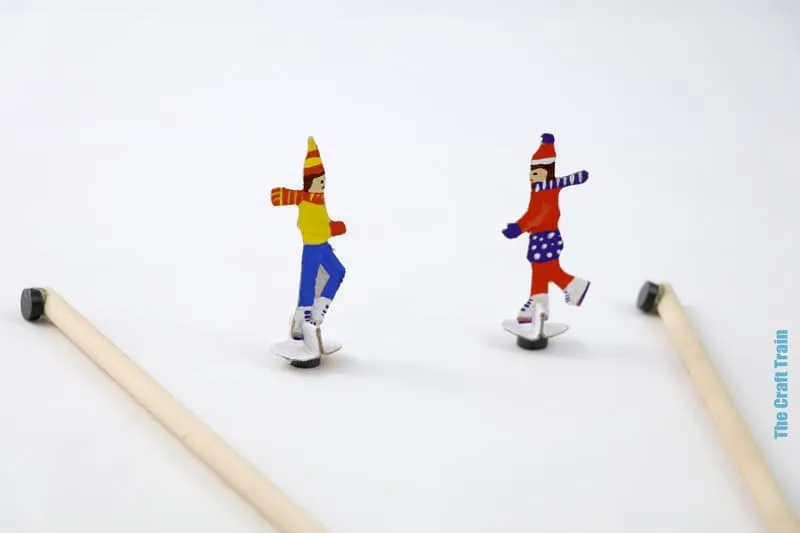
- Paint and decorate the characters on both sides, and then paint the stands white. Allow the characters to dry before adding the magnets with hot glue.
- Glue the centre fold in the cardboard stands together with your glue stick, the hot glue the magnet to the base.
- Lay the magnet flat and add a dab of hot glue, then press the end of your dowel rod into the glue.
Making the frozen lake:
- Cut one of the sides (the narrow side) out of your cereal box, then make sure all other three sides are sealed shut. It should have one gaping hole to poke the sticks into.
- Cover the box in a large sheet of white paper.
- Glue the winter scene to the back of the “frozen lake”
Now play!
More Fun STEAM crafts for kids:
• Make a balloon-powered sponge boat
• This coat hanger catapult is always fun
• Create your own solar oven from a cardboard box
• Make an iphone speaker from a cardboard tube
• Make a fun paper cup and plate construction set and let the kids go crazy building with it
Winter paper craft ideas
