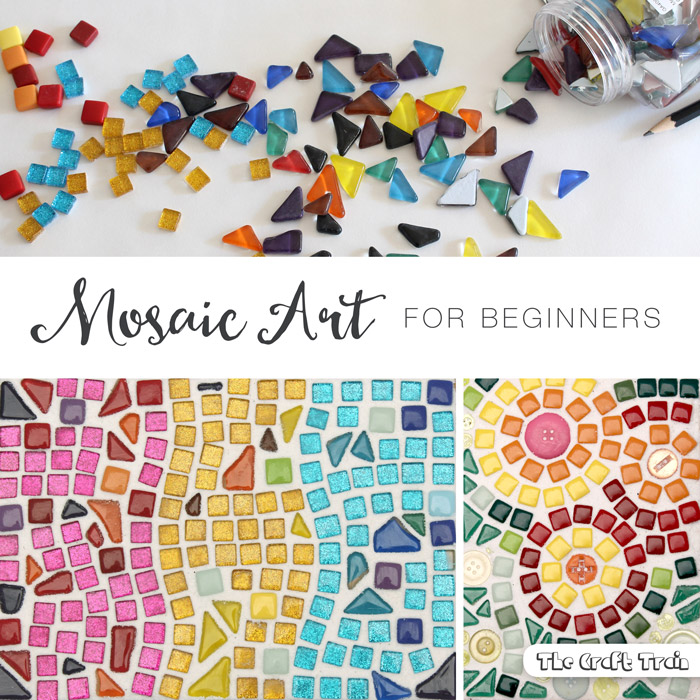
Today we’re looking at how to make traditional mosaic art for beginners. This is a craft my kids really wanted to try, and I have to admit mosaic art is something I’ve also always wanted to try myself!
This post is sponsored by Clever Patch
Recently we were asked to select any item we liked – that’s right, anything we liked – from a bulging fat catalogue of art and craft supplies belonging to Clever Patch. This is a very exciting thing for a craft blogger, but also very difficult because my head was spinning with all the different possibilities of things we could make.
It happened that we had just been to see a gallery display by a local mosaic artist and had been inspired by some of her wonderful designs, so in the end we decided to go with mosaic supplies. The girls love small things that sparkle and they were particularly excited to try their hand at this craft. When they saw that the tiles came in mini glitter colours they had their minds well and truly made up, mosaics it was!
Mosaics are a traditional craft which you can’t just pull off in a half hour, they take time, patience and planning to create which was a good test for my girls who are aged eight and six. My eight year old ended up completing two mosaics whilst my six year old designed one but then lost concentration when it came to gluing all the tiles down on to the base board (which I ended up helping with), but that is totally understandable for a child this age.
So based on our experience I’d recommend this craft for kids aged eight and up. Adults will love it too – you are never too old for mosaics. For younger kids you could always try foam mosaics or pattern blocks.
I have to be honest with you. I have always wanted to attempt mosaics but have never gotten around to signing up for a course, so I was a little bit nervous as to how ours would turn out. After doing a bit of research I discovered that they are quite easy, and we kept ours simple by not using tile cutters to cut the tiles down into fragments. In the end we were all quite happy with how they turned out.
Here are our tips if you’d like to attempt mosaics at home:
You will Need:
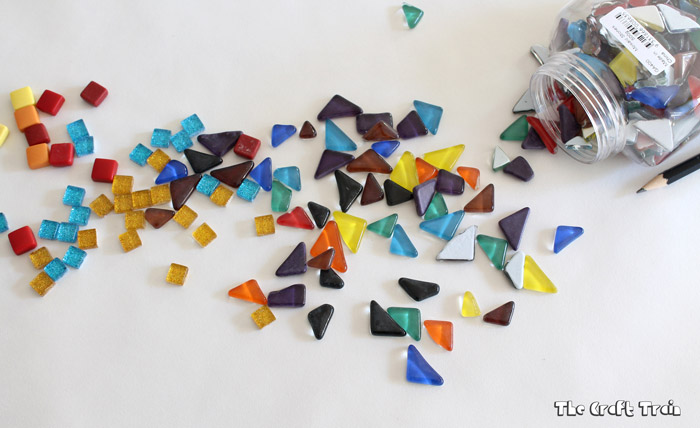
• Mosaic tiles – We selected some glass block mosaics, some glitter glass mini mosaics (the kids chose those) and to break up the squares a bit I also asked for some irregular shaped mosaic stones
• Don’t feel limited to tiles alone. We also added in some coloured buttons which I had in the cupboard and some beer bottle caps painted inside with nail polish
• A baseboard – you can make mosaics on all sorts of things like picture frames, vases and plant pots but we decided to keep it simple and used some A5 wooden project bases
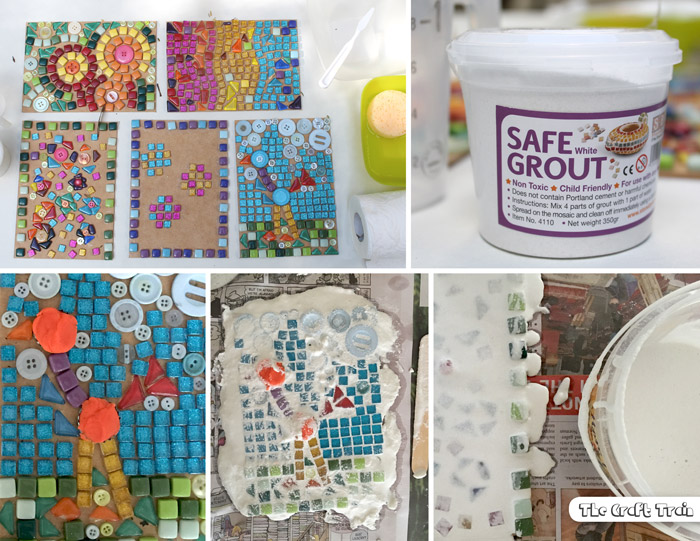
• Grout – if you are crafting with kids you should do the grouting yourself or use kid-safe grout due to chemicals and dust that can be inhaled whilst doing this. If using traditional grout be sure to wear gloves and a dust mask.
• Glue – You can buy specialty mosaic tile glue or you can also use regular tacky craft glue (which is a better choice for kids due to it being kidsafe and non toxic)
• A knife or similar for mixing and spreading the grout on with (I used a large craft stick)
• A sponge or cloth to wipe the excess grout off with
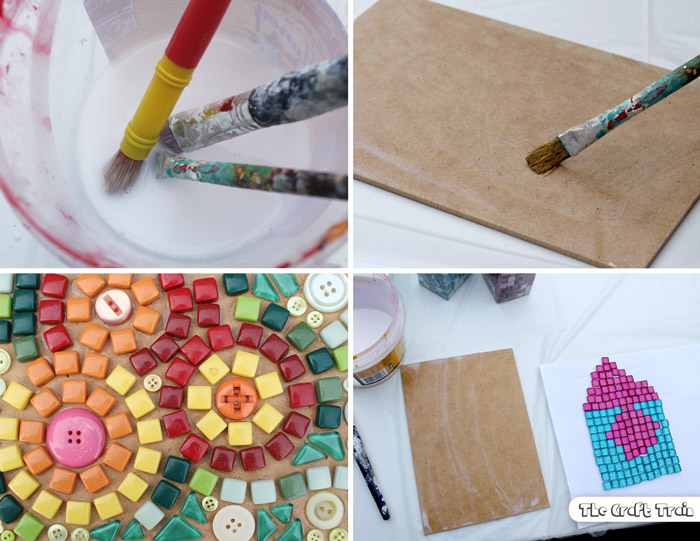
• DIY mod-podge to seal the wooden surface before gluing the tiles on – create a batch by mixing 1 part PVA glue with 1 part water and stir. This keeps well in a sealed plastic container.
How To:
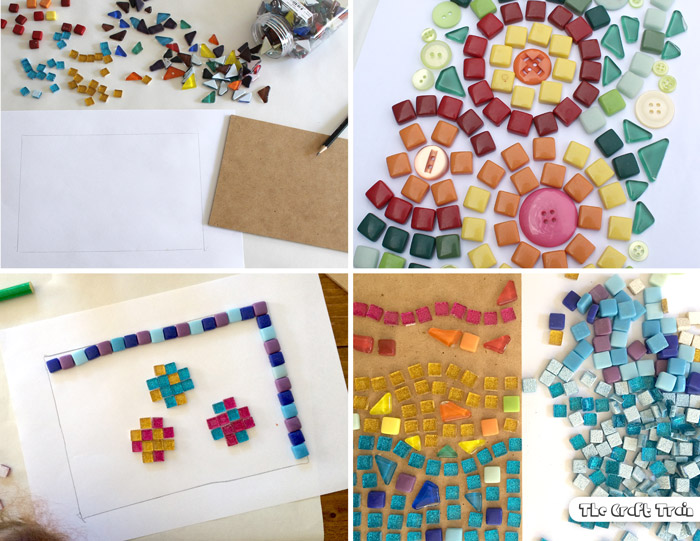
To begin with It’s a good idea to plan out your design. You can do this by tracing around your art board on a piece of paper to get the correct size and designing your tiles to fit the space. Alternatively you could design the layout of your tiles on a second baseboard and transfer them over to the first one once you are happy with it.
Once your design is laid out it’s time to glue the tiles onto your baseboard. When creating mosaics on a wooden base you should seal the wood first, which is where the DIY mod podge comes in. Paint on one coat and allow to dry. Once dry you can apply the glue directly to the back of each tile with a brush, gluing the tiles down one at a time, or you can apply the glue across the whole surface and just stick the tiles straight on in your pre-planned design.
It’s best to wait 24 hours to allow the glue to dry completely before adding the grout. When you are ready set out some backing paper or a plastic tablecloth to protect your table surface before mixing up a batch of grout according to the directions on the label.
Grouting your mosaic is just like adding frosting to a cake, it gives it that finishing touch. To add your grout you just tip it on to the top of the tiles, scrape it across so it goes down in between all the cracks, and then use your sponge or cloth to wipe it off the surface of the tiles immediately whilst it is still wet. I found that each and every tile needed a second and third polish with a dry cloth to get them back to being nice and shiny. When it came to adding grout to the design which used upside down beer bottle caps I filled them with play dough first to stop the grout getting stuck in the crevices.
The grout will then take another 24 hours or so to dry completely leaving you with a finished mosaic artwork.
Our finished mosaics
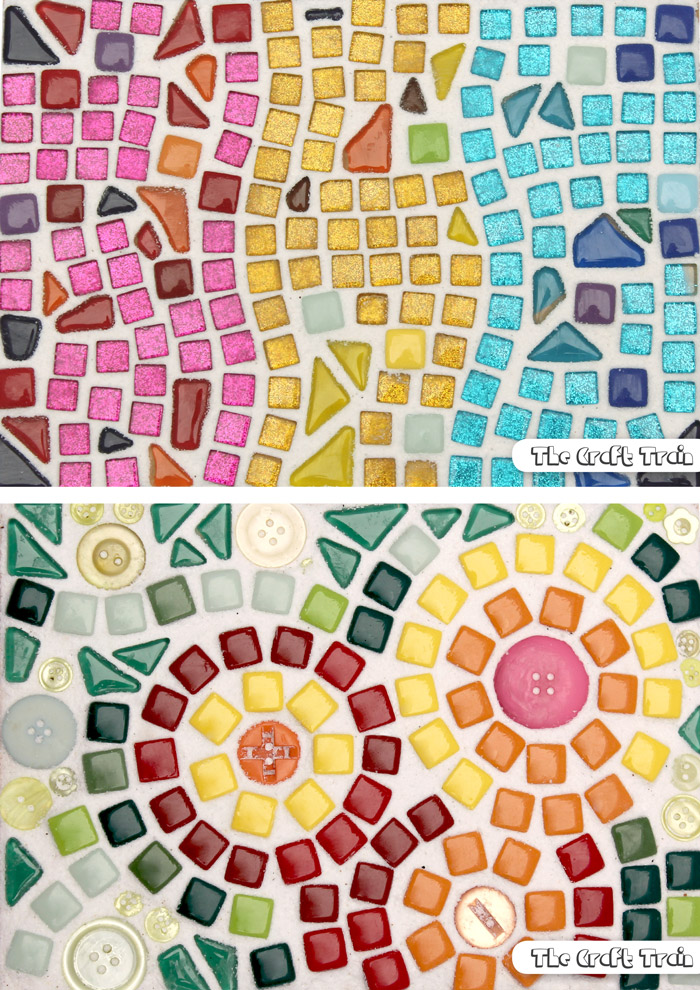
These are my own tile designs…
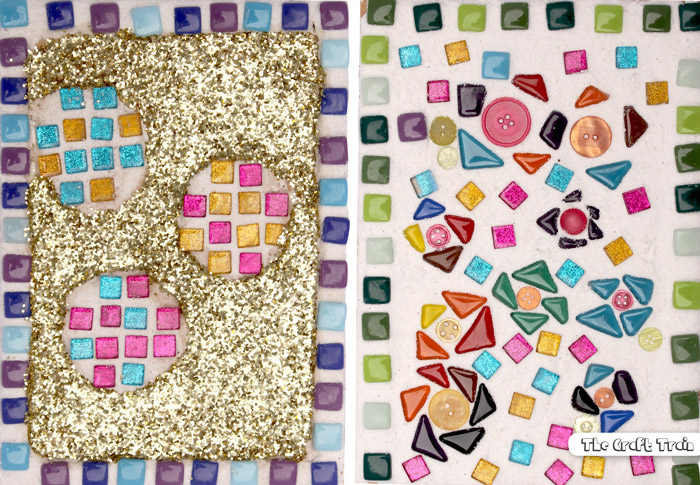
Below are two mosaics by Miss R, my eight year old. The design on the right is a garden and the one on the left is some choc-chip cookies. She was adamant that she wanted glitter all around the cookies instead of more tiles. To add the glittery background the surface was painted with a layer of glue and then covered liberally with glitter, to get rid of any excess tip it out over a pice of paper which you can then use to funnel back into the container. Once the glue was dry we added a coat of our DIY mod podge on top of the glitter to seal it and stop any remaining loose flecks from getting everywhere.
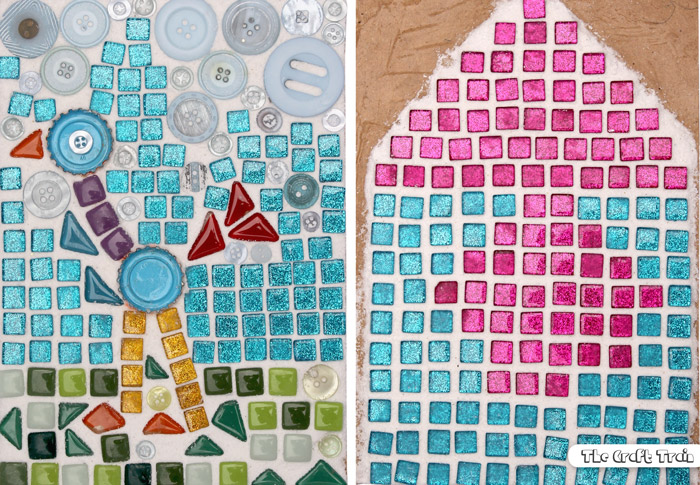
The artwork on the left is another one of mine. The one on the right is miss K’s birdhouse design.
Have you created traditional mosaics before? I can see why they are such a popular craft, the patterning is relaxing and the finished effect is very cool.
You might also like:
• Create a braided paper bracelet using liquid watercolours and newspaper
• Try your hand at foam mosaics (a fun idea for younger kids)
• Use broken leaves and a plastic lid to create an eye-catching gum leaf mosaic dreamcatcher
• Use this method to create the quickest and easiest fluffy, round pom poms
• Make some fun weather rocks for learning and play
Pin It:


Those Mosaic tiles are absolutely STUNNING! They really do create such beautiful statement pieces.
They look fabulous! So pretty 🙂 I’m going to check these supplies out because I can see the kids loving this project! And pinning
I’d love to try this when Miss M is a bit older! I think I’d enjoy it too. And love CleverPatch! They have so many great things xx
The choc chip cookies were certainly my favourite but I loved how all of them turned out. No mosaics training needed, just patience and creativity!
Just gorgeous! I can’t believe how may delightful projects have been added to my dragon-do list! Thanks for the tip about wiping multiple times to get the tiles shiny!!
I love the mosaics you have created. I have just started doing mosaic and am enjoying it immensely. Your girls creations are fantastic. Happy crafting!👩🏼🎨
That’s fantastic! We loved the mosaic making too
Hi! I was wondering why do you do the Mod Podge step? I’m curious how it helps prior to the tile application. If anything, I’d think it would impede adherence and cause tiles to peel off. Please advise as soon as you’re able. Thank you!
We did that step to seal the wood (although maybe with that particular type of wood – which has a shiny coat already – it might not matter). It keeps the moisture out of the backing board and improves the sticking power of the mosaic glue.