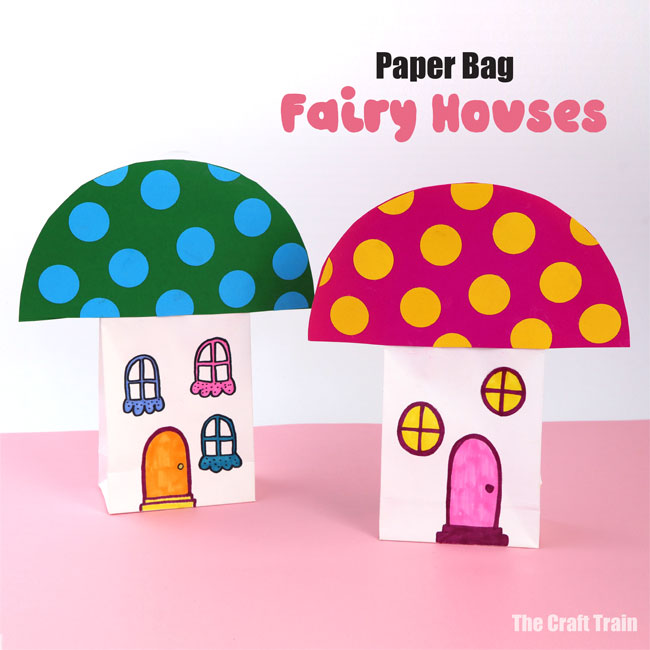
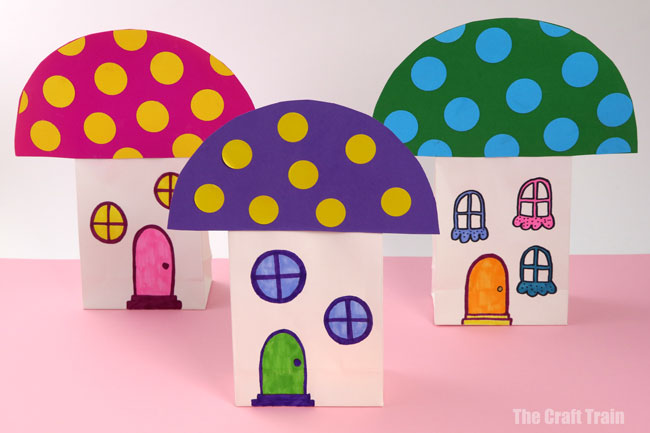
Make some sweet paper bag fairy houses that the kids can use in imaginative play games.
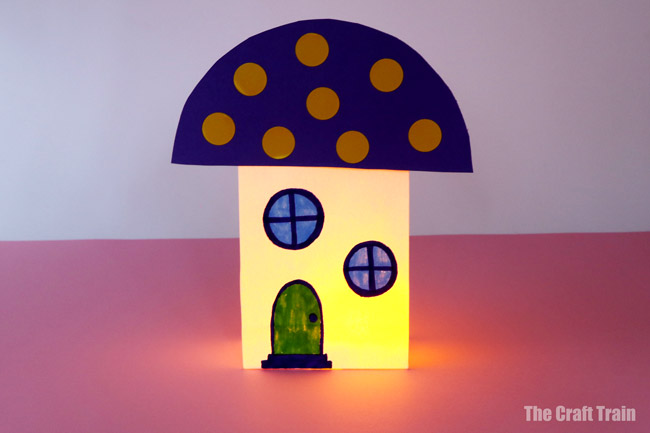
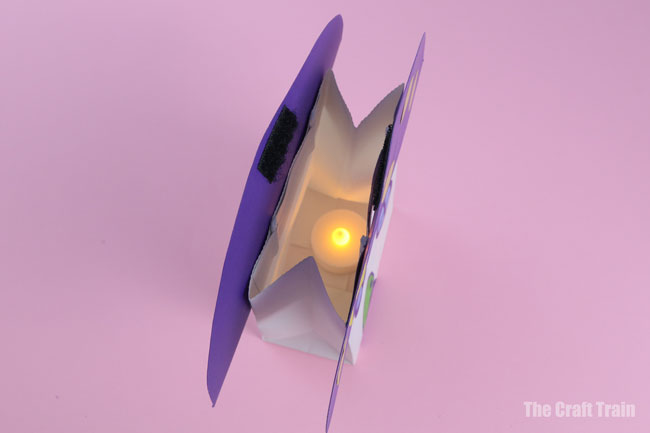
BUT that’s not all – if you place an LED tea light inside these fairy houses they light up and glow in the dark too.
I’ve had a stack of white paper bags on my shelf for a long time, with the crafty intention to “make something” with them at some point. Please don’t ask me how many other things I’ve got stashed away and stacked in cupboards for the very same purpose, haha (my husband calls me “the hoarder”).
We do love fairy crafts here at The Craft Train, so I decided to finally put them to good use as cute DIY fairy houses which also work as lanterns.
This is something kids could easily make, and there is plenty of room for creative licence when designing and decorating your individual house.
Here is how to make one…
How to make a Paper Bag fairy house
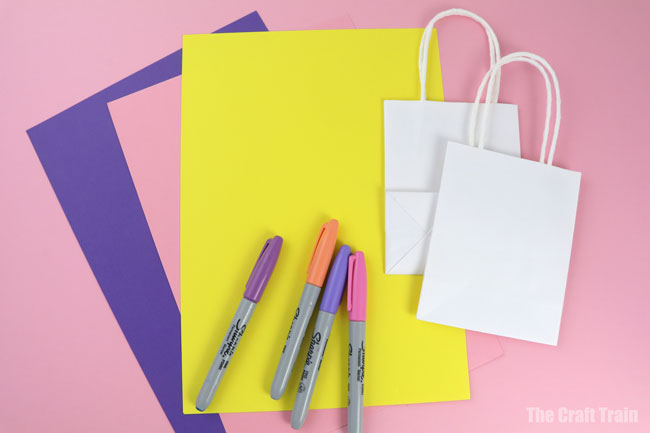
You will need:
• white paper bags with a rectangular base so they can stand up (small size)
• construction paper in different colours (we have used card stock)
• sharpie markers or felt tip pens
• glue stick
• velcro sticker
• scissors
• large round hole punch to make the toadstool spots (we tried dot stickers but they peeled off too easily)
• LED tea light candle
How to
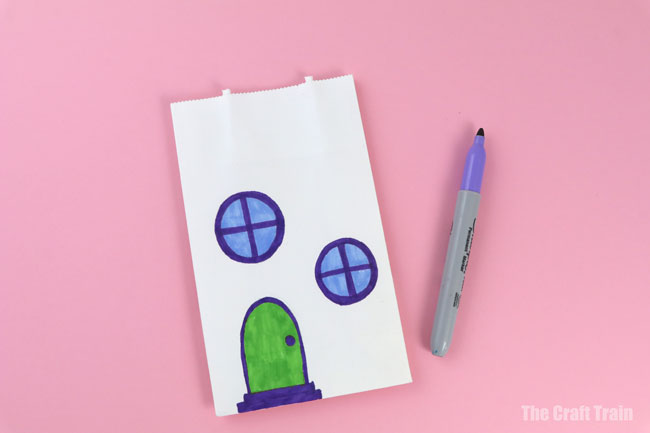
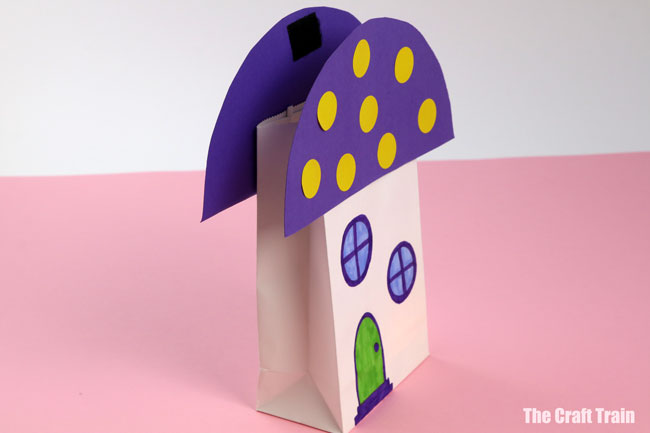
Snip the handles off the top of your paper bag and draw two windows and a door on the front.
Fold a sheet of construction paper in half.
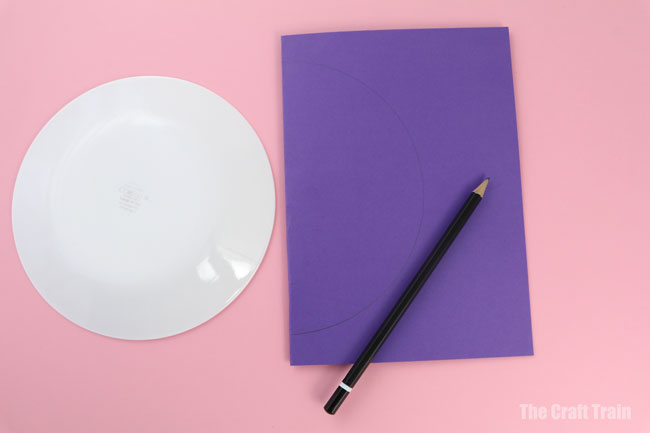
Use something round (I’ve used a saucer) to trace the shape of a toadstool against the fold.
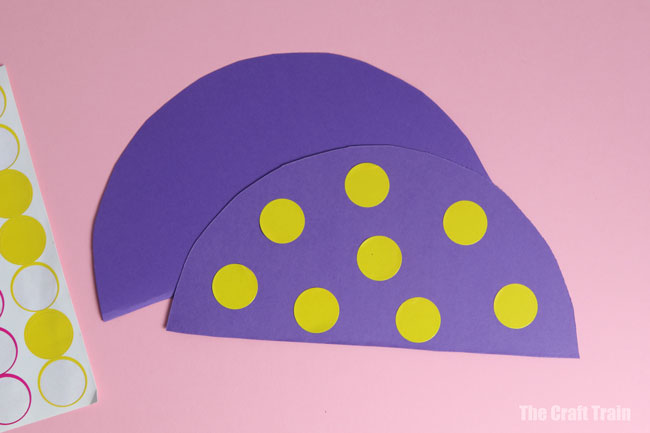
You will be left with a plate-sized circle. Cut it in half along the fold.
Decorate with spots. We tried both dot stickers and spots from a different coloured piece of construction paper cut out with a hole punch.
We found the dot stickers peeled off way too easily, so I’d suggest using a hole punch to create the dots and glue them on with your glue stick. Alternatively you could paint or draw them on.
Glue the spotted tops onto your paper bag to make a mushroom roof. Place a velcro sticker on the inside top of each so you can open and close the bag to place your LED tea light inside (and take it out again to switch it on and off)
Ta-da! That’s all there is to it.
Now you can go and make a whole village! But look out, the garden fairies might move in.
More fairy crafts you might like:
• Make a craft stick fairy castle with some mini craft stick fairies to live inside it
• Use our printable template to create washi tape fairy wands
• A cardboard box can easily become a flying fairy car
• Have you ever made a fairy garden?
• Here are some printable fairy letters (great for imaginary play or writing mini letters to friends)
• If you have any Rainbow Magic Fairy fans, they will love these fairy spoon ornaments based on some of the characters from the book series


Wow…this is just amazing!! I never know such a cute paper bag can be made so easily with those simple tools. Many many thanks for sharing this cute idea with us.
Thanks, I’m so glad you like them!
This is such a fun article. I have never tried a paper bag craft but this is a great inspiration!
Give it a try!
Modifying this a bit for our curbside Craft N Go. Since Covid, all our library programs are a bit different!
This will be a fun craft for the kids to pick up, take home and create.
Thank you again!