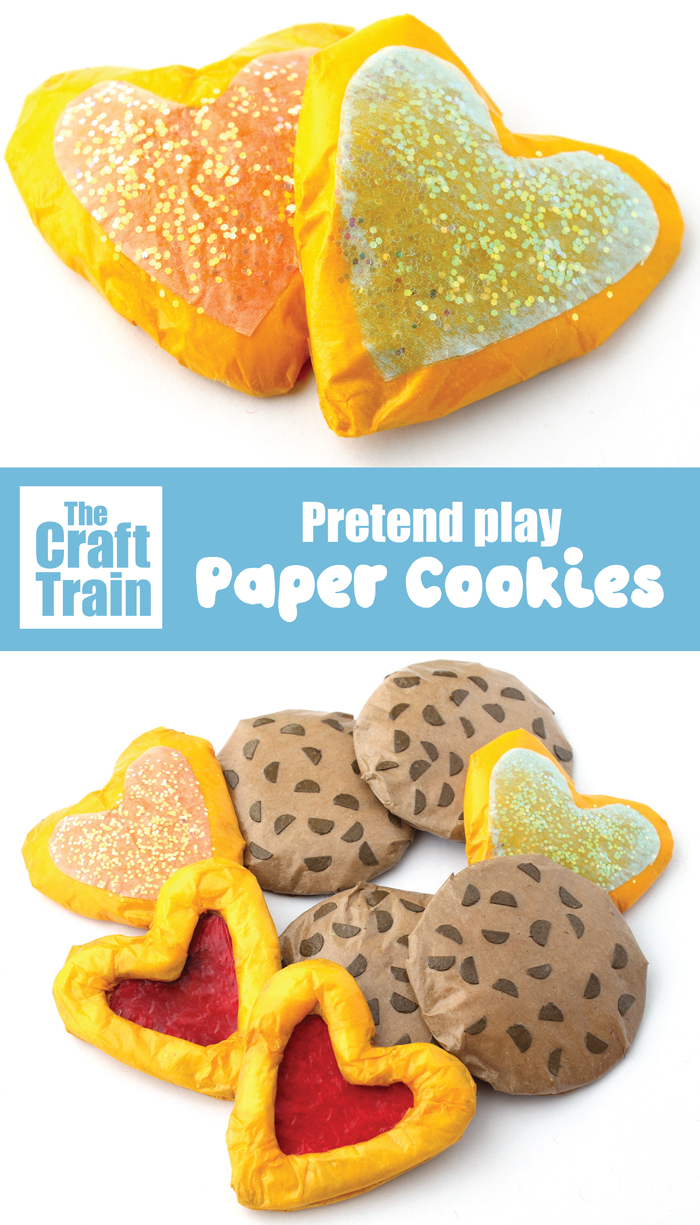
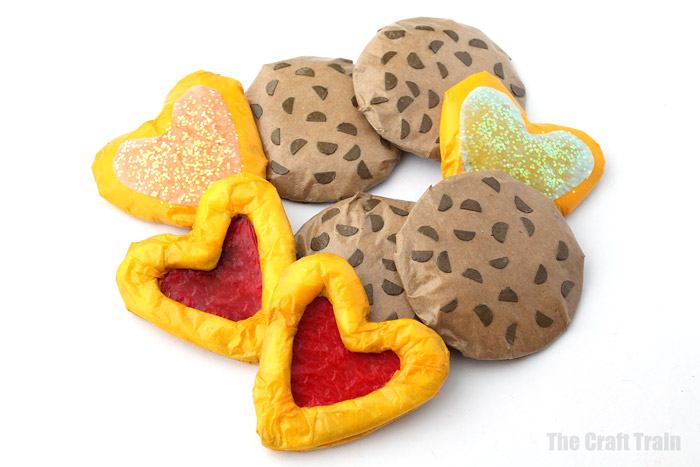
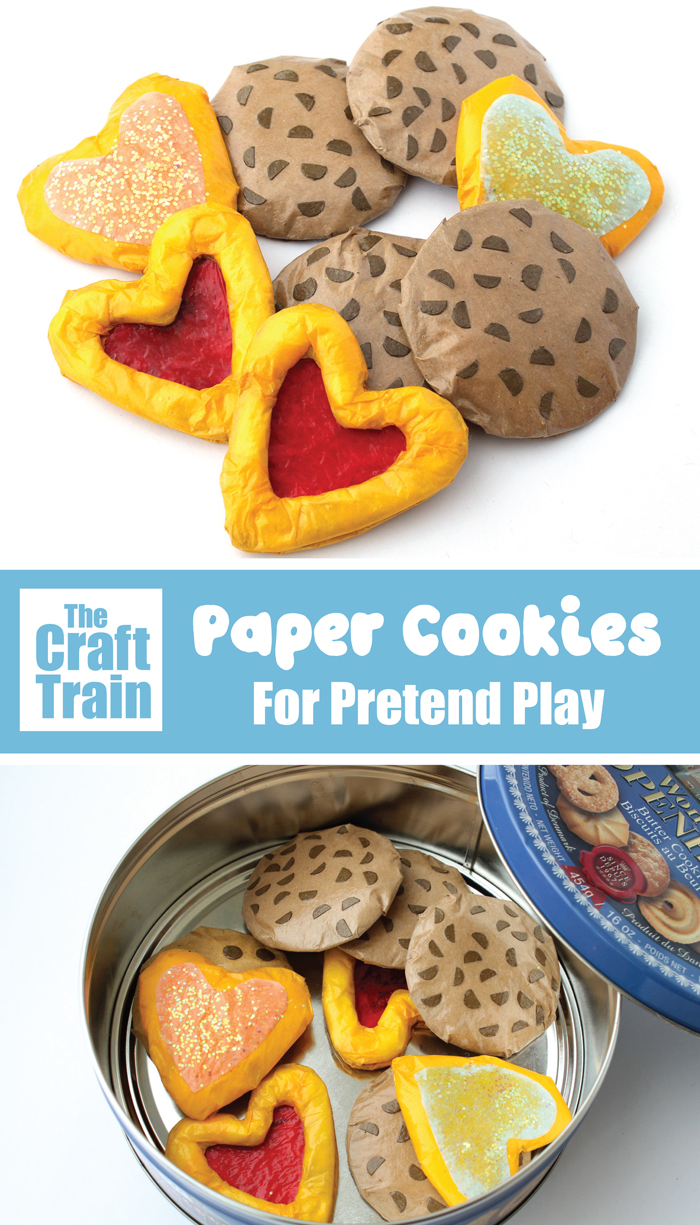
Here are some pretend play cookies you can make using PAPER.
I originally created these for my girls when my youngest was going through a pretend cafe phase – for about three years!
Literally every day she would set up an elaborate cafe in the lounge room complete with a kid-made “menu”. She would serve me up my favourite dish of pasta and meatballs with a side of sparkly grilled fish. Then she would follow it up with a feast of delicious beautifully decorated sponge cakes and rock cakes.
Needless to say she loved these paper cookies, and although you wouldn’t think they’d last very long being made of paper, they did!
Our cookies ended up being used in frequent toy tea parties and cafe games for years, eventually being tossed out in relatively good condition because the girls had grown out of them.
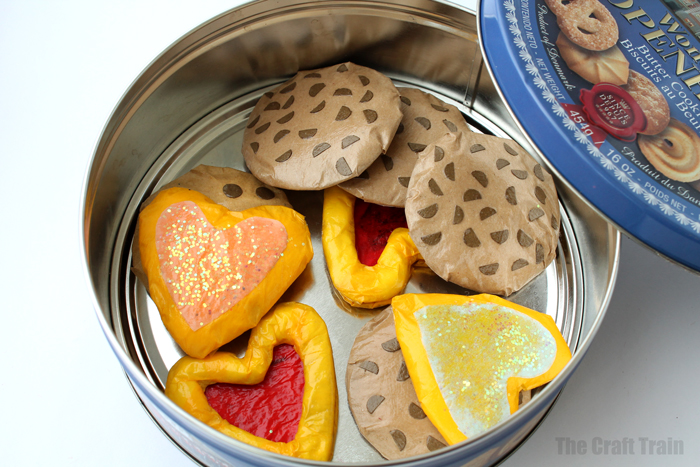
We stored our cookies in a recycled butter cookie biscuit tin and put them in the pretend play kitchen.
There’s something special about hand-made pretend play food. It’s so much better than that cheap plastic stuff you get from the department stores don’t you think?
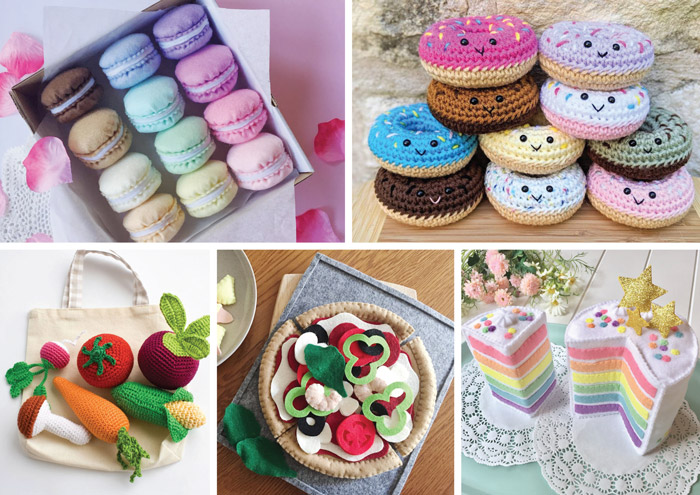
Here are some more fabulous pretend play food creations from ETSY.
Photo credit:
Felt macaroons from Made by Claire Louise
Happy crochet donuts from Baby Cakes Studio
Bag of crochet veggies from Freja Toys
Make your own felt pizza set by Made by Claire Louise
Rainbow birthday cake by Burnt Gingerbread Yum
You can make some paper cookies with your kids as a craft activity, or make them for your kids as a DIY toy. Here’s how…
How to make paper cookies
you will need:
- heavy recycled cardboard – for example a flap from a cardboard box
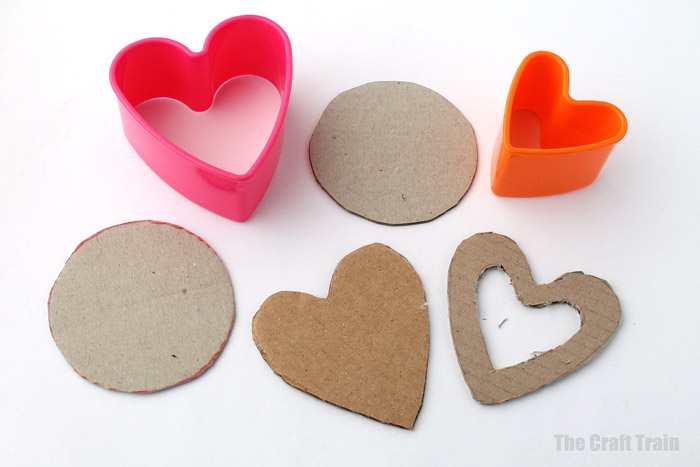
- cookie cutters for shapes
- cotton balls for stuffing
- glue stick
- assorted coloured tissue paper
- brown paper (we used paper bags)
- dark brown construction paper for the choc-chips
- mod podge
- glitter to decorate
- cutting mat and craft knife for the “jam tart” window
How to:
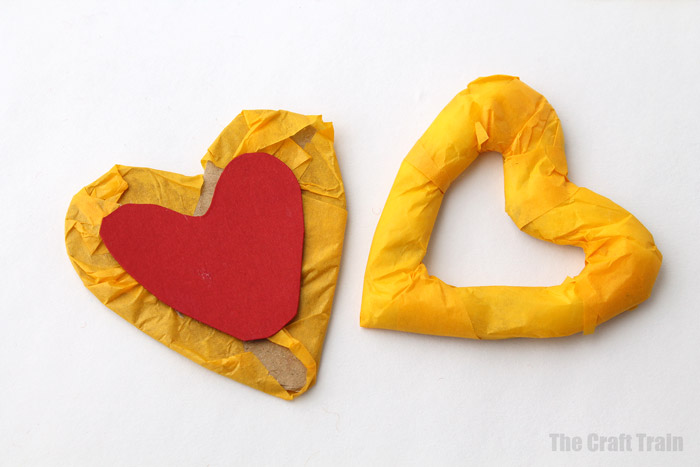
Trace the cookie cutter shapes onto your cardboard and cut them out. To make a heart-shaped tart you will need to cut a window inside one of the heart shapes and cut a second one the same size with no window for the back of the cookie. To cut the window I used a craft knife and cutting mat to make the job easier, but obviously that equipment wouldn’t be safe for a child to use so you would need to do that part for them.
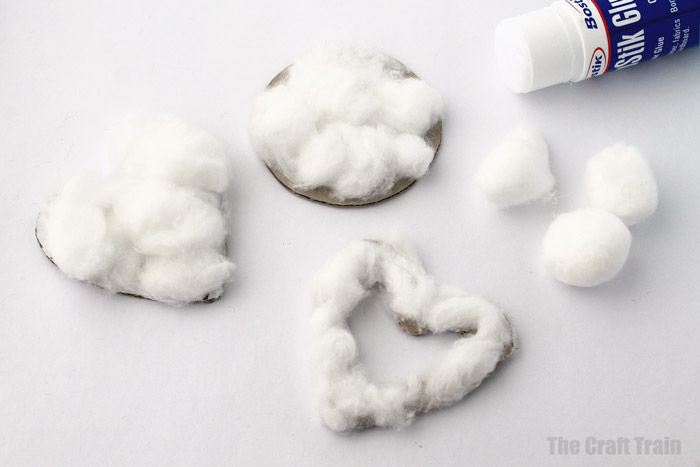
Glue the cotton balls onto the cardboard, you will need to gently pull them apart a bit to get a nice even coverage. When the girls made some cookies they found this bit quite tricky and needed some help, the cotton balls kept sticking to the glue on their fingers (which you can imagine is quite frustrating!).
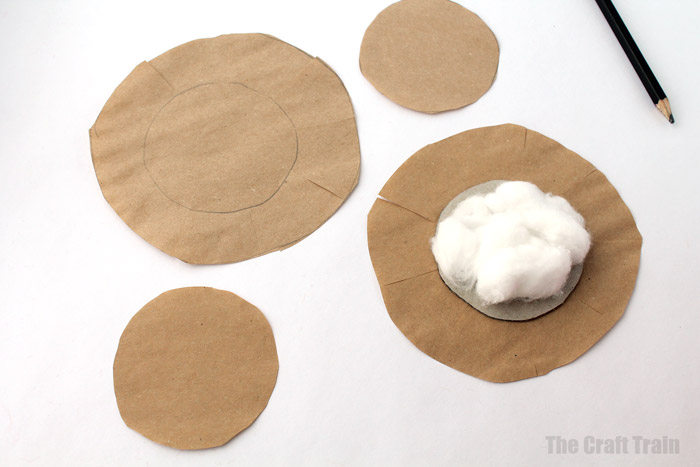
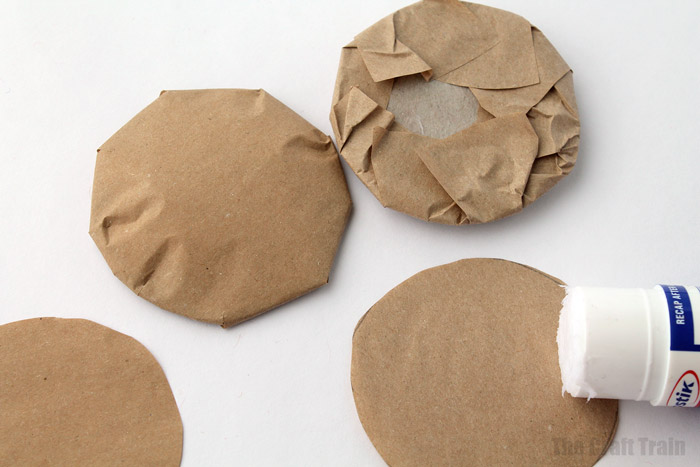
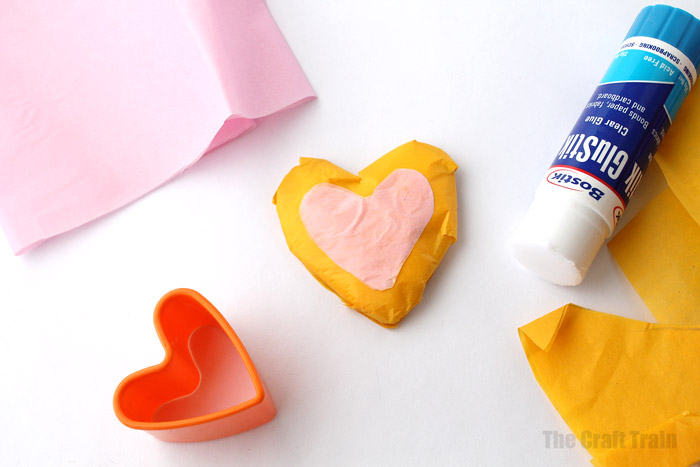
Now it’s time to wrap the cookies in paper. Sketch around the cookie shape over the paper that you will be using, giving it a fair bit of space to cover the whole cookie like in the picture below. Cut a few slits around the edge. Then turn the cotton ball side so it’s facing down, wrap the cookie and glue the flaps down. This technique goes for any shape of cookie except for the jam tart.
Once you’ve glued down the flaps, cover the base with a flat piece of the right shape to tidy it up.
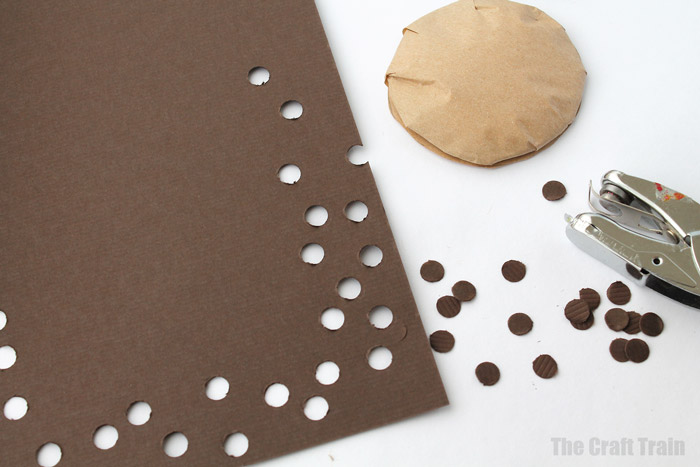
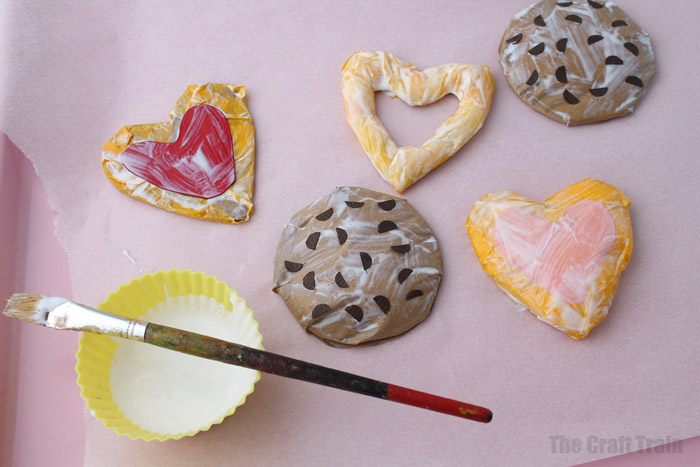
Make choc-chips by using a hole punch over your dark brown construction paper. Empty out the punched hole circles and cut them in half before gluing onto your cookie.
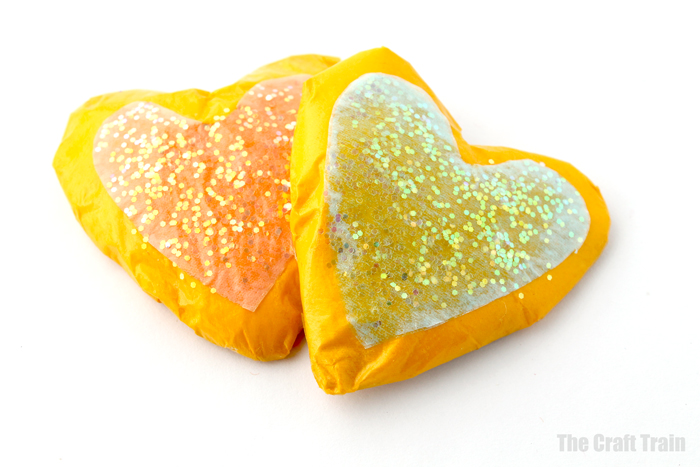
To create coloured icing cut a smaller shape of the same shape as the cookie (in this case a heart) and stick that on with your glue stick.
To make the jam tarts I covered the heart-shaped window with multiple small rectangular strips of tissue paper, and the base of the cookie that will be seen through the window with a piece of yellow tissue paper on the back and a piece of red construction paper or similar to make the ‘jam’ on the top (which you see through the window).
Once you have covered all your ‘cookies’ in paper it’s time to paint them with mod podge for a glossy, protective coating. You might need to paint one side, dry, then turn over and coat the other side. On most of the cookies I made I didn’t bother mod-podging the back since it would take up extra drying time and I know my girls will be careful with them so they shouldn’t get destroyed. To stop the mod podge from sticking to the surface it’s sitting on whilst it’s drying, place it on top of some non-stick baking paper – just like real cookies!
For the hearts that have icing I added an extra coat of mod podge once the first one was dry directly over the piece of icing only, and then sprinkled that liberally with glitter.
The girls really loved these cookies and wanted to have a turn at making some too, so I set the activity up for them again at a later date when I could concentrate on helping and enjoying our crafting time together instead of madly taking photos. They found it tricky in parts but to their credit they both persevered and created some cute little cookies of their own.
If you’re doing this activity with younger children I’d recommend keeping the shapes simple (like circles or rectangles) because the stars and hearts are fiddly and it might be a bit too hard for little fingers.
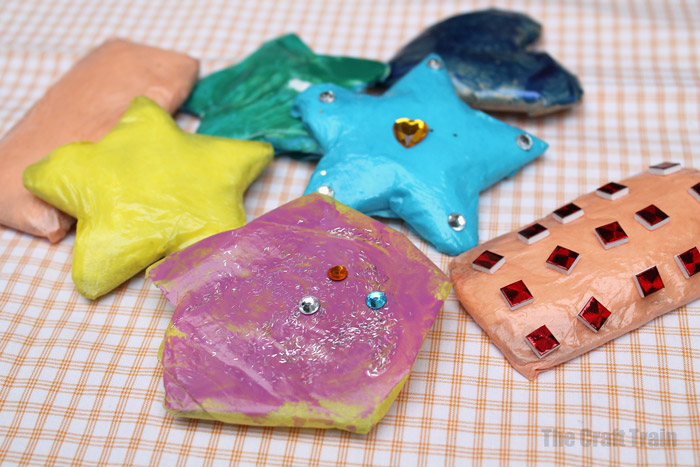
My girls decorated their cookies with plastic gems, sparkly foam squares and nail polish, and this is how they turned out.
More pretend play food ideas for kids:
- Make some tasty-looking pasta and meatballs
- These rock cakes are simple and quick to make
- Make some delicious-smelling cinnamon cookie play dough
- Use real blueberries to create some blueberry play dough
- This Christmas pudding with vanilla custard play dough smells soooo good!

I love how puffy they are, something fun and substantial to hold!
How clever! I absolutely adore these. I know my little girl would love making and playing with them too.
These turned out great!
These are adorable! Perfect for pretend play games.
Oh my goodness these are divine, such a cute activity! They would make a fabulous birthday gift along with a little tea set 🙂
All the links at the end of your post (titled “More play food ideas”) take me to a page headed “New Printables” followed by “Latest Crafts” and “What’s Popular”. Is there a problem? Or am I missing something?
Thanks for notifying me, it’s a fairly old blog post and some of the links may have changed or been updated so I’ll go and fix it up