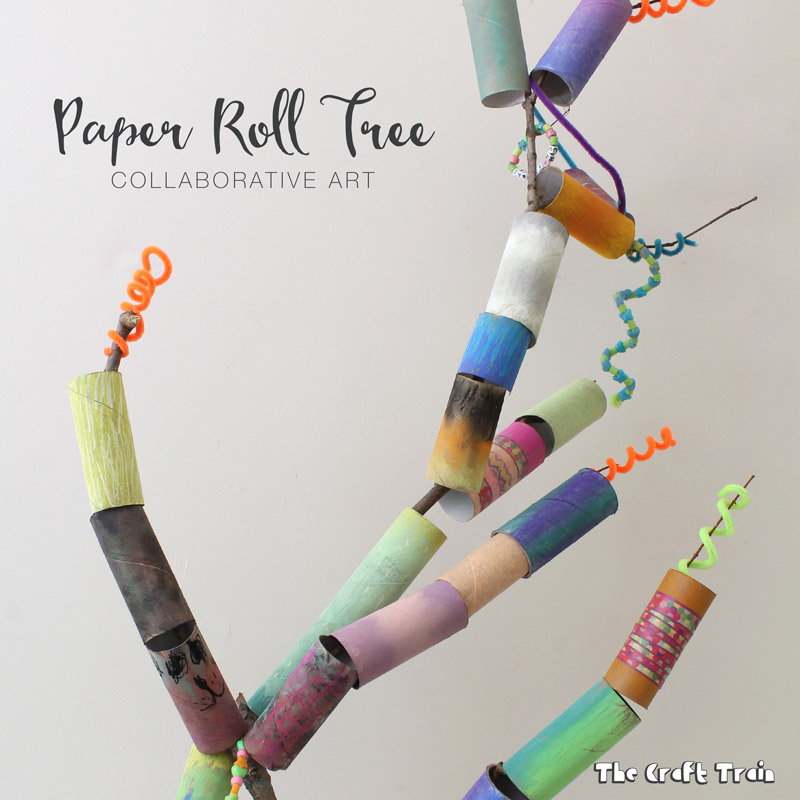
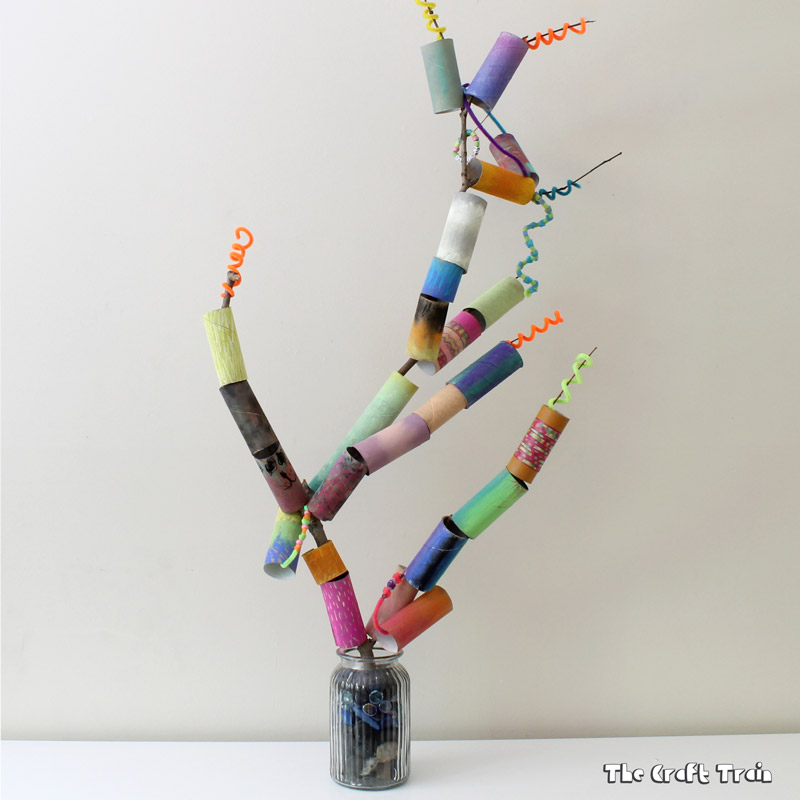
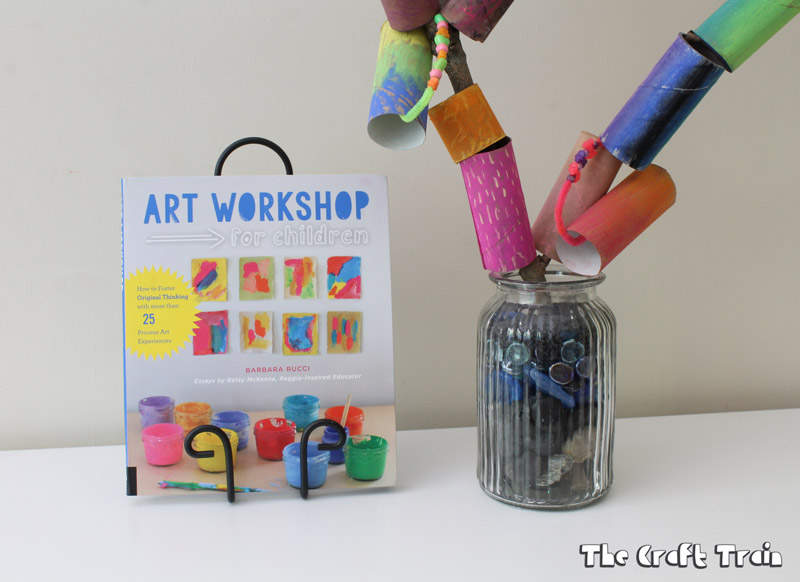
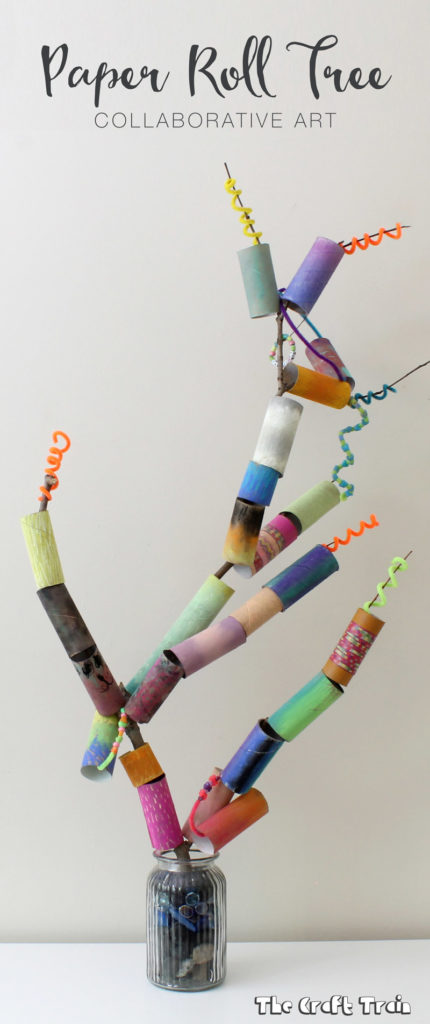
Make a gorgeous work of collaborative art with this decorated paper roll tree project, based on a project from the book Art Workshop for Children by Barbara Rucci.
You might also like these 30 paper roll craft ideas
It’s been a real pleasure to review the new book, Art Workshop for Children, by fellow blogger Barbara Rucci of Art Bar Blog. I genuinely love her blog so I was expecting the book to be good but even I was surprised by how much I love the book.
It’s filled with colourful, creative, inspiring and simple art projects for kids. You don’t need to be a master of art and craft to be able to do these workshops, they are suitable for anybody and all of them are easy enough for kids to do by themselves. If process art is your thing you will find plenty of inspiration in this book, plus it also extends to art with a purpose (like crafts) and collaborative projects that kids can do as a group.
In addition to 25 process art experiences the book also includes tips and ideas on how to set up an inviting and functional art space for children. I loved reading these tips and although I have not intentionally set one of these up (I’m way too disorganised for that).
In Barbara’s book there is a designated art area and shelves of creative materials that children can access. At our place the entire house is our art space, there is a cupboard of no-mess supplies that the kids can access whenever they like (pencils, textas, stamps, chalk, crayons etc.) plus baskets of recyclables, messy paints, random material scraps, yarn and all manner of other things in my craft area. They are always making things.
My girls and I had a good look through the book to select a workshop idea that we could test out. After deliberating between the still life donut painting, cardboard cake, and paper roll tree we decided to go with the paper roll tree. You know we love cardboard tube crafts around here!
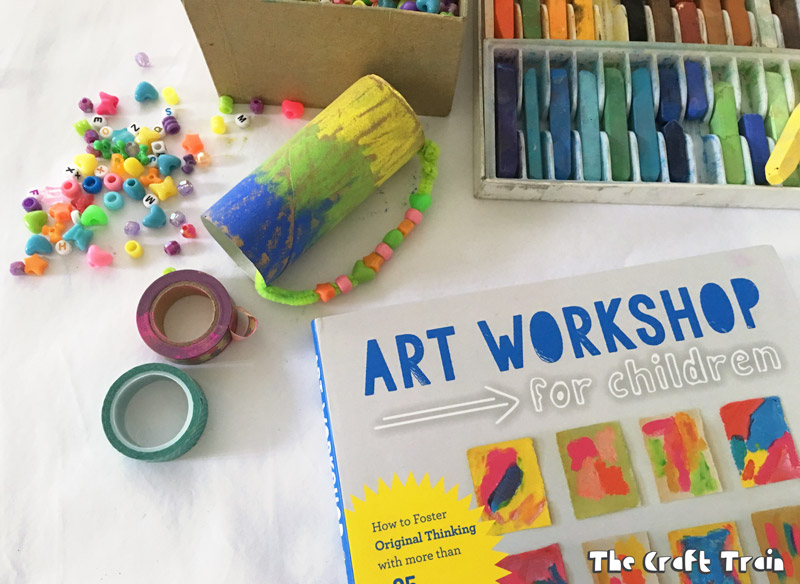
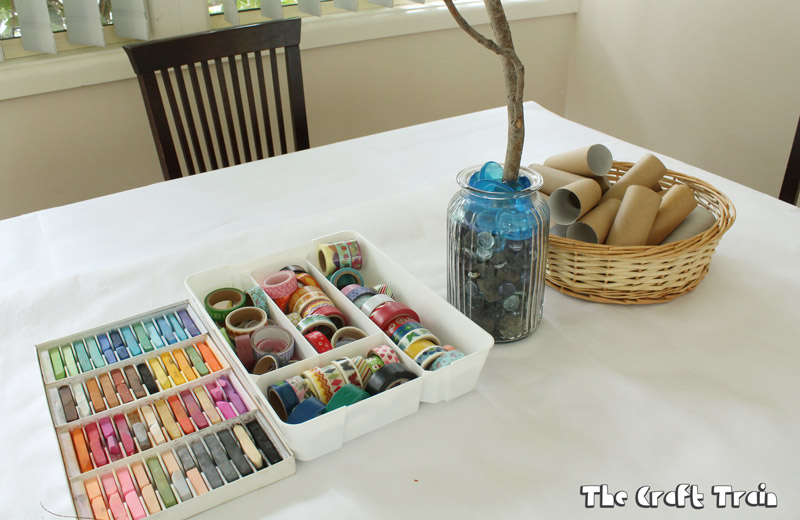
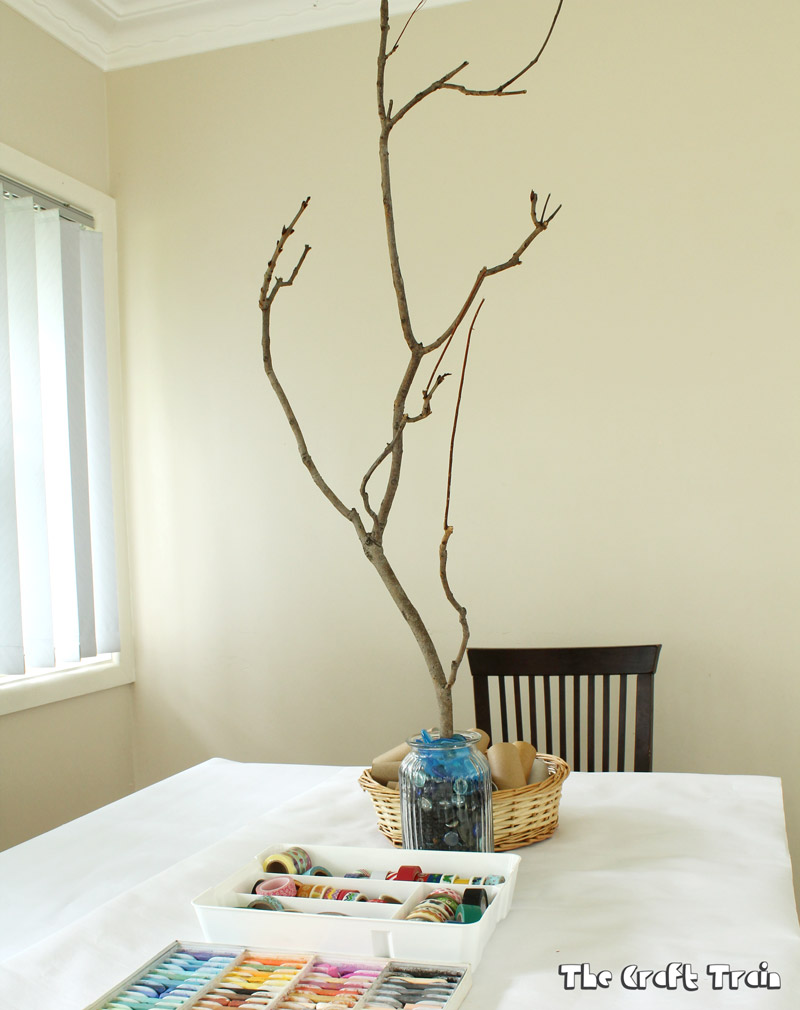
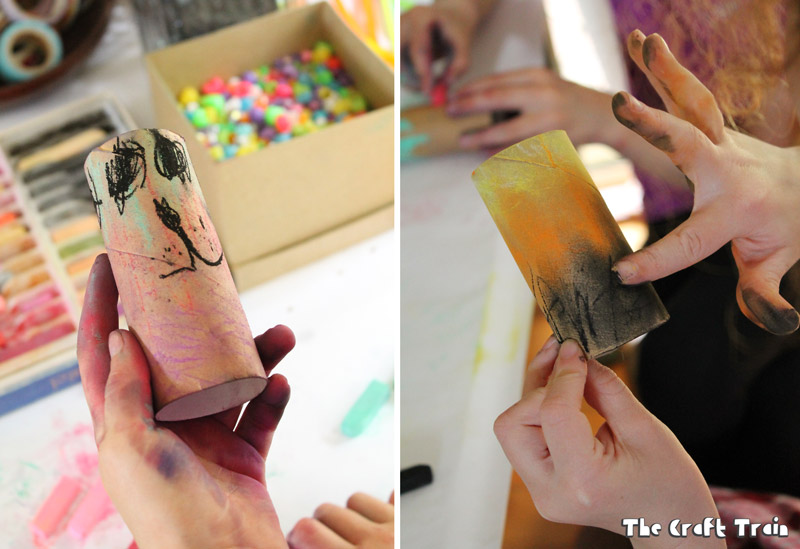
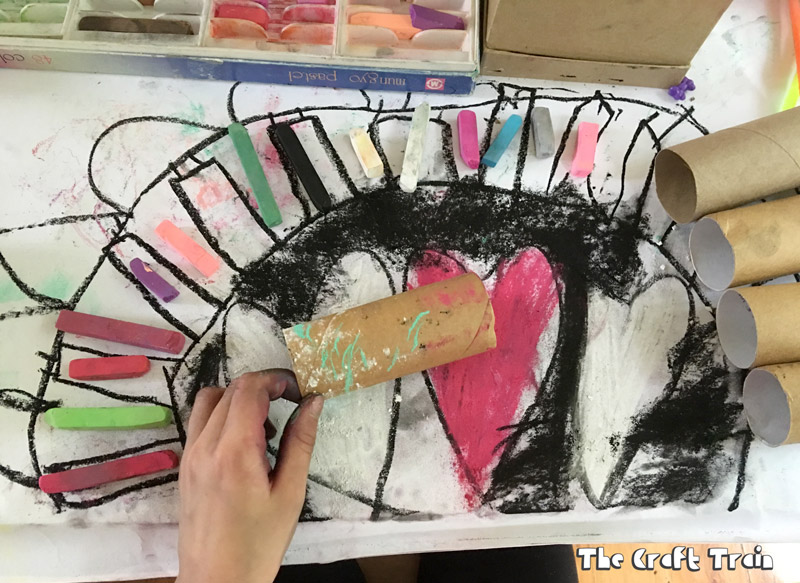
In the book it says to use chalk markers to decorate your cardboard rolls but we had none of those so I decided to put our chalk pastels to good use instead. I laid them out on the kitchen table over a sheet of white butchers paper along with some washi tape, a bare branch in a vase with rocks around the base and some cardboard tubes to decorate. Later on I moved the work in progress to the girls art table (in a section of our living room) where they could work on it on and off as they wished and it stayed there for about a week.
This is our branch before we decorated it:
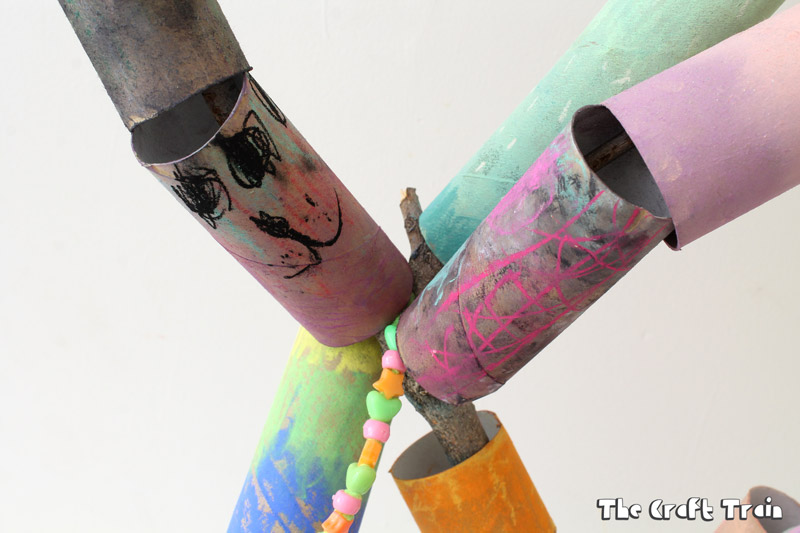
We also added pipe cleaners and beads once I moved it to the art area.
The girls loved experimenting with the pastels. Miss R became a master of the smudge and blend technique, and Miss K enjoyed making more decorative designs on hers. Neither of them went much for the washi tape but that’s OK.
Working with pastels can be dusty and messy (it might be an issue if you or your kids are asthmatic) but on the plus side it’s very easy to clean up and doesn’t stain. The girls enjoyed decorating the layer of butchers paper as much as they enjoyed decorating the rolls.
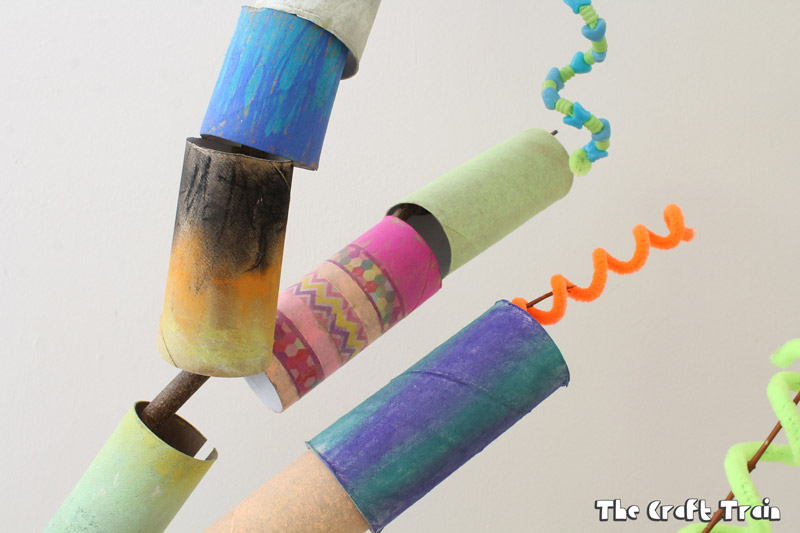
To cover areas of the branches where forks in the branch prevented us from sliding rolls all the way down we cut slits in the back of the rolls and popped them on that way.
In the end we were all extremely proud of our paper roll tree. We added some springs to the ends of the branches which we made by winding pipe cleaners around a pencil.
It sits proudly in the kids play room looking like a colourful fantasy sculpture. We love it!
This would be a great group project for a class of school-aged children, or even pre-school kids. It’s wonderful for siblings to work on together too.
You could easily add your own creative twist to it and experiment with different mediums for decorating the rolls. What I love most about all of Barbara’s projects is that they are all so open-ended and lend themselves to so many possibilities. We are truly inspired!
Check out some of the other bloggers participating in the Art Workshops for Children book tour, or you can order the book here.
You might also like:
• Create shiny mini art boards using foil and washi tape
• Experiment with chalk and water on paper
• Create textured stamps using craft foam
• Create art scribblers using markers and cardboard tubes
• Make your own ochre paint from rocks
• Tie dye paper towel with food colouring


WOW!!!! this tree is stunning!!! I love love how you used pastels and blended them, they transform the rolls into beautiful works of art! Thank you, Kate, SO very much for this fantastic review, and for taking the time to interpret one of my workshops into this gorgeous tree!!! I am so grateful to you. Will be sharing over this week!! xoxo Bar
Thanks Bar!! Congrats again on your lovely book, I’m so glad you like our project 🙂