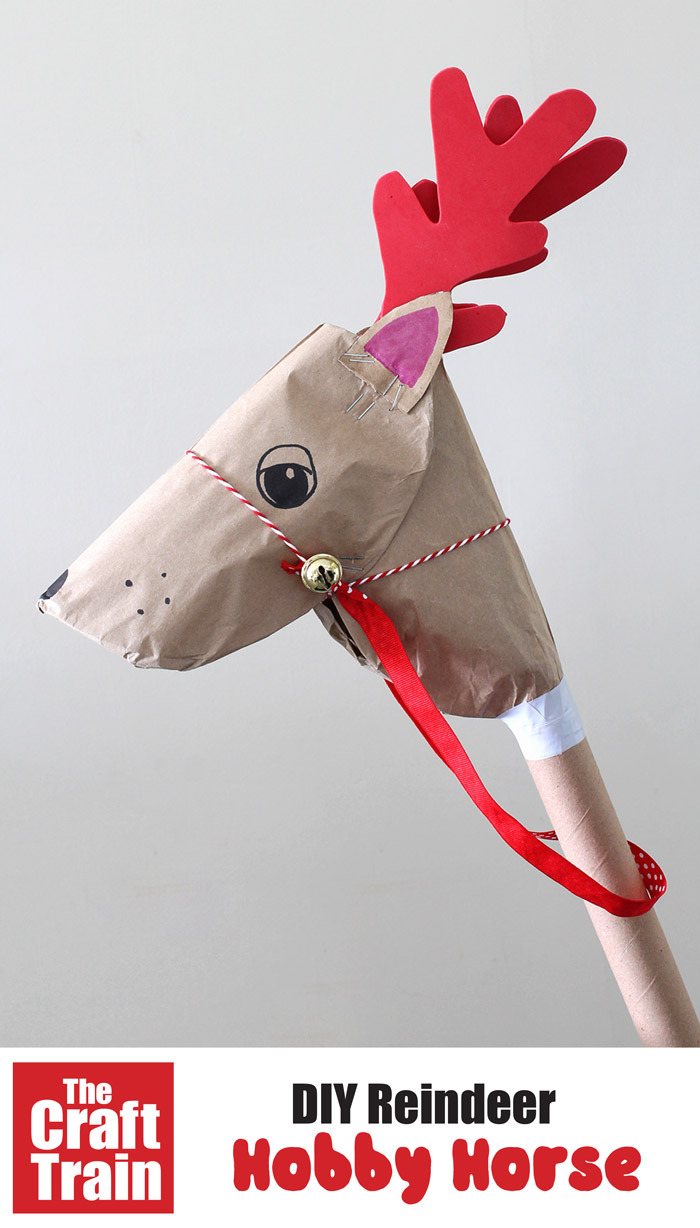
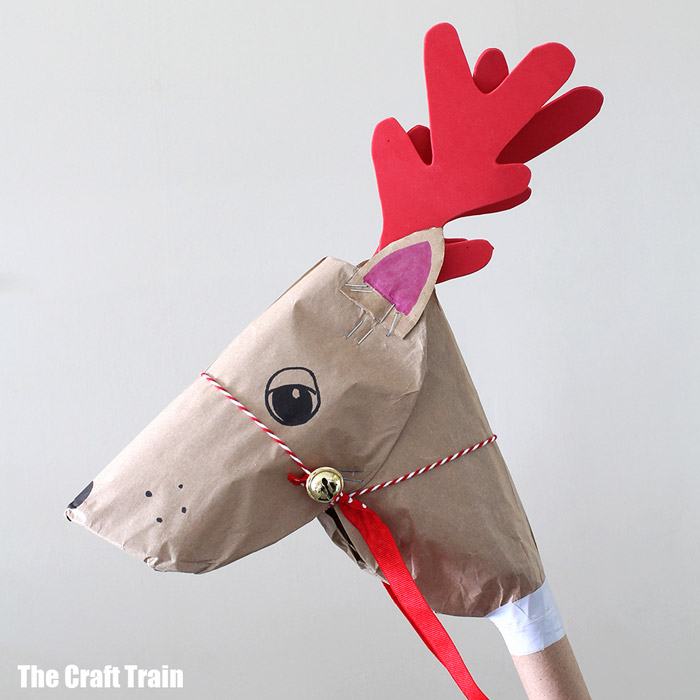
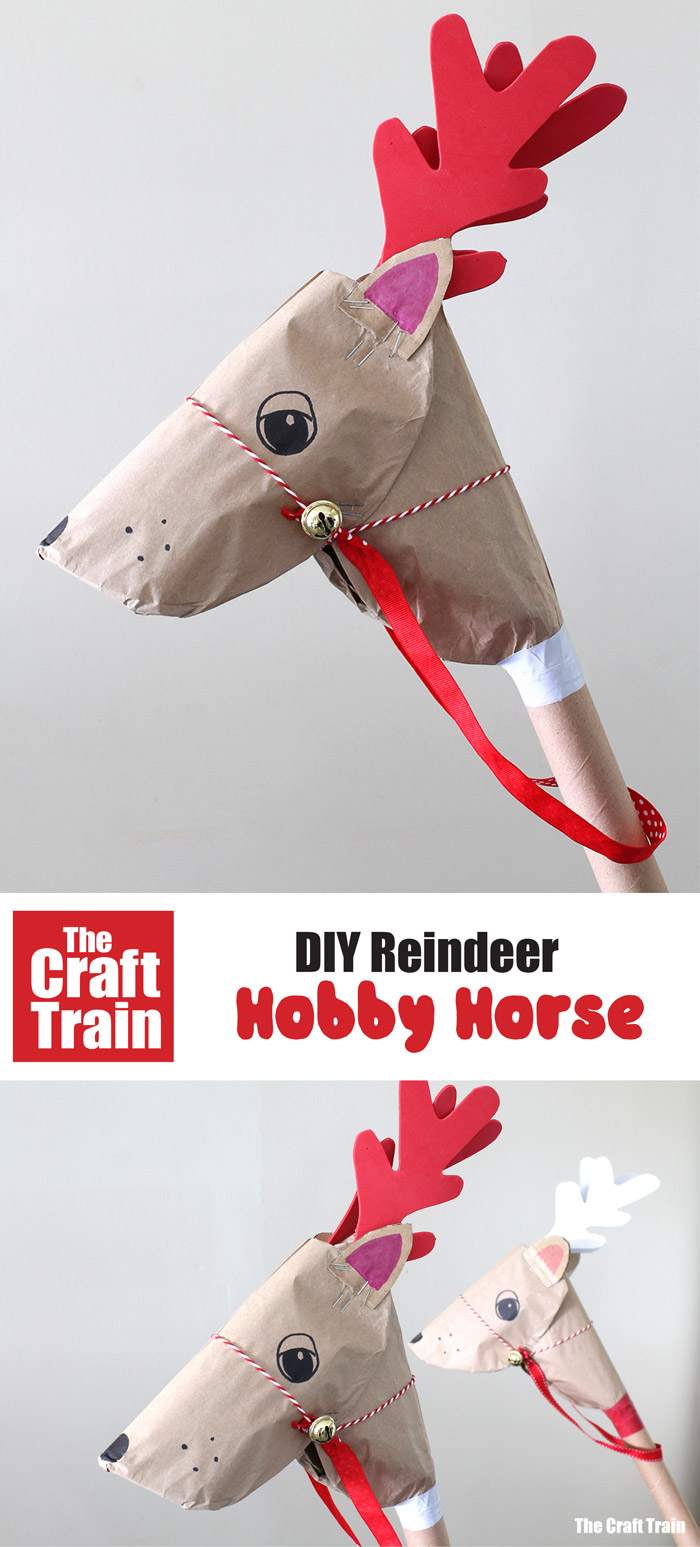
Make a DIY reindeer hobby horse from cardboard and paper for some eco-friendly Christmas fun! This is an easy DIY toy idea to make the kids this Christmas which will inspire imaginary and pretend play.
This craft was originally published in 2015 and has been updated and re-shared for today’s audience.
The big kid in me can’t wait, every year, for Christmas just so I can get into the Christmas-themed crafting.
Maybe you’re thinking that in the first week of November it’s a little early for this sort of thing, and I ALMOST agree with you, but I couldn’t stop myself from waiting any longer, the idea of a Reindeer hobby horse was dancing around in my head and I absolutely had to make it, so here it is!
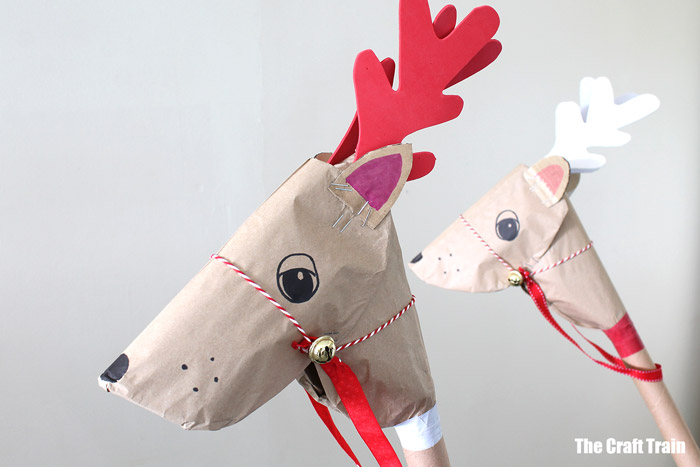
It’s very cheap and easy to throw together using the cardboard tube that is leftover from a large roll of wrapping paper, paper bags and paper plates as the main materials. Of course, I had to make two because I have two girls, and they love them!
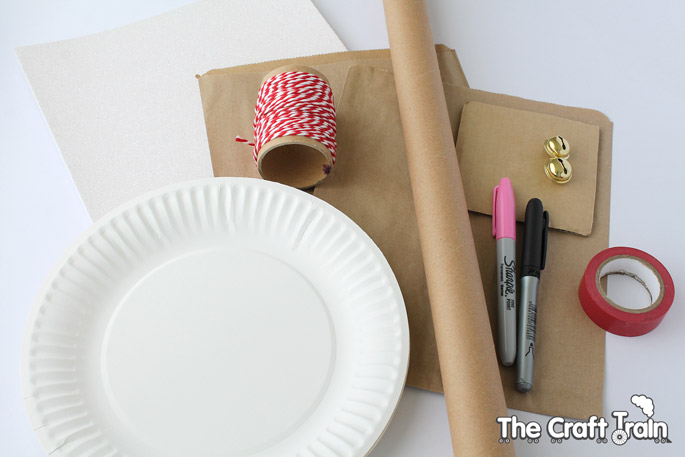
You will need
- Long cardboard tube (e.g. from a roll of wrapping paper)
- Paper plates x 2
- Brown paper bags x 2 (the kind without a flat bottom), or brown kraft paper
- A scrap of recycled cardboard (e.g. from a cardboard carton) For the ears
- A piece of craft foam for the antlers
- Craft bells x 2
- Markers
- Duct tape or electrical tape
- Bakers twine or similar
- Ribbon
- Scissors and a large stapler
How to
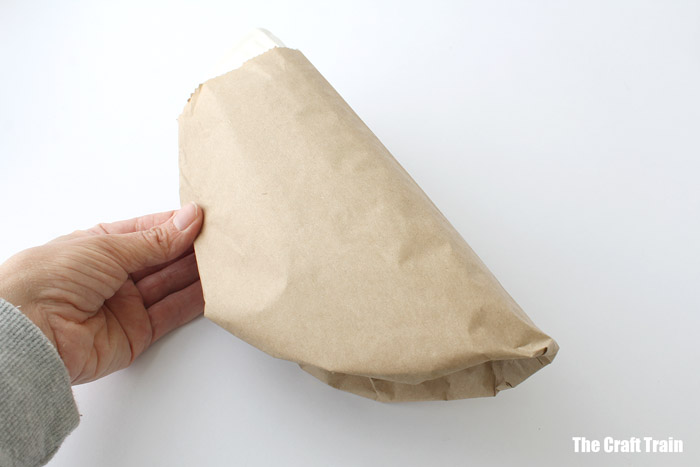
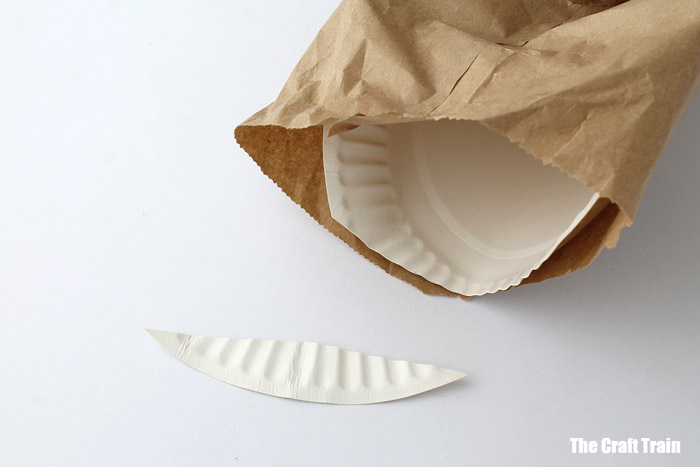
Slip each plate inside a paper bag and flex so it is doubled over on a curve.
Trim any overhang off the plate sticking out of the end of the bag off.
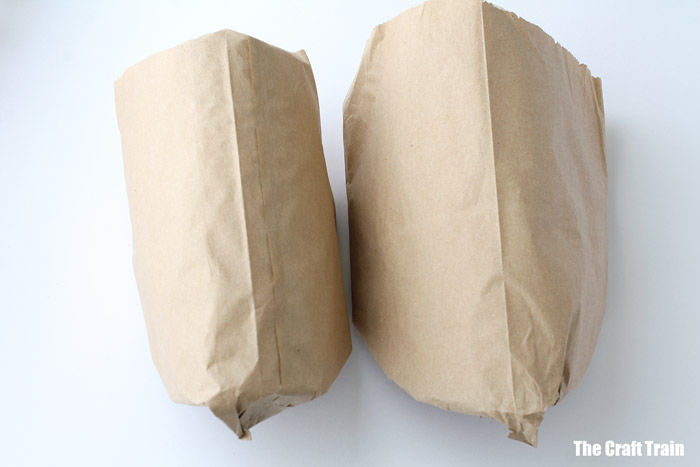
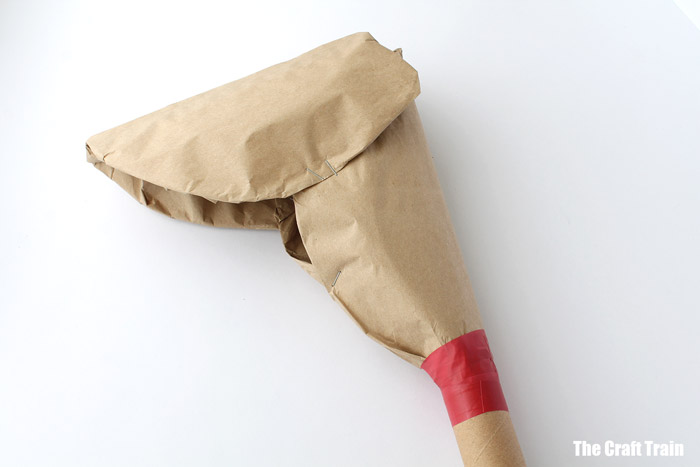
Stick one plate onto the top end of the cardboard tube using the duct or electrical tape. Then use a stapler to attach the other bag-covered plate on to the plate that is already in place at an angle that creates the shape of a horses head as shown below.
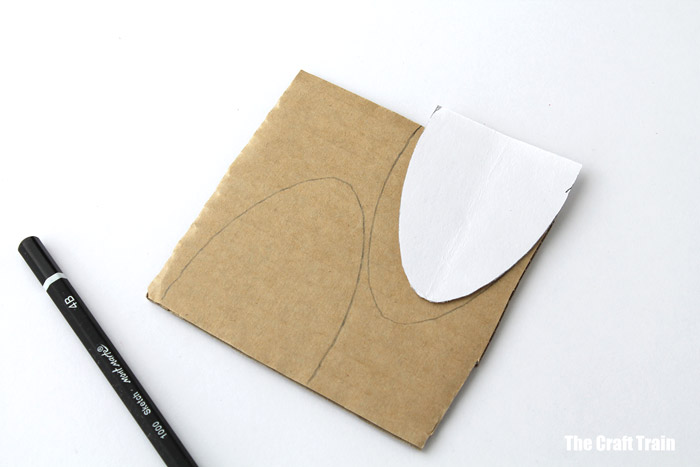
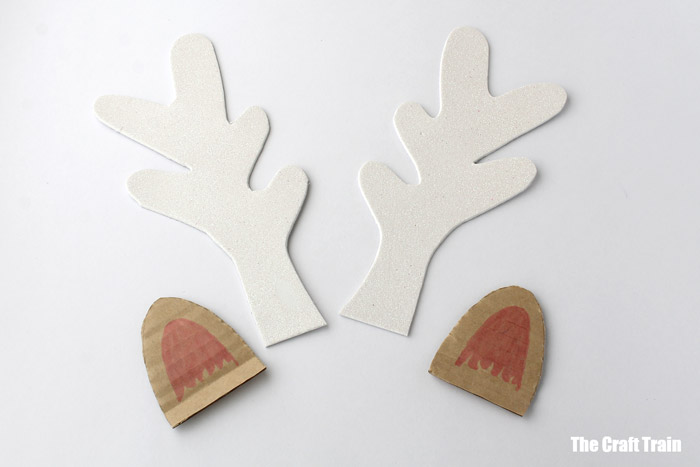
Cut out two ears from the heavy card stock and attach them in place with a stapler. Next cut two antler shapes from the craft foam (doubling it over to cut the foam will give you two antlers of the exact same shape). It might help to sketch the antler and ear shapes onto paper first to make sure you are getting the shape right, then trace it onto the foam and card.
Staple these parts on and then add detail (eyes and nose) with your markers.
Tie the bakers twine on in a loop around the nose first. Thread the bells onto a second piece of twine and tie this piece of twine to the loop that is already in place around the nose, tying the bells in to the place where the two loops meet on each side. The second piece of string goes around the back of the neck. Finally add a strand of ribbon around the back to use as the reins.
That’s it!
Here come Dasher and Dancer! Jingle jingle jingle.
More fun reindeer craft ideas
- You’ll love this Santa and reindeer printable basket template set
- Here are some printable 3D paper reindeer
- Make the Naughtiest Reindeer, based on the Oh-so-funny book
- This paper roll reindeer is so cute and easy!
- Here are 24 adorable reindeer craft ideas

Love this!
This is so clever and cute!! Our clogging class is looking for something like this for a Christmas party performance. The price is right and so easy to do. Thank you!
Hope you have fun making them – good luck with the performance