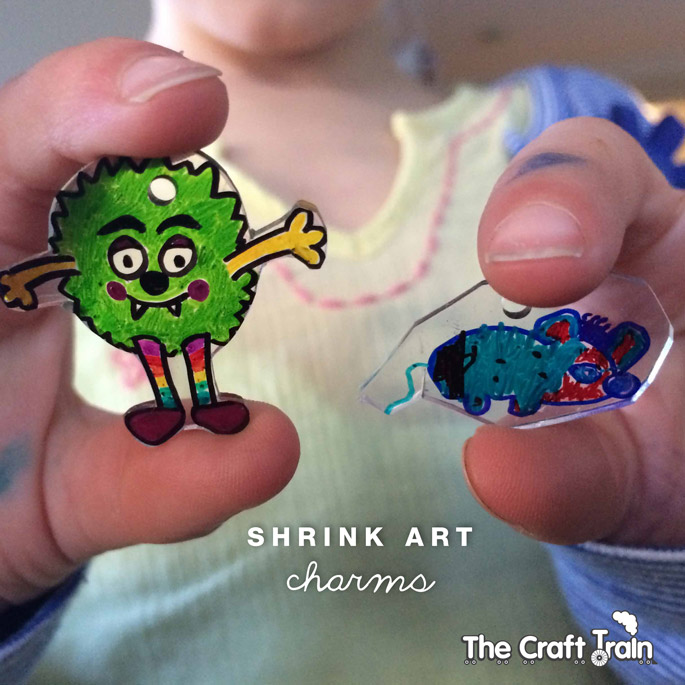
Do you remember those plastic shrinkies with printed pictures on them that once came in cereal boxes, noodle packets, and the like? My sister and I used to fight over them and then ooh and aah as we watched them shrink like magic in the oven. We thought they were so cool! I wanted my own girls to experience this magic so I bought some plastic shrink film which I never realised you could get until recently, although I must have been living with my head under a rock because there are so many cool projects using shrink film on Pinterest. Apparently you can even do a DIY version by collecting any plastic with a number 6 on the back, which you can see how to do here in this post that I found on Curbly. I began hunting around for some number 6 plastics right away after reading this, but the only number 6 plastic that I could get my hands on was a clear sushi box. When I calculated the cost of how much sushi we’d need to eat to get enough DIY shrink plastic for the three of us it just seemed much better value to buy the purpose-made shrink film from Amazon. I ended up finding this packet of 50 sheets for US $25, which worked well enough for us. This is WAY better than buying a shrinky craft kit because the kids get to be more creative and come up with their own ideas.
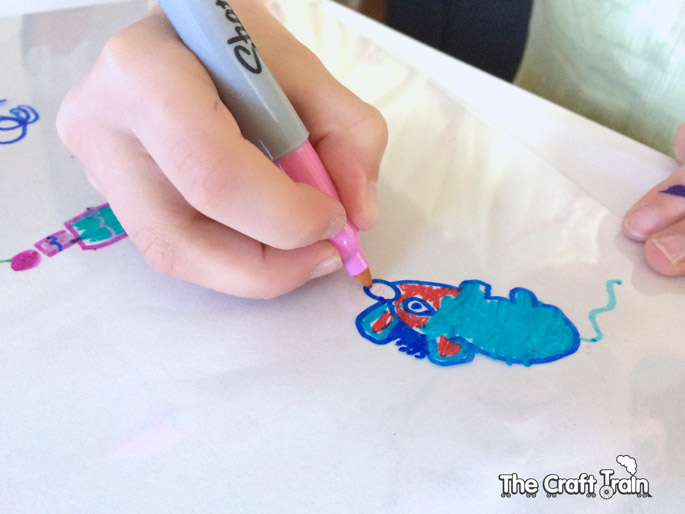
We used permanent markers (sharpies) on ours but if you sand the film with fine-grained sandpaper you can also use coloured pencils on it. If you want to use pencils and don’t want to bother with the sanding you can get this version which works out more expensive per sheet, though you get less in a pack so it’s cheaper (Shrinky Dink brand), but I have not actually tried this one.
This is how we made our charms…
note – affiliate links have been included in this post for your convenience
You will need
• Plastic shrink film
• Permanent markers
• Baking paper
• Cookie tray
• Scissors
• Hole Punch
How To
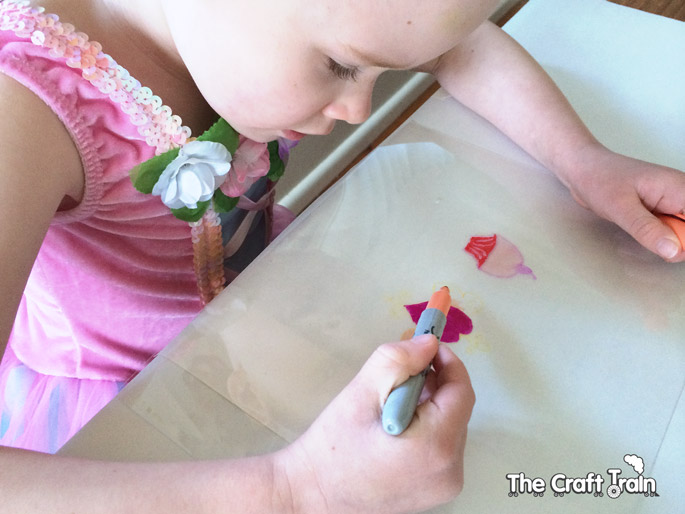
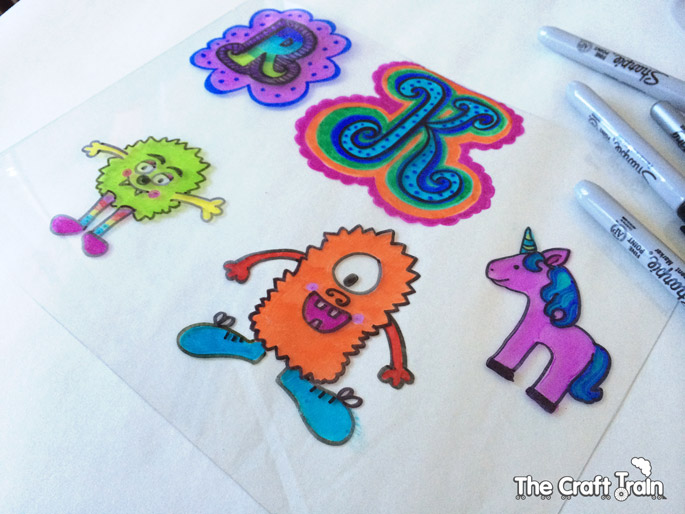
To begin with draw whatever you like on the shrink film. It’s a good idea to put it over a sheet of white paper if you are using the clear film so you can see what you’re drawing.
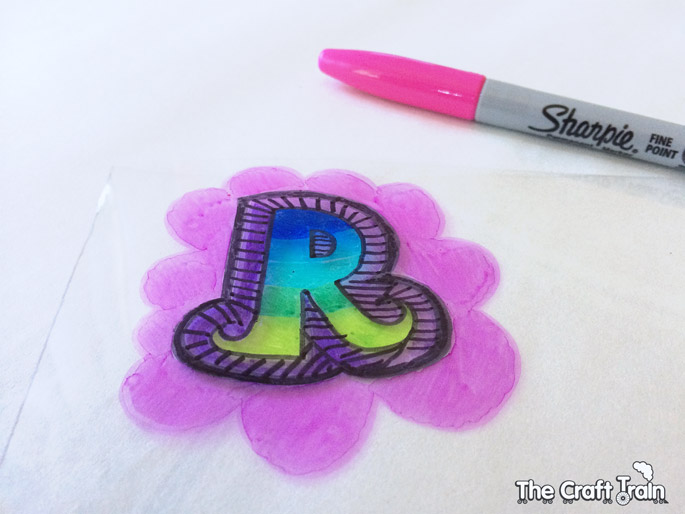
The girls had a blast filling up one plastic sheet each with their own groovy drawings. Of course, how could I not have a go at this too?
When we had finished our drawings they needed to be cut out, which is trickier than it sounds for kids because cutting plastic is much different to cutting paper. Miss R asked me to cut hers out for her because she was afraid of spoiling it and Miss K managed it herself but I did need to trim all the sharp pointy corners away before baking it for obvious reasons.
It’s also important to punch a hole in the charm before you put it in the oven. When ours were ready to go in they looked like this.
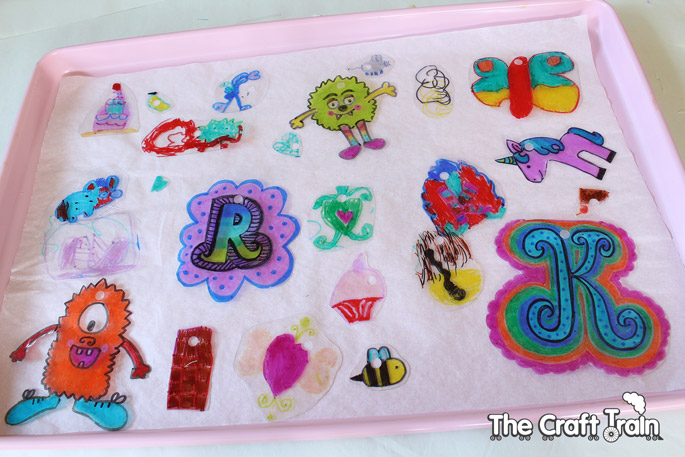
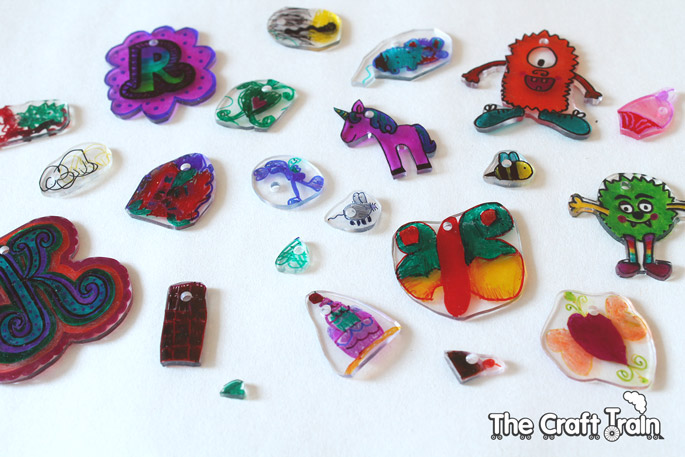
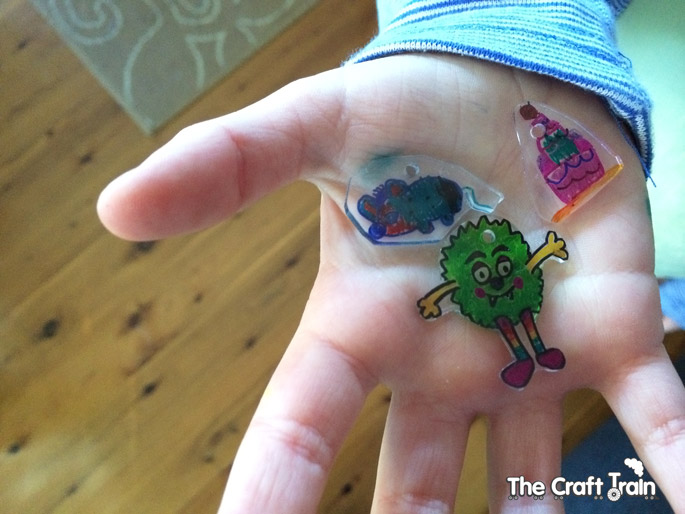
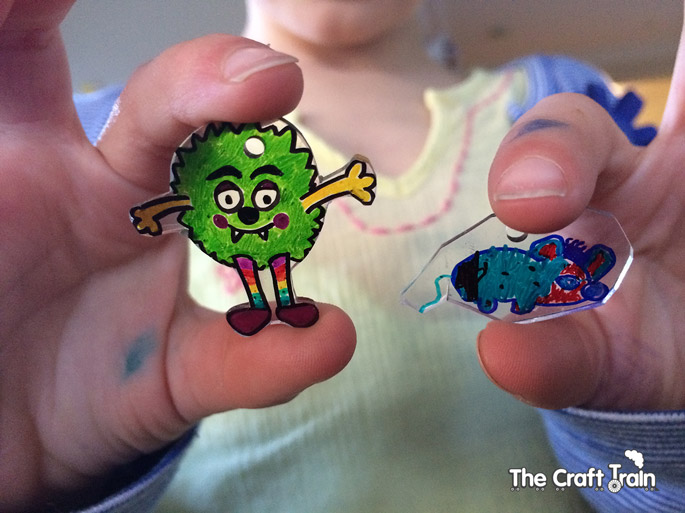
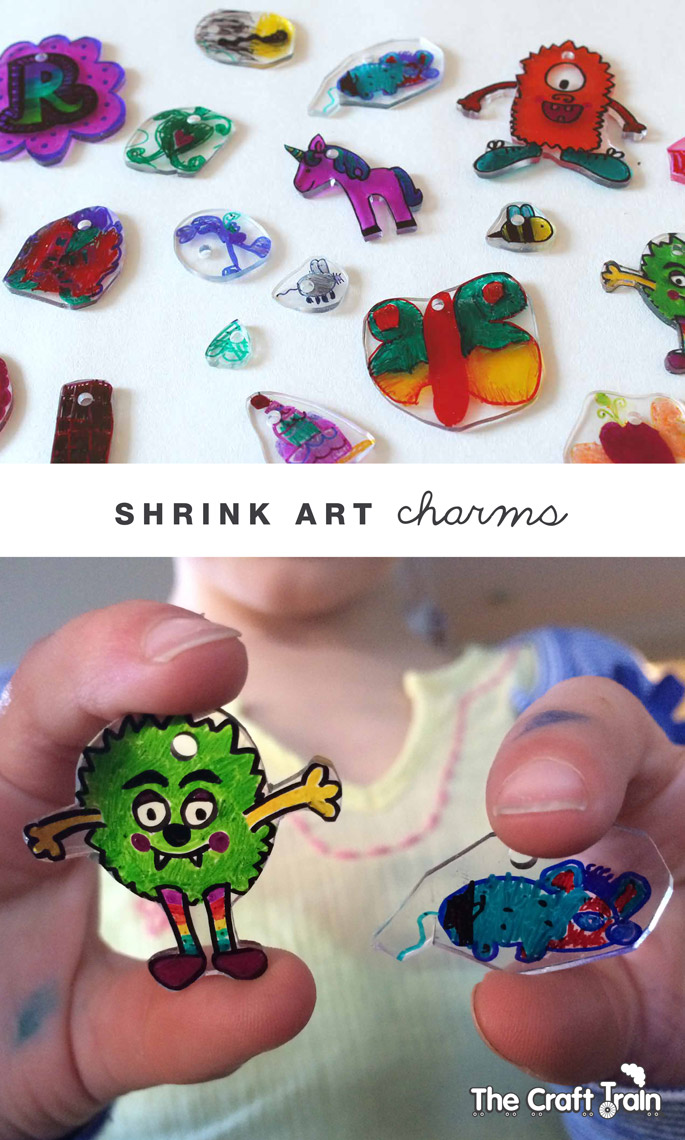
We placed the pieces on a sheet of baking paper, with a second sheet over the top to help prevent them from curling up when shrinking (which ended up happening anyway). It was mostly the larger pieces that seemed to have a curling up problem. We baked ours at a low oven temp for around 15 minutes (temperature varies for different ovens, ours is a super-fast cooking fan-forced oven and I baked them at 100ºc). When we took them out of the oven they were easily one third the size of what they were before they went in. The curled up pieces can be bent up straight again with kitchen tongs and a fork, but it needs to be done immediately upon getting it out of the oven. If you’re too slow don’t worry, you can put it back in the oven and it will become soft and pliable again – but very HOT so watch your fingers! Obviously, it’s not safe for young kids to be doing the striaghtening out of curled plastic.
This was a fun project and I think I enjoyed it at least as much as the kids (if not more). No doubt you will be seeing more shrink art projects in the future from us because we still have another 47 sheets of this stuff left to use – oh the possibilities!
More fun ideas for kids
• Make some mosaics with craft foam
• Try these polymer clay school bag tags
• Make your own whirlygig with our free printable patterns
• Have you tried drawing with wet chalk
• Make some spinning tops from plastic bottle caps in just two minutes!
• Try making these simple toilet roll dinosaurs
Are you following us on Pinterest?

Leave a Reply