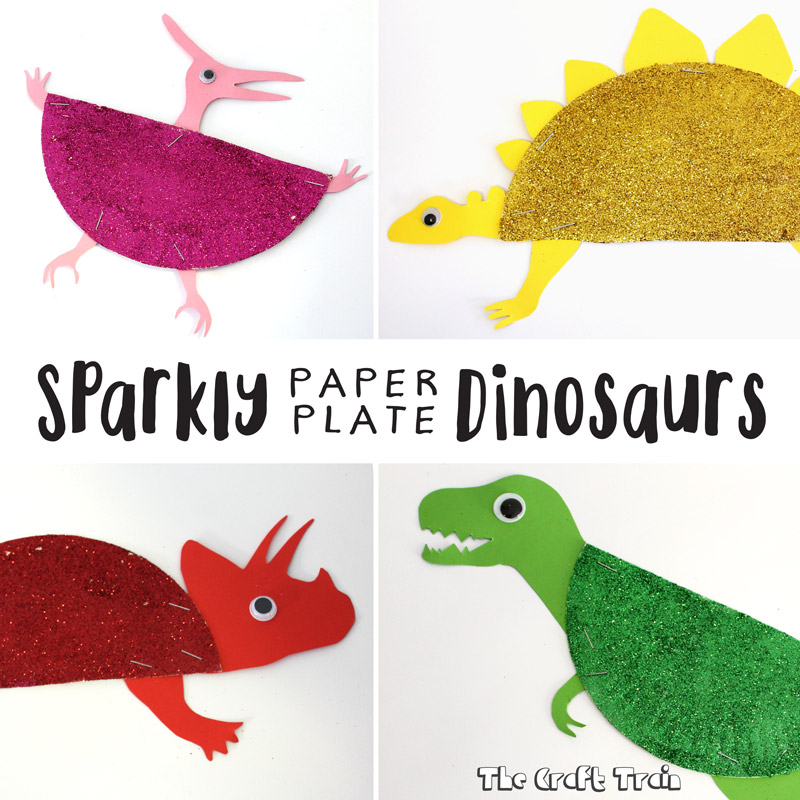
Make some sparkly paper plate dinosaurs with our set of printable templates!
This craft has been updated and extended into an ebook of 12 fun dinosaur templates complete with facts about each animal and a page of environmentally-friendly paper googly eyes.
Who doesn’t love a good dinosaur craft?
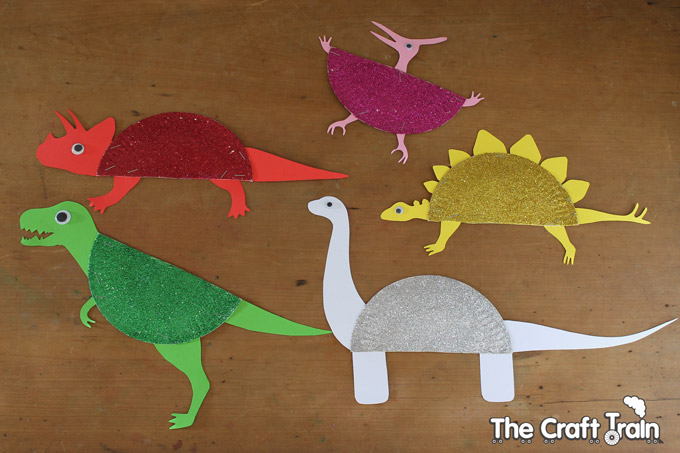
We’ve named these glittery paper plate dinosaurs “the sparkle-a-sauruses”, and they are now hanging on the girls’ bedroom cupboard magically guarding against any ghosts or monsters who might dare to sneak into their bedroom at night. You can make some too using paper plates, our templates and a few basic craft supplies!
Although we’ve decorated this set with glitter, they don’t need to be. You could decorate them any way you like, for example: using ordinary paint, tissue paper squares, sponge stamps, spot stickers etc. Use your imagination and go wild!
You can get the Diplodocus template delivered to your inbox for free by entering your email into the box provided. The rest of the templates (plus more) can be found in our Paper Plate Dinosaur Ebook.
You will need:
- The printable templates found in our dinosaur ebook, or use the free diplodocus template you can get delivered to your inbox by entering your email address into the box provided
- Paper plates cut in half (standard size is best but I used the smaller size and had to trim two spikes from the Stegosaurus’s spine to be able to make it fit, but for the rest of the templates it makes no difference)
- PVA (school) glue
- Loose glitter
- Googly eyes, or use the printable paper googly eyes provided in the ebook
- Paintbrush and stapler
- Coloured construction paper
How to:
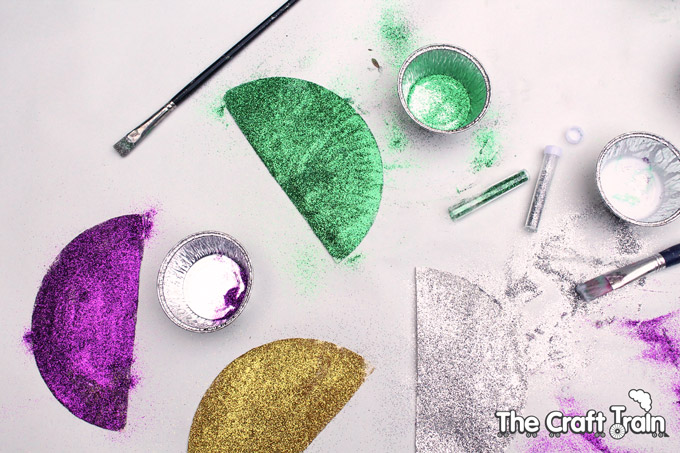
Use a paintbrush to cover the back of your paper plates with glue, sprinkle liberally with plenty of glitter and then hold up and shake the excess off.
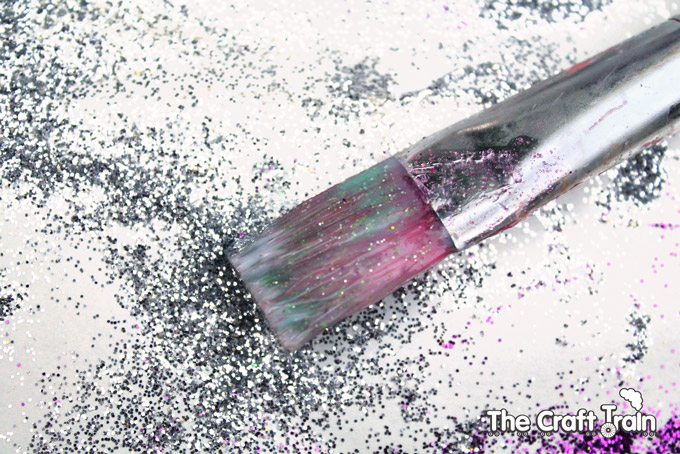
Glitter is very messy to work with, especially when kids are getting involved, so this is best done outside over a large sheet of paper to catch the spilled glitter. You can attempt to put any excess glitter back in the container by folding a crease in the paper once you’re done and pouring it back in.
If the idea of working with messy glitter makes you cringe it might not be worth the stress (because remember craft is supposed to be fun not stressful). You are probably better off just painting the plates like we did in the original version here, or let the kids dream up their own way of decorating them (I’m sure they’ll come up with something).
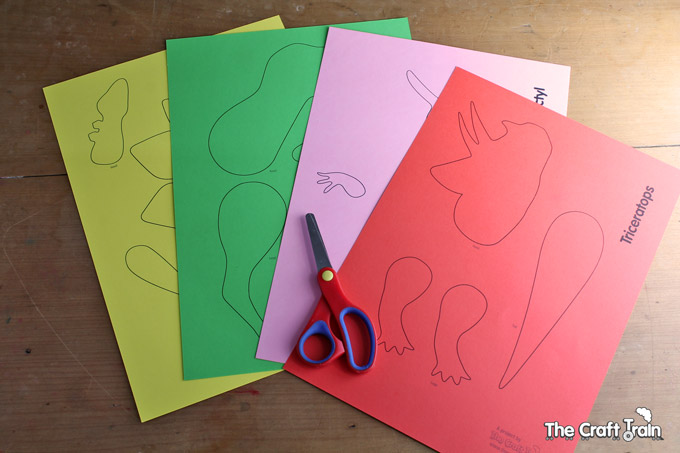
While the glitter is drying print out the dinosaur templates. Coloured heavy paper stock is best for this part.
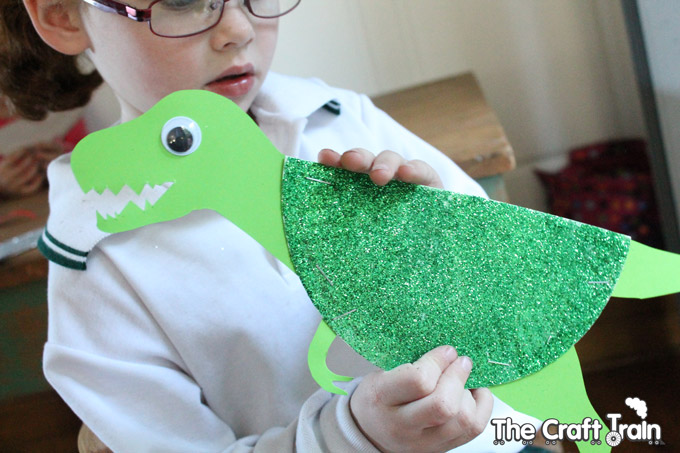
Cut out the legs, heads and tails and when the paper plate has dried staple the pieces on to create your dinosaurs. Stick on one googly eye each and you’re done.
Raaah, don’t you love our Sparkle-a-saurus-Rex?

This a great idea! Thank you so much for sharing it, it will be todays activity for my little boys, though I hope I have paper plates!!
Love these thank you!
This would be perfect for my girls who love dinosaurs but find all their crafts too boyish! LOL Thank you for the inspiration and solution! :and
Thank you for sharing these templates! My class made some recently and I love how they turned out!
That’s awesome, glad you liked them
Fantastic! Such a great asset to any dinosaur unit! Thank you very much!
Love, love, love these. Thank you xxx
Love this activity. My kids have fun with it. The only I changed was that I make it like wall plates, so they can hanged in their rooms.
What a fab idea!
Thank you so much for sharing these!! My kindergarten friends will absolutely LOVE them 🙂
Thanks!
Did this today with a group of children and they all loved it! Fantastic idea with amazing results. Thank you so much!
Fabulous! So glad you all liked it 🙂
Thank you for the printable dinosaur parts and the brilliant Dino paper plate craft! The kids are sure to love this one.
Thanks Maura! You are most welcome and I’m glad the kids loved them.
Thank you so much
I have a class of 12 boys and 1 girl. This activity will bring back sparkle in the class 😉
These are delightful. Thank you so much – I can’t wait to make them with my group.
Genial!!! Gracias….
Thank you so much for sharing these. We are going to make them as part of our son’s birthday festivities. He is really excited.
You’re welcome! Thank you for stopping by to comment and I hope he has a wonderful day! 🙂
I just saw this on pinterest. What a great idea — and you’re so sweet to have a free printable too. I’m going to do this with my grandkids this weekend.
I have a link party that I’m trying to grow. It is Grandma Ideas Sharing Time at http://grandmaideas.com. I invite you to share this idea (and a couple of others) because I know that my readers will enjoy this idea as much as I do!
My link party runs from Wednesday at 1:00 am through Friday night at midnight Mountain Daylight time in the U.S. I do hope you can make it!
All the best,
Nina
woooooooooooooooooooooooooooowww this was a great idea for the children. Keep up the good work.
These dinos are really greaaat!!
Thanks from FRance!!
You’re most welcome!
Adorei a idéia de usar os pratos para fazer os dinossauros.
Hi Kate – loved these dinosaurs, I actually bought sparkly cardboard to use instead so I didn’t have glitter going everywhere in my classroom (yes, I’m boring I know, but glitter follows me for months if I use it LOL!). I noticed though when I was putting mine together, they were in reverse compared to your photo, I had to re-do the stegosaurus, so wondering if you photo was reversed or was the printout reversed? I was going to show my students your website, but didn’t want to confuse them after they’ve coloured in the printout. Thanks again though, we are going to see a dinosaur exhibition at the Melbourne Museum (we live in Australia) so I know my students will love to make these!!
Hi Jodie, I’m glad you like the dinosaurs. I think I would have cut the shapes out, then turned them over once cut out and stuck them on with the black lines facing the back (which would still have been a bit visible) to make them look a bit cleaner for my photographs. If you have coloured in one side of the print out could you just stick the head on the other side of the semi circle, so that they are facing the other direction?
Super cute!
These are so much fun to make with my granddaughter and she plays with them for hours!
That’s fantastic, so glad you had fun with them 🙂
Love it! Wondering if you could use a brass brad to connect the head, legs, etc. so that the body parts can move? Maybe use a single-hole punch and attach the brad so that the prongs are on the back (unseen from the front)? I’m gonna try it!
Sounds like an awesome idea!
This morning I printed out 5 of each dinosaur template on different coloured paper and laid them out on a long table. I put scissors on the table. As the kids came in, I showed them the picture of your dinosaurs and asked them to pick a template. I picked the stegosaurus and found it challenging, so I wondered how the 5-6-years-olds would do.
They loved it. We had a room full of children cutting, coloring and stapling. We colored the plates with felt tip pens. And I put a lot of glitter in the glue, and the kids painted their dinos with glitter-glue.
We turned all the body parts so that the printed lines were on the backside of the finished dinos. This way no one notices whether the lines were followed exactly or not.
Thank you for a great activity!
Sounds like you had a fun morning! I’m glad the kids managed the tricky cutting out 🙂 Thank you for your feedback.