Create a 3D cicada craft using our latest template. This realistic insect craft is based on the North American Periodical Cicada that emerges from the ground every 13 or 17 years.
Age recommendation is 8+, although younger kids could make it with some help.
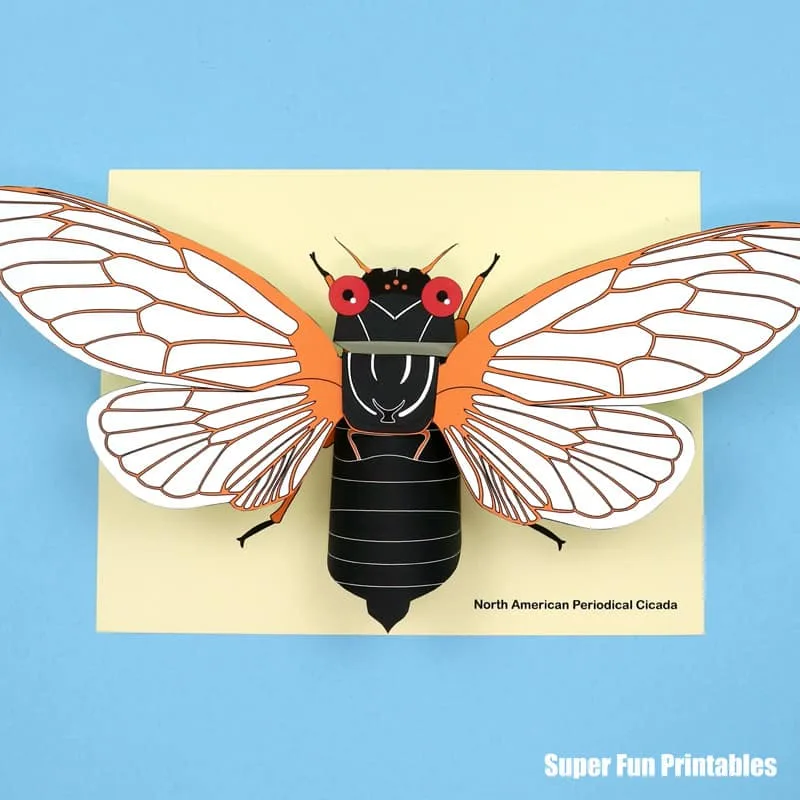
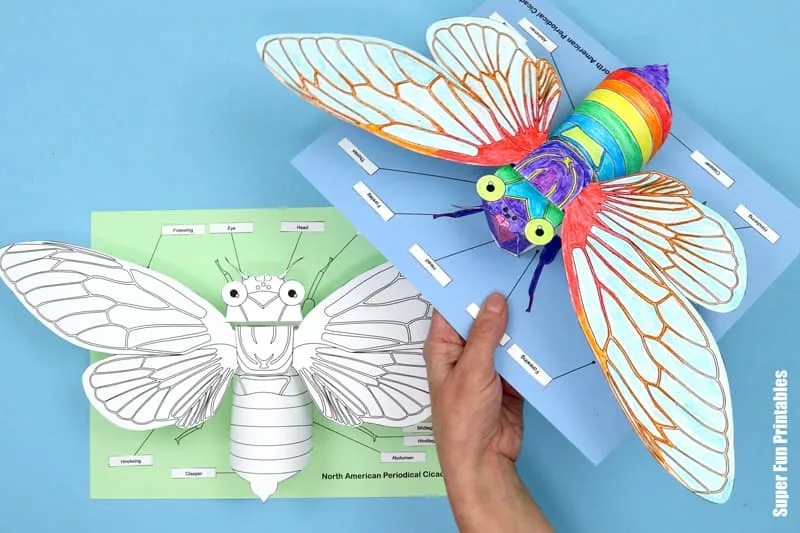
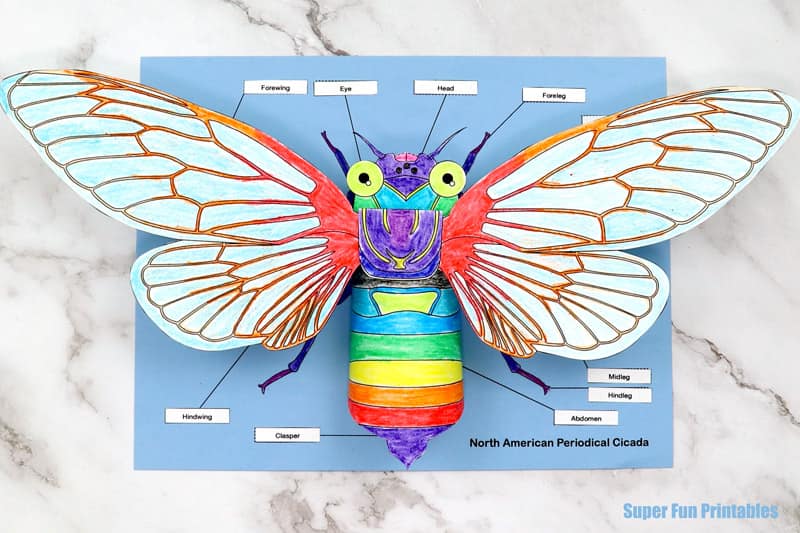
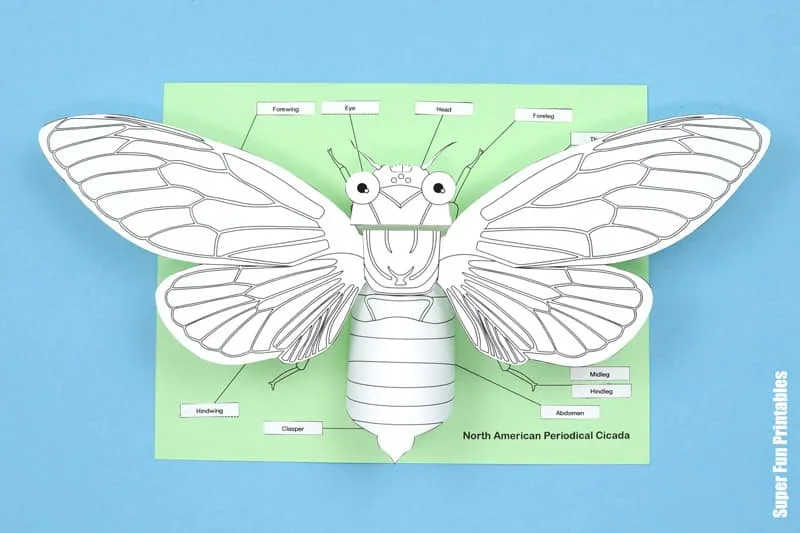
The finished 3D Cicada can be made with optional anatomy labels and comes in full colour and colour-your-own.
The trill of cicadas is synonymous with Summer. We get plenty of them where I live in the Blue Mountains, Australia, and their shells can be a hot collector item for kids. We’ve even incorporated them into crafts, such as our neon cicada shells.
Australian cicadas are different to those in the US. Ours have distinctive species with cool names like Tom Thumb, Green Grocer, Masked Bandit, Cherry Nose and Black Prince—and they all look like their names. Australian cicadas are annual and last all Summer long, although there are bumper years when we get far more of them.
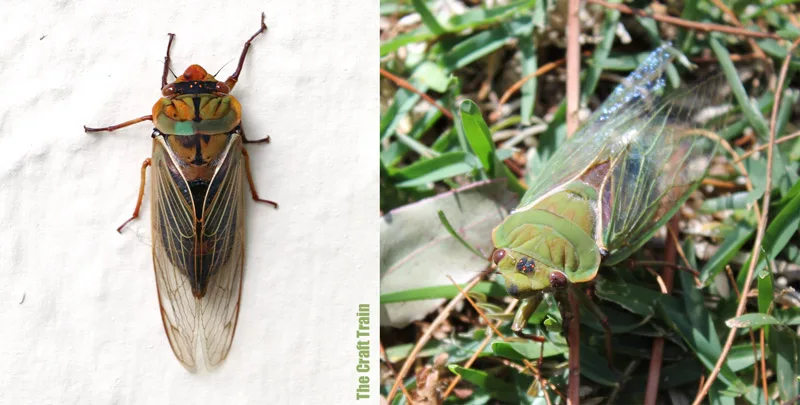
Here are some pics of the insects in our area, taken by me. The cicada on the left is a Masked Bandit, and the one on the right is a Green Grocer. They’re big, slow and clumsy. For an insect, they’re pretty cute and totally harmless.
Aussie cicadas remain underground for 6-7 years. America has annual cicadas too, but they also have Periodicals that remain underground for either 13 or 17 years, depending on their brood and emerge in great swarms that last for a month.
This year, two broods are emerging at once, resulting in a rare treat for entomologists, birds and frogs … “Cicadageddon”. Read more about the phenomenon here. Honestly, I’m fascinated.
This is an American Periodical cicada (stock image).
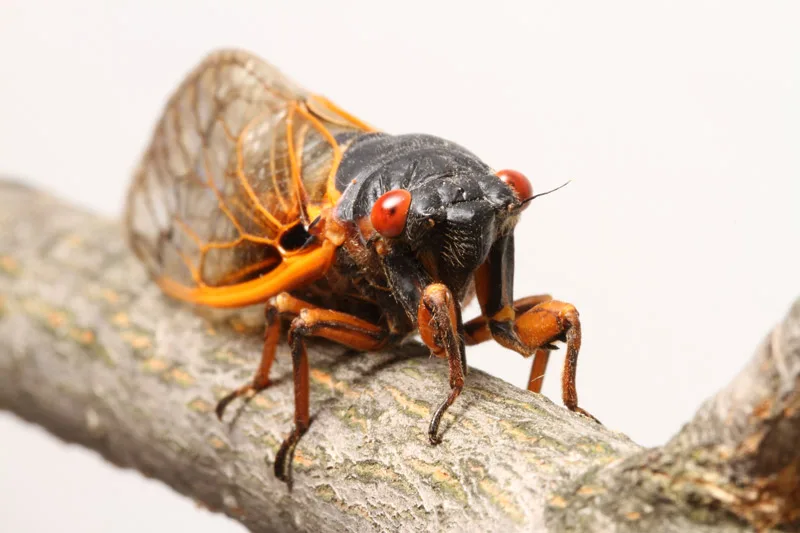
Now, imagine being inundated with a bazillion of these guys for four weeks solid!
Sounds like a great time to make a 3D Cicada craft to me.
How to make a 3D Cicada Craft
You will need:
- Card stock in white – 2 sheets per cicada plus the wing supports which have three sets to a page
- Card stock in a light colour for the backing sheet
- Crayons, coloured pencils, or markers if using
- Scissors
- Glue stick
- Scoring tool, ruler and cutting mat (recommended). If you have no scoring tool you can use a blunt butter knife
- The printable template, available in our printables store and our TPT Store
How to:
Print the cicada body parts, wings, and wing supports to white card stock. Print the base sheet with legs to a light colour of your choice.
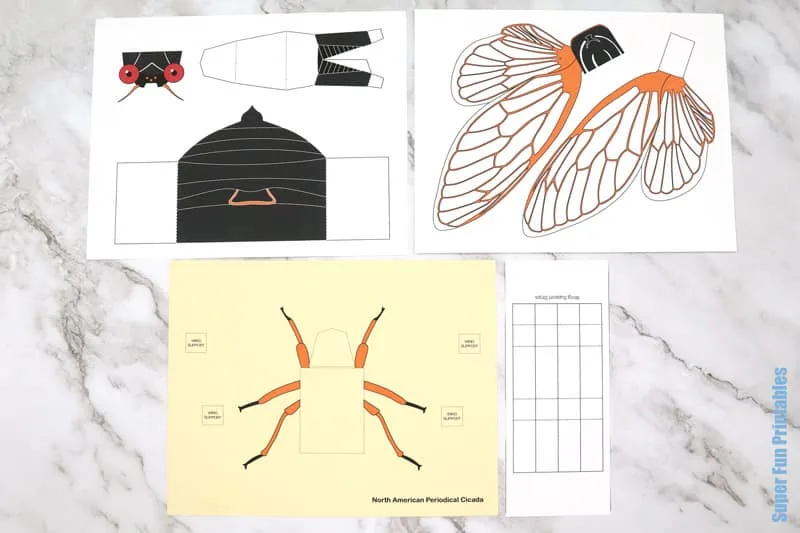
If using the colour-your-own version, colour the shapes and wings in.
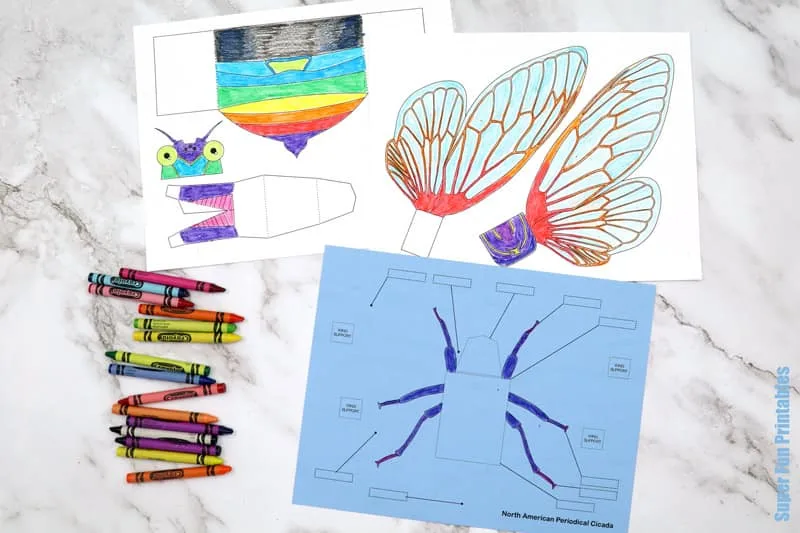
Cut the insect parts and wings out, plus the labels if you are making the labelled version.
Score the fold lines on the body and head by holding a ruler over them and running your scoring tool along each dotted line. Do the same for the wing supports. This makes folding easier and more accurate.
Cut the insect parts, wings and wing supports out, plus the labels if you are making the labeled version.
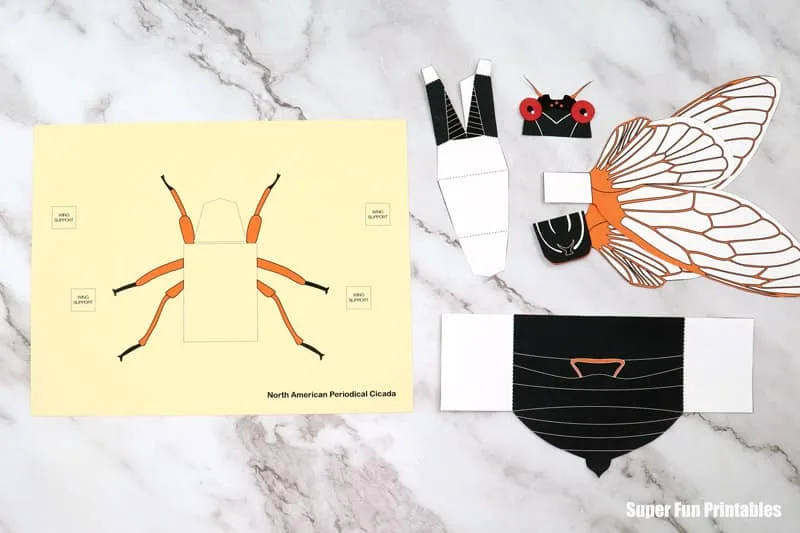
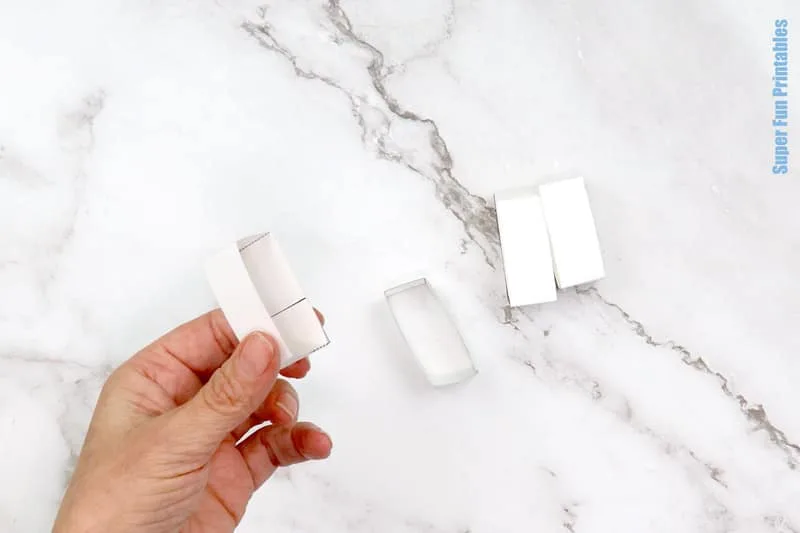
Fold the tabs on the body, then bend into shape and glue together. Fold and glue the head together. Fold and glue the wing supports into rectangular shapes.
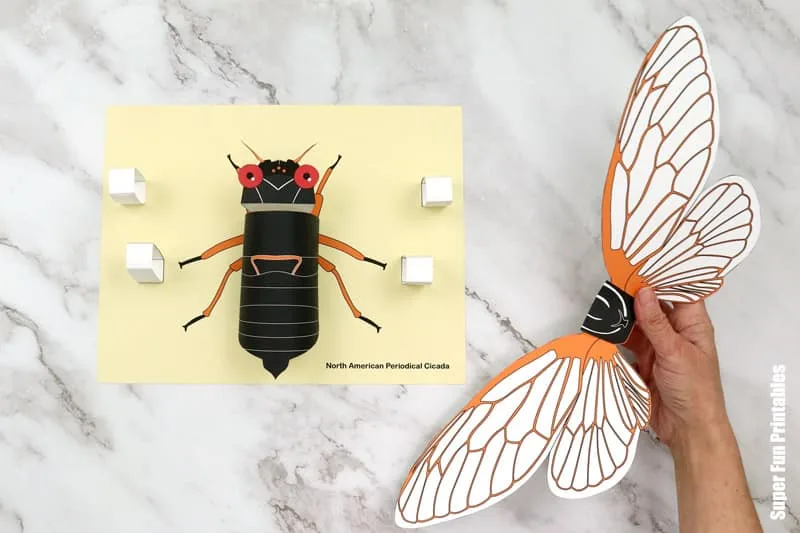
Assemble your cicada on the printed baseboard page. Begin by gluing the body into the rectal marked. Glue the head above it, and the eyes to the top of the head.
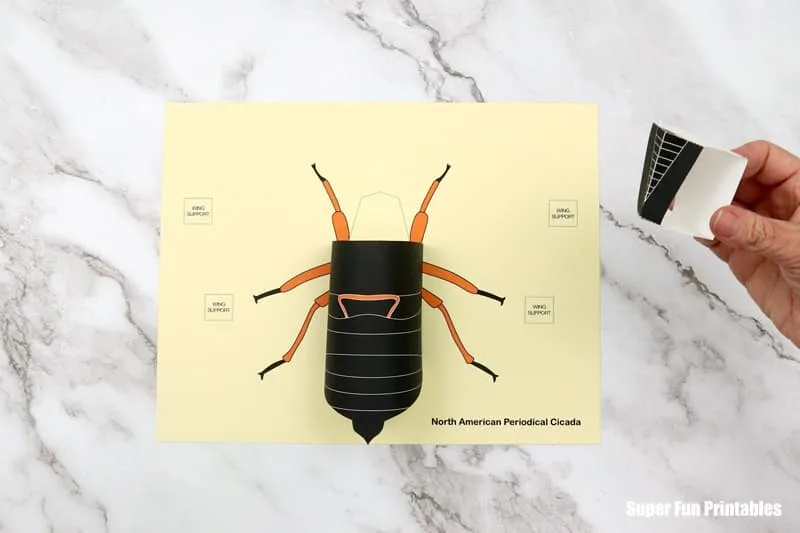
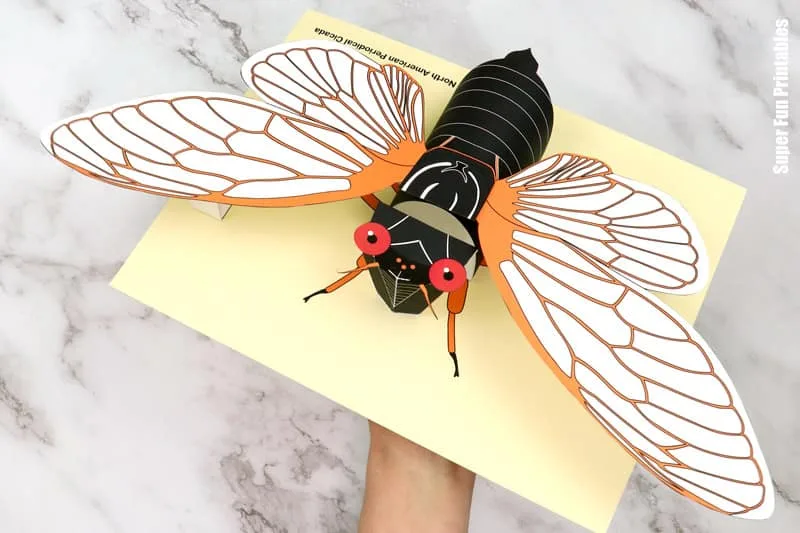
Stick a wing support into the space marked on the baseboard. Glue the wings together, then stick into place on the insect’s thorax, lining it up with the top edge of the body.
If using, glue the labels on in the appropriate spaces marked.
Now hang your cicada on the wall!
See more bug craft ideas here.
Check out more of our 3D insect craft templates

Leave a Reply