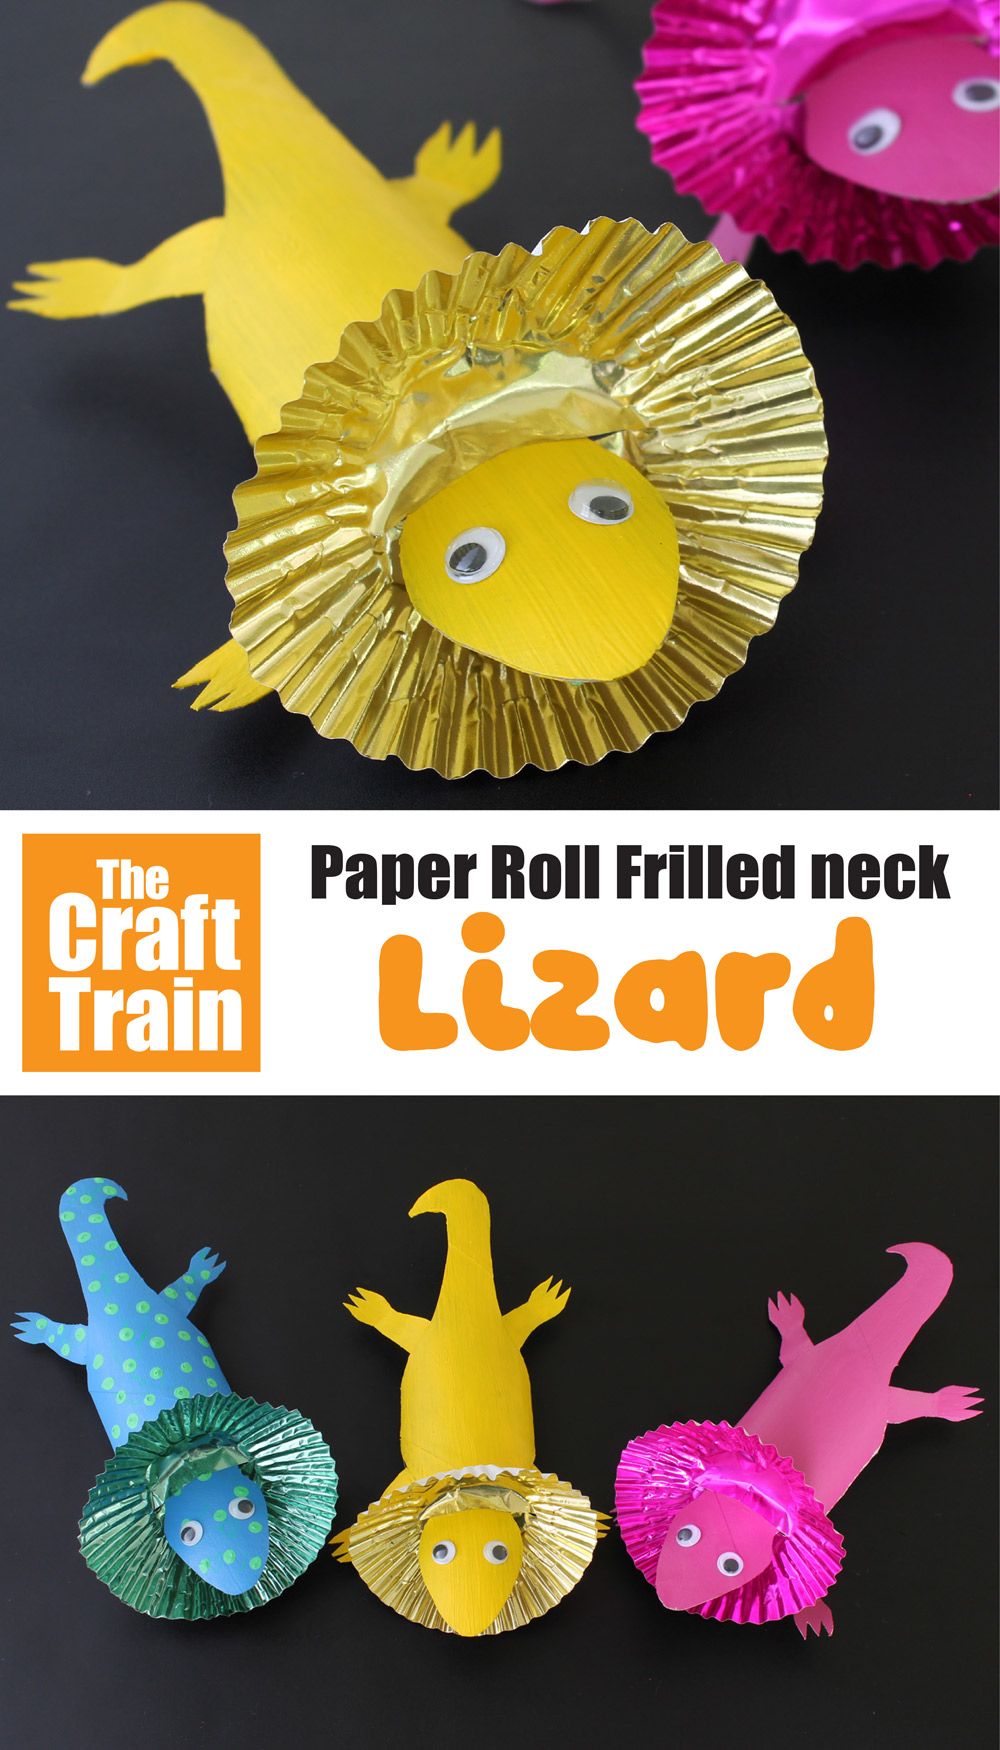
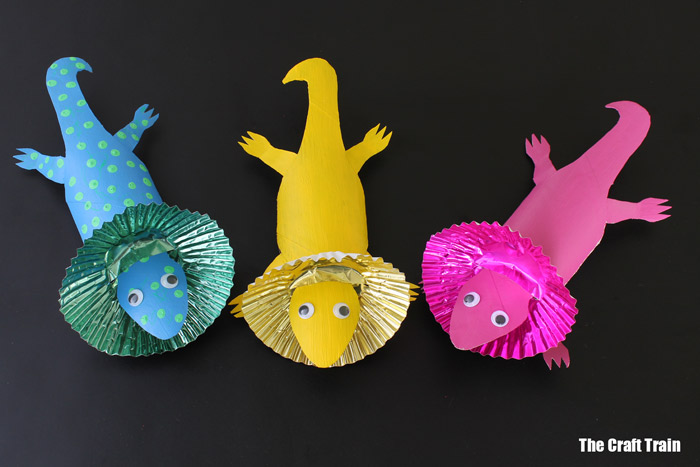
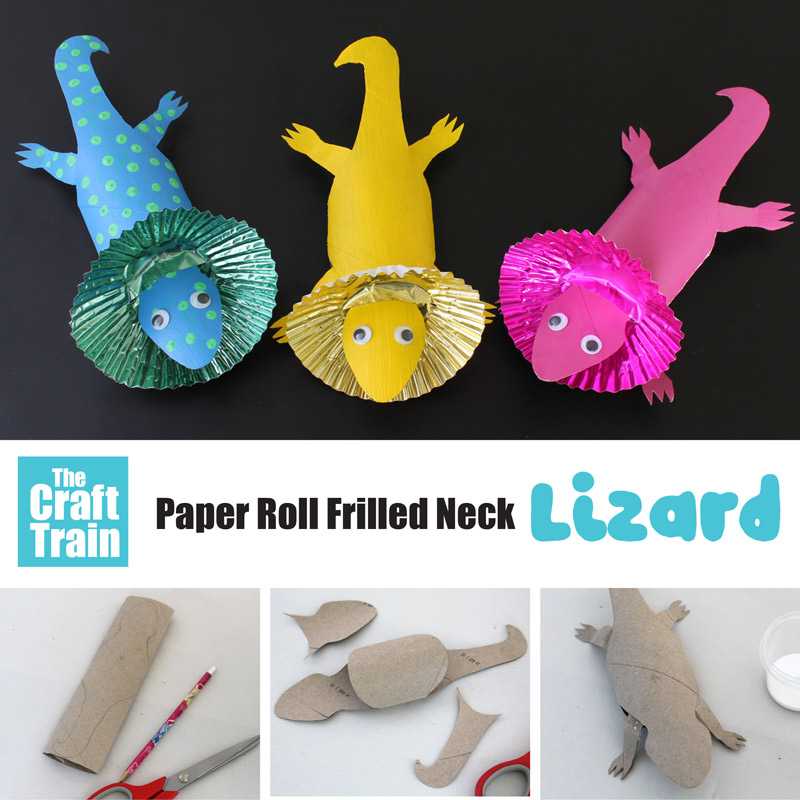
Make a super easy frilled neck lizard craft from a paper towel roll! This is a fun Australian animal craft for kids of all ages. It’s perfect to make as an Australia Day craft or as an anytime activity for kids who love reptiles.
This craft was originally published in 2015 and has been updated and reshared for today’s audience.
You might also like our paper chain pythons based on species from the Daintree Rainforest
Have you ever seen a frilled neck lizard? They are a unique reptile found mostly in the tropical Northern half of Australia and parts of Papua New Guinea. When they are feeling frightened or defensive they puff out the frill around their neck, earning them their name.
I’ve never been lucky enough to spot one of these creatures in its natural habitat in the wild, but one day I would like to. They are so cute!
We decided to make some Frilled Neck Lizards from cardboard tubes to celebrate Australia Day, which is on Monday 26th January in our state. You can make one with your kids at home too, they are very easy.
You could also turn it into an ordinary lizard by not adding the cupcake liner for the frilled neck.
How to make a frilled neck lizard craft
You will need:
- One long cardboard tube per lizard – ours are from paper towel rolls
- One cupcake case per lizard
- Googly eyes — or use our free printable paper eyes for a more eco-friendly version
- Tacky craft glue
- Paint
- Paintbrush and scissors
- Lizard Template (optional)
How to:
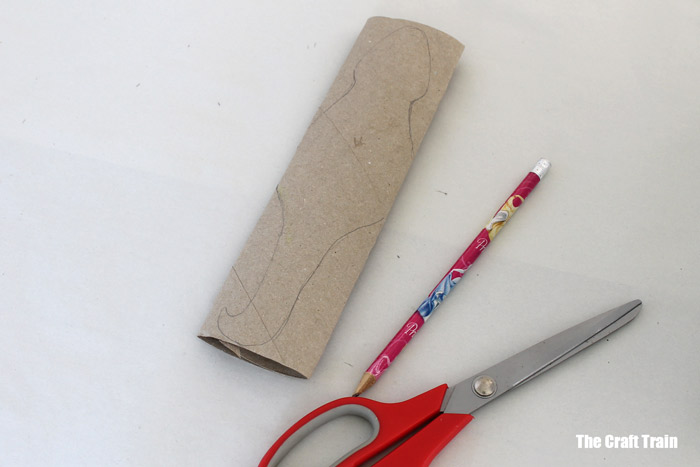
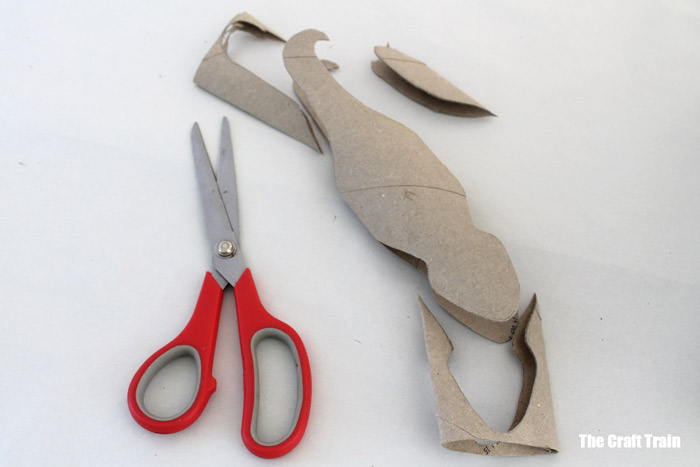
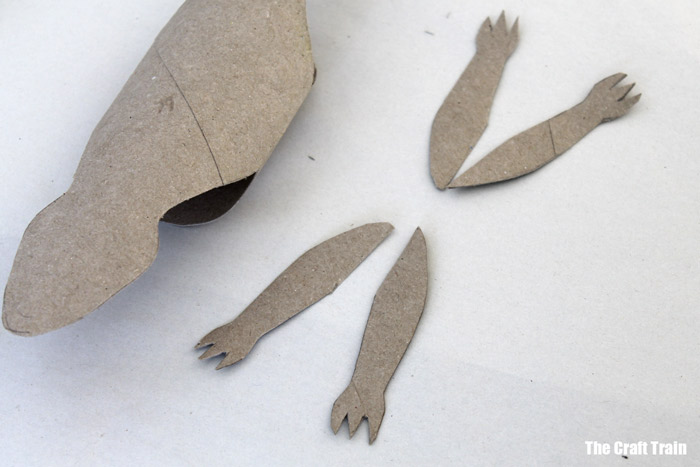
First, squash your cardboard tube completely flat. Then sketch a lizard head and tail shape on there like in this picture. For the body of the lizard leave the cardboard tube joined at the edges. Cut along the lines you have sketched. If you need some help getting the shapes right you can use this Lizard Template.
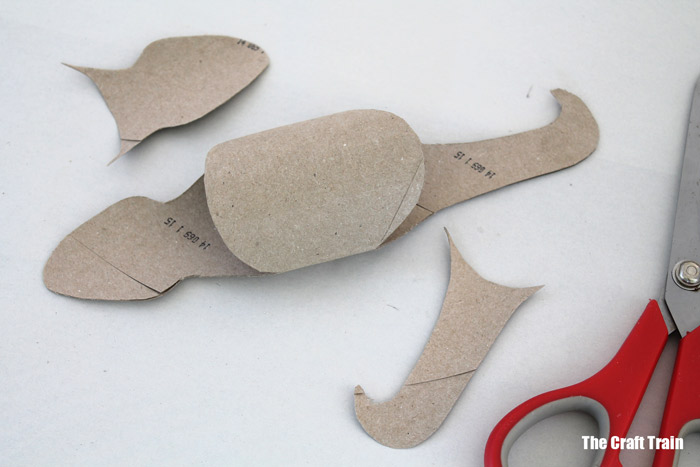
Flip the lizard over, and cut off the head and tail shapes on the bottom, so you only have them on the top.
Cut out four leg shapes. I had enough scrap cardboard left over from cutting around the lizard to use as the legs, but if your roll is a bit narrower than mine you might not have enough and will need to use a second cardboard tube.
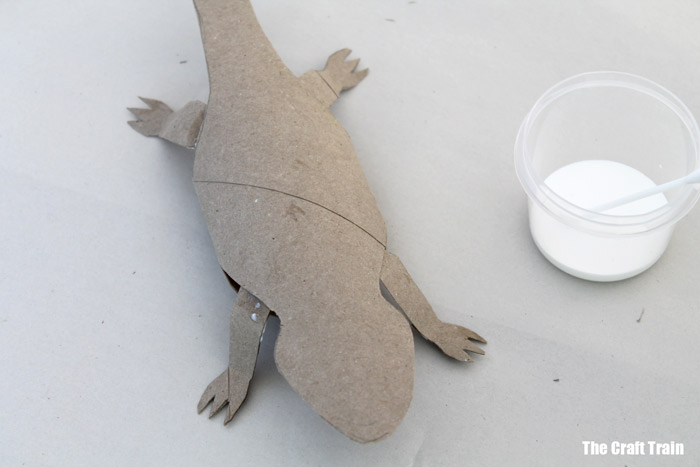
Glue the legs on, bending them into shape so that the feet touch the ground.
You are now ready to paint your lizard. Generally, these lizards are a reddish/brownish/yellowish colour but why limit yourself to that?
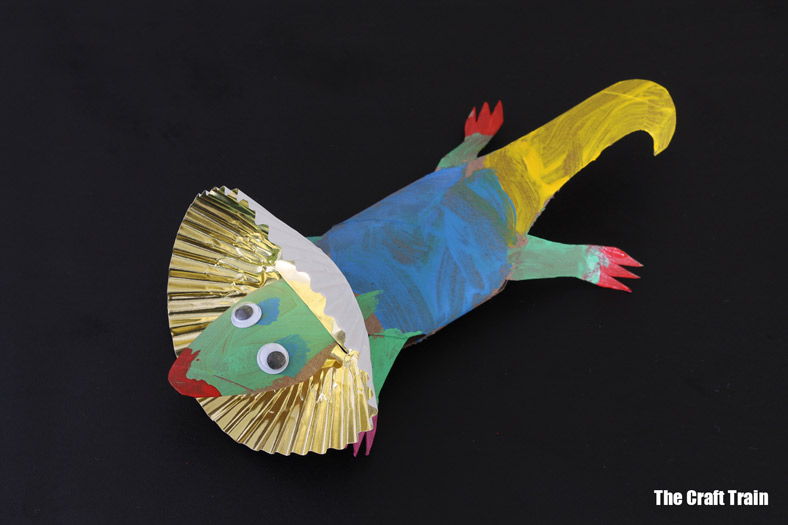
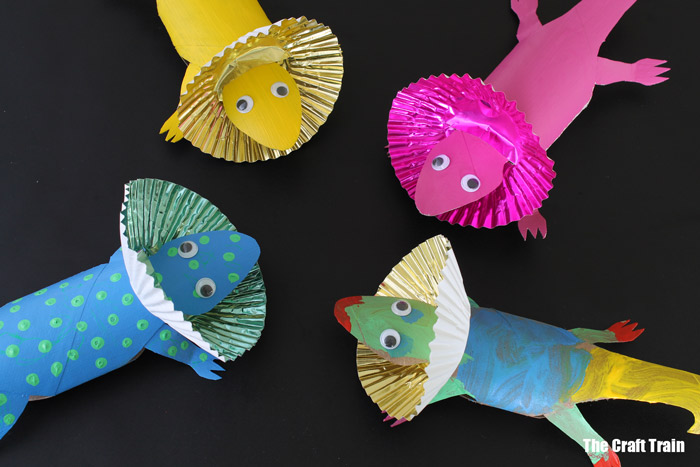
Go on, make a rainbow one, Miss K did!
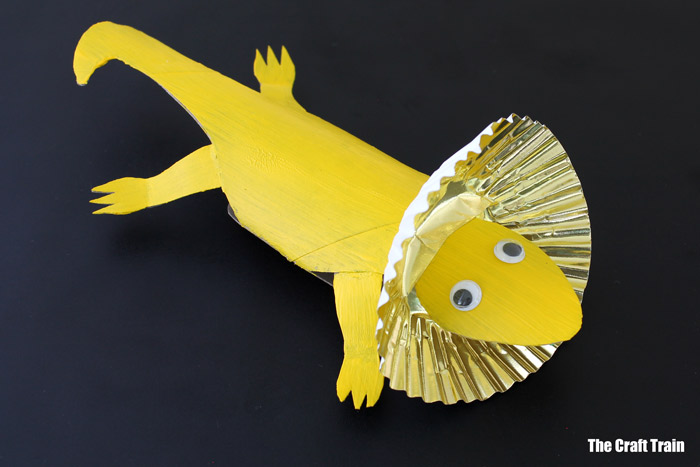
Once your Lizard has been painted, give it time to dry before gluing on the googly eyes, and then cut a slit in your cupcake case and glue that onto the neck last of all, puffing it up around it’s head and just putting a small amount of glue at the base.
These are our lizards…
This rainbow one was painted by Miss K, I cut it out and made the shape for her.
Wishing a fabulous Australia Day to all of our Aussie followers!
This post has been part of an Australia Day blog hop. Here are a few more Aussie themed posts by some of my blogging buddies:
Sydney Opera House Craft from paper plates by Danya Banya
How to make Aussie Damper Bread by Laughing Kids Learn
No-mess pavlova busy bag by Three Foot Cooks
More Australian animal crafts for kids
- Make a cute and easy paper plate Ringtail possum
- Here are 12 Australian animals you can make from paper plates
- Upcycle an egg carton into a sugar glider that stretches out his legs to glide
- Turn a tin can into a cute cockatoo pencil holder
- Use our printable template to create a paper green tree frog

So clever! And they turned out so well!
I wouldn’t mind spotting one of these colourful and friendly looking lizards on some of our bushwalks. This is such a creative use of cardboard tubes and they turned out so well.
Love their shiny frilly necks 🙂
so adorable