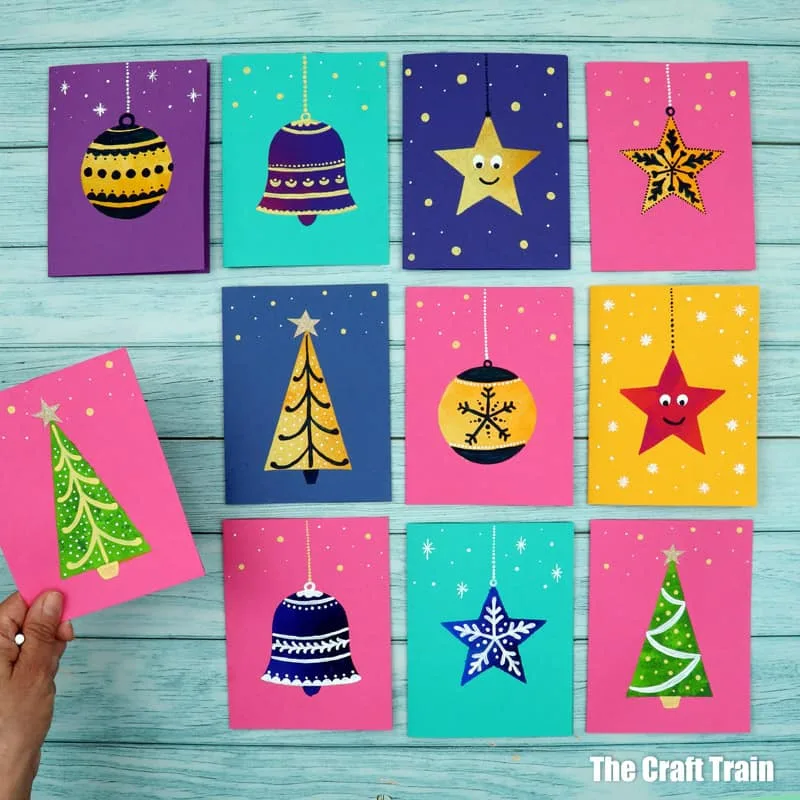
Create a batch of Christmas shape cards using an easy masking technique and our free printable template.
This activity can be tweaked for different ages, with the finished designs ranging from super simple to as intricate as you want to make them. And, yes, adults can make these too! You don’t need to be a kid to enjoy card-making.
Check out our our Christmas tree doodle art
You can’t beat handmade cards for Christmas! And if you’re the crafty type, you can’t beat the fun of making them either—just ask my mum. I was utterly obsessed with card making as a kid and used to spend hours at it in my room.
Maybe that’s why I got carried away and made waaaay more cards than I needed for a simple blog tutorial. I’m glad I did though, because it demonstrates how perfect this project is for batch processing.
You can make enough for all your friends and family. A ‘set’ of matching but different handmade cards is also a fun collaborative art project to do with your kids.
How to tweak the card design for different ages
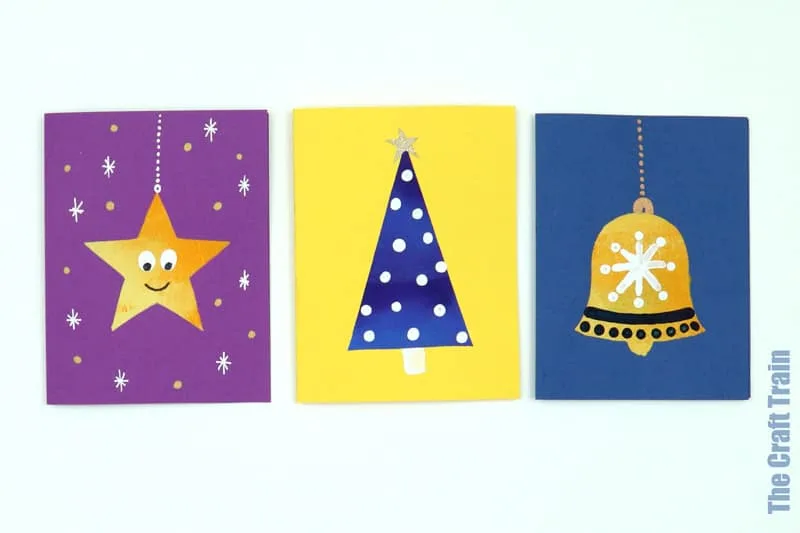
Every card is made with a basic symmetrical Christmas shape. Once these have dried, decorating the cards is like decorating cookies—make them as simple or fancy as you like.
For littlies, use q-tips to create the patterns. Simple dots on the tree, q-tip snowflakes or dot and line patterns on the bell or bauble, and happy face stars.
For tweens, teens and adults, paint designs using a fine brush. My patterns were inspired by cookie icing.
Painting with a brush can be fiddly and time-consuming. If you want to batch process lots of cards quickly and still use more complex designs, you could switch the paintbrush out for sharpie markers and draw the patterns on.
How to make Christmas shape cards
You will need
- Card stock in bright colours, US Letter size – if you’re using A4 paper the template will be the incorrect size for printing. This means the cut line won’t be in the right place, so you’ll need to halve and fold your card stock without printing the Christmas messages
- Round sponge brush or a small sponge roller – alternatively, cut a kitchen sponge up and use small pieces of it for dabbing
- Good quality acrylic paint
- Q-tips
- Good quality fine paintbrush
- Optional Sharpie markers in metallic colours
- Optional gel pen in white and/or metallic – for background dots and stars (you can also use paint for this, but pens are quicker)
- The printable template – this is free for our subscribers, enter your details into the form below and it will be sent directly to your inbox
How to
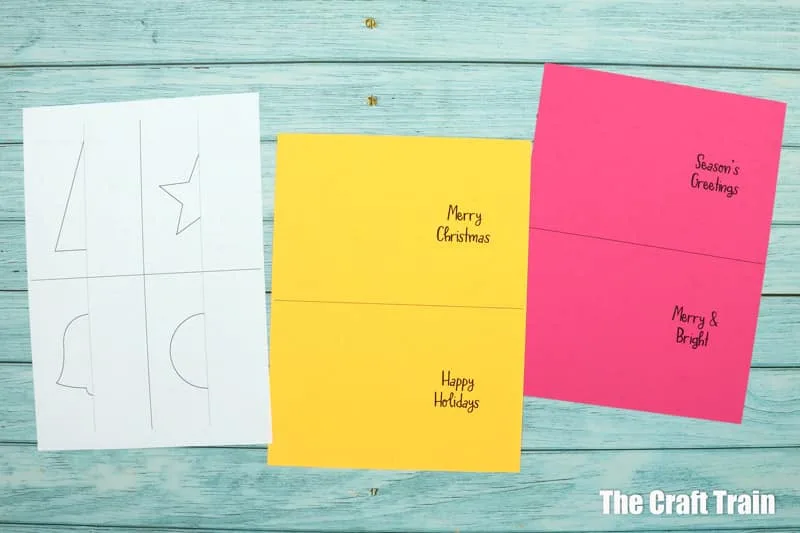
Print the Christmas messages onto coloured card stock and the shapes to plain paper. Each card needs a fresh masking shape, so print as many of these as you need. The shapes are in multiples of four and the Christmas messages in multiples of two, so print half the number of pages of shapes as you do pages of Christmas messages.
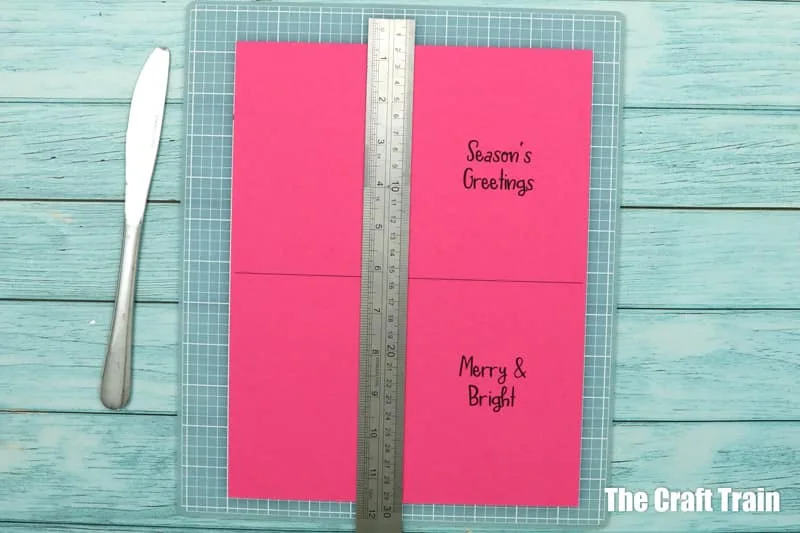
Score the fold line on the cards by placing a ruler to the fold lines marked and running a blunt butter knife or scoring tool along it to create an indent. This step is optional, but it makes folding easier and more accurate.
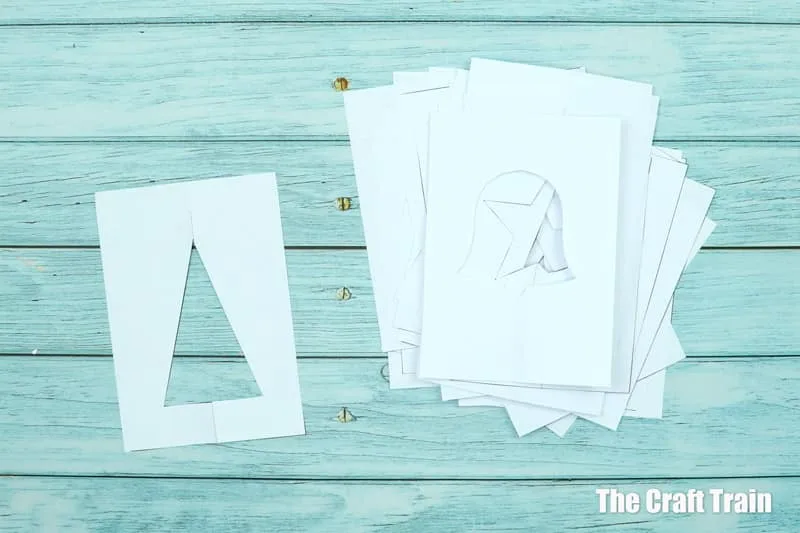
Get the masking shapes ready. Cut along the straight lines to separate the shapes, then fold each shape along the dotted line and cut it out.
Do this for all of them so you have enough shapes ready to go.
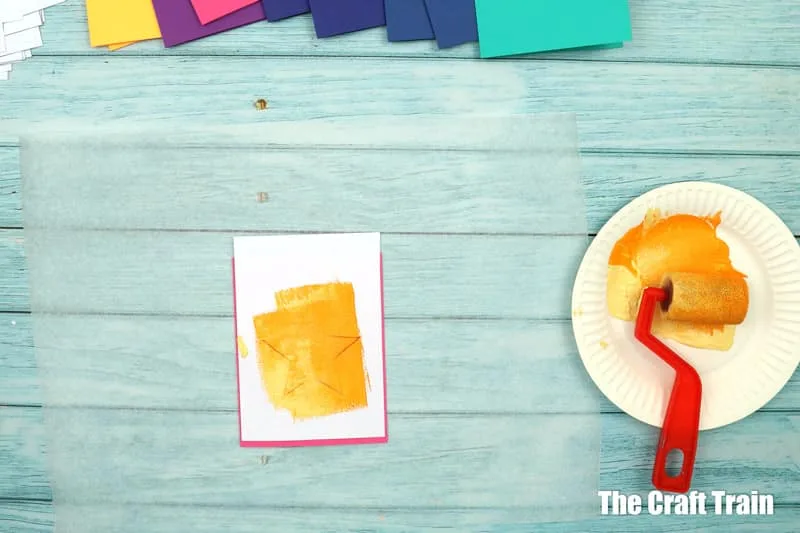
place a shape on top of your card and either sponge dab or roll paint over it. I’ve used two shades of paint in a similar colour (eg, orange/yellow, dark blue/turquiose) so they create a blend. You can just stick to the one colour if you prefer, or mix them any way you like.
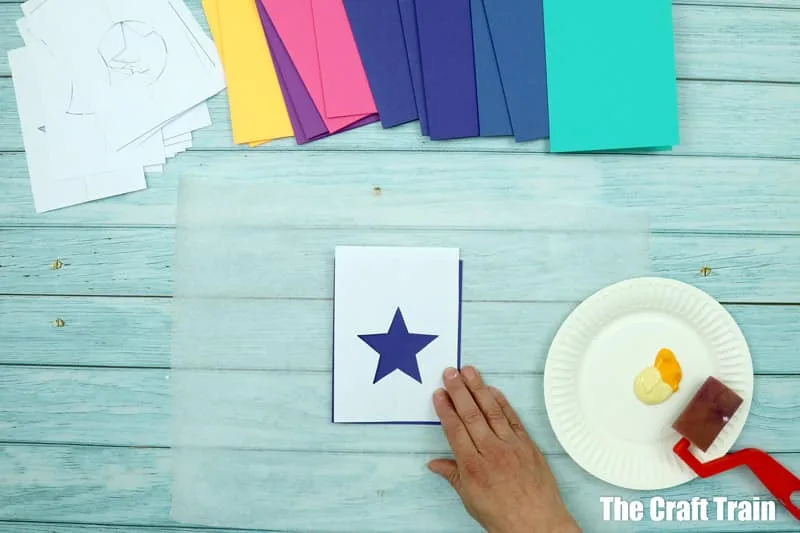
Paint the colour on.
Carefully lift the mask away.
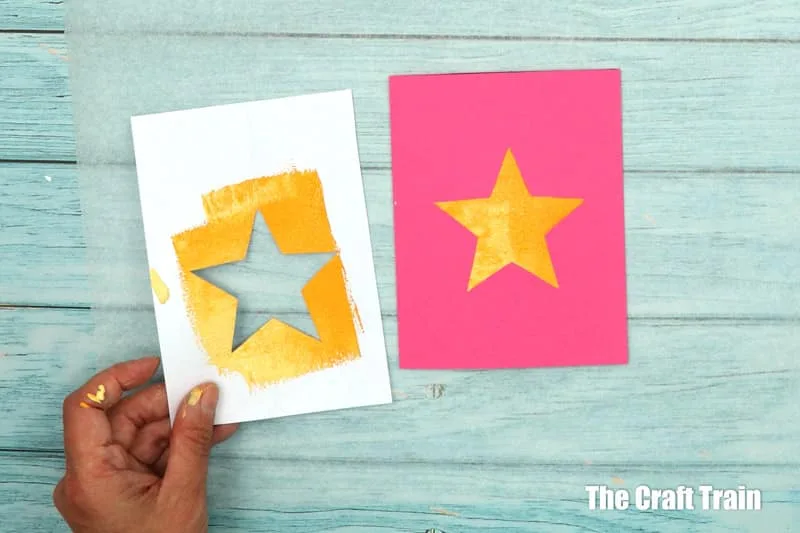
Allow the cards to dry before decorating.
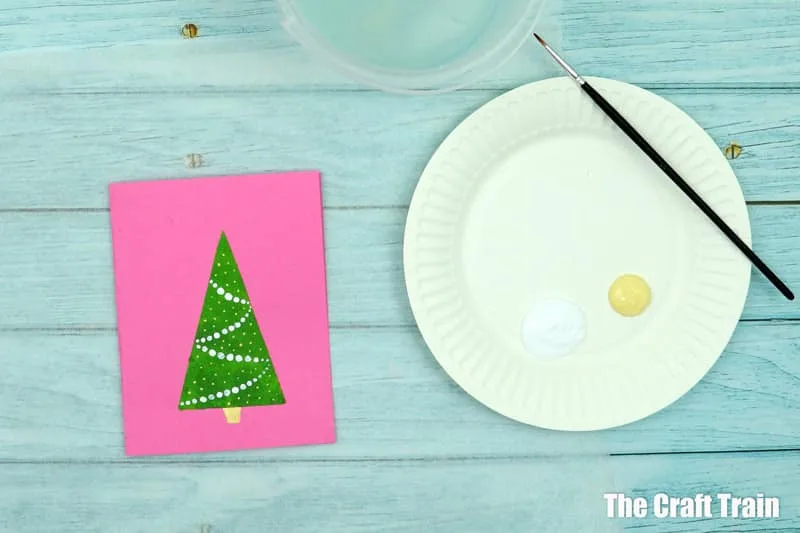
Dots for lights are effective on the Christmas trees. You can also make dots from q-tips.
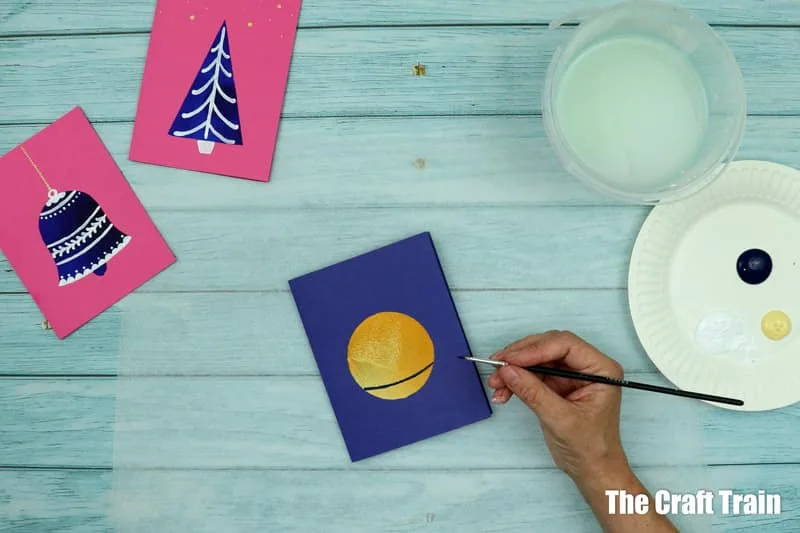
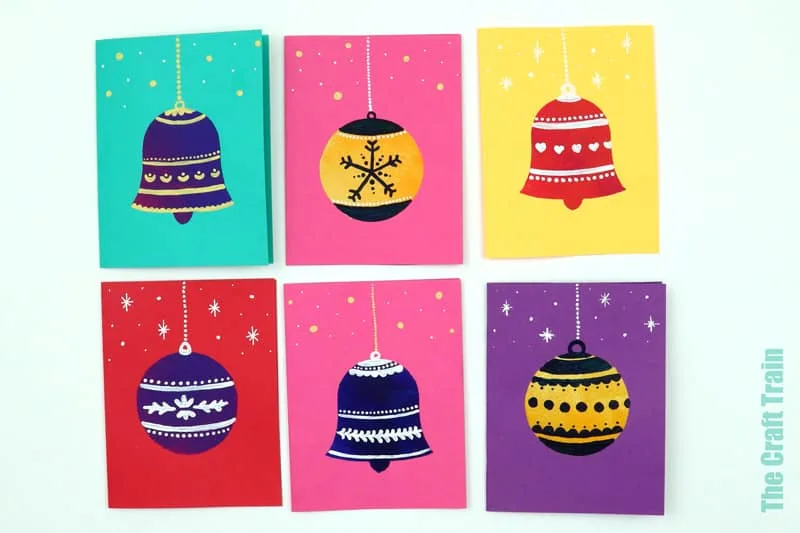
Dots and stripes work for the baubles and bells. Google Christmas cookie icing designs for extra pattern inspiration.
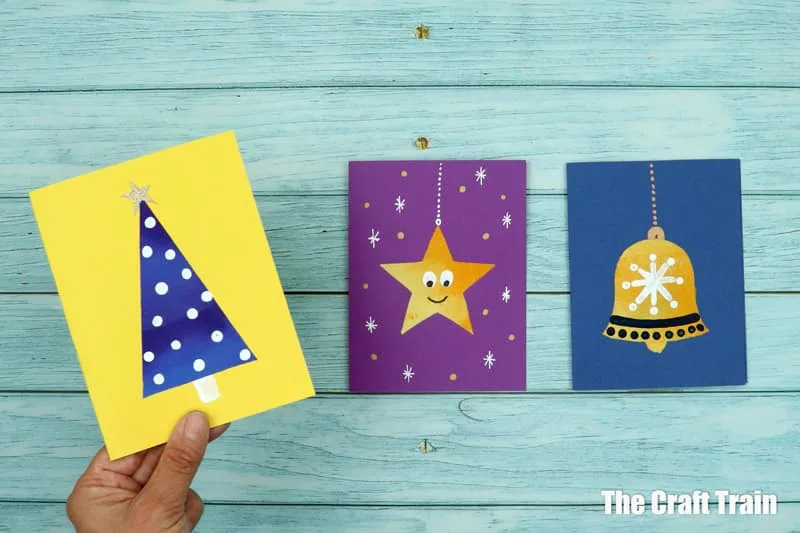
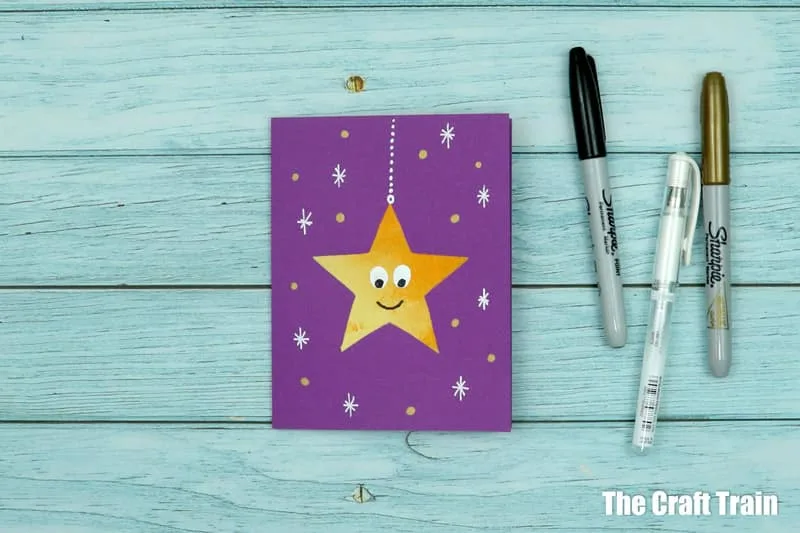
Here’s a simple way to decorate the star: Paint the eyes on with a q-tip, then once dry, add detail with pens and markers.
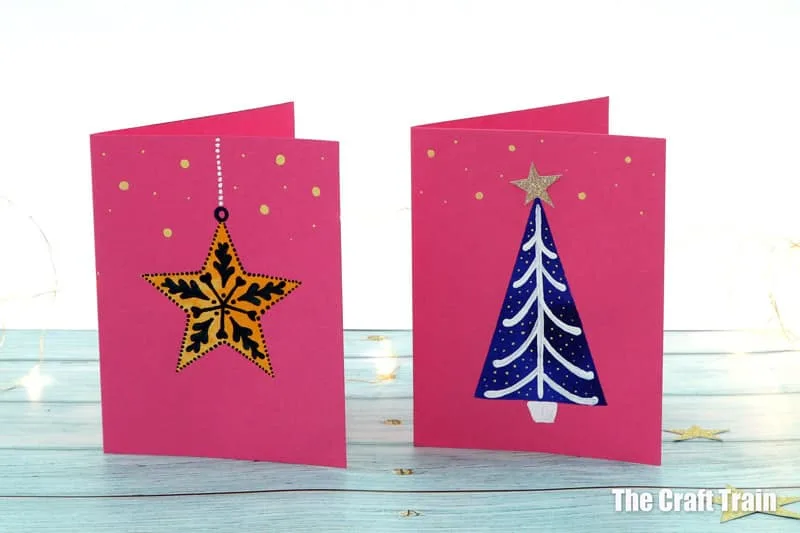
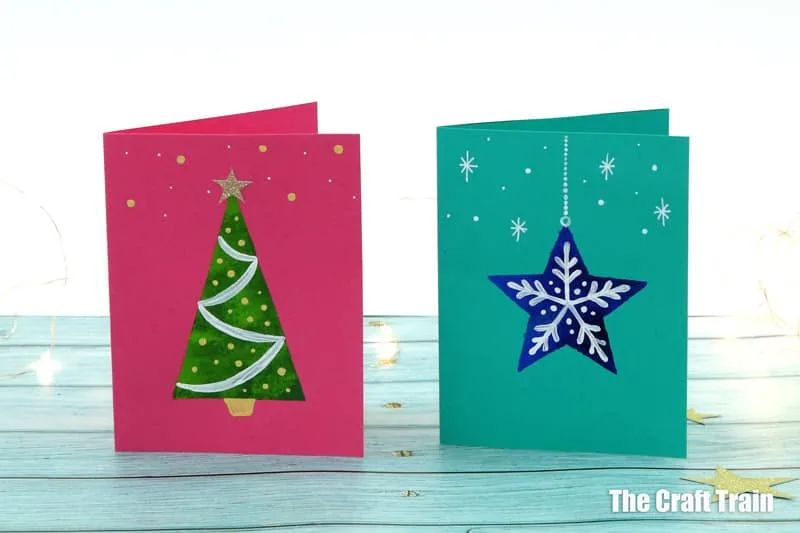
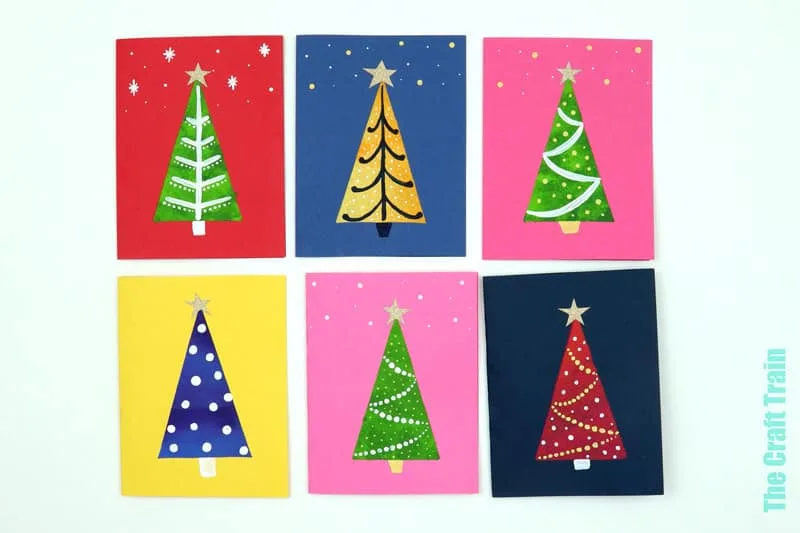
Here are some different tree card designs. I cut the stars out of a sheet of gold cardboard, but you could also use store-bought sequin stars, stickers or just draw them on.
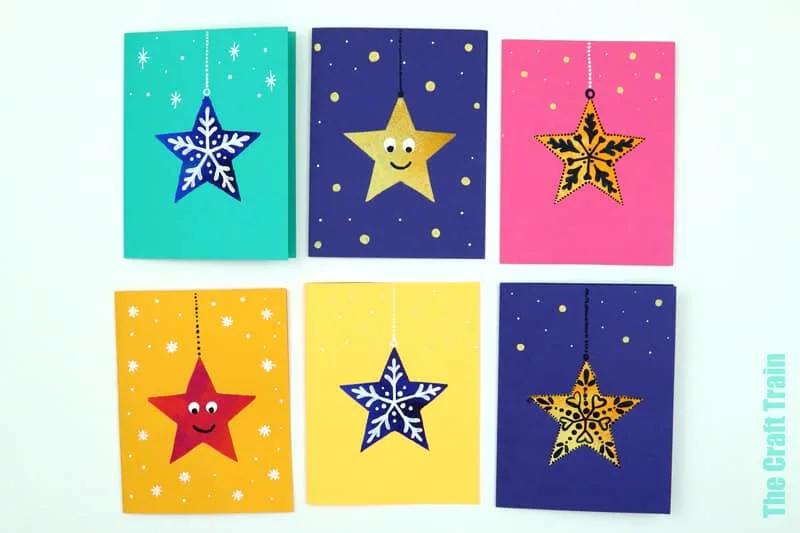
And star designs …
Bells and baubles …
The easiest patterns for younger kids …
I hope you have fun card making!
You might also like:
- Reindeer treat cups make the cutest DIY gifts
- Make a quick and easy washcloth snowman
- This handprint Christmas art on a watercolour and salt background is so pretty
- Here are some free printable colouring cards if you can’t be bothered with getting messy with paint

Leave a Reply