This has to be the easiest DIY Frozen Cake recipe out there! Follow our tutorial to decorate a cake perfect for a Frozen party.
Amazingly, my littlest girl is about to turn six. Before that happens, I thought I’d share the cake I made for her last year when she turned five! Last year’s birthday was not a fancy affair and we had no ‘big’ party, just a quiet little celebration at home. She requested a Frozen cake, and I thought I’d have a crack at making one. This is how it turned out.
Before I begin my tutorial I’ll let you know that I am not a much of a chef and I don’t have a love of baking, so fancy cakes are not my thing. In fact, they stress me out big time!
If you do a Pinterest search on “Frozen Cake” some jaw-dropping, intricate and beautiful creations appear – there are some seriously amazing Frozen cakes out there. My cake is not quite as impressive but the girls LOVED it, and I have to say it is really, really easy to make. Hardly any stress at all!
How to make a Frozen Cake
To make the base
The base cake is simply a regular carrot cake with cream cheese frosting. You might have a favourite carrot cake recipe of your own that you know turns out well, or you could use the same one I used which is this one here. This recipe only makes a smallish cake so if you are planning a big gathering you might want to double the quantities or make a batch of cupcakes to go with it.
Carrot cake is Miss K’s favourite so that’s why I went with this one but you could always make it even easier by using a packet butter cake mix and making butter cream icing instead of the carrot cake and cream cheese.
To decorate the iced cake you will need
• 1 cup of white chocolate melts
• 1-2 teaspoons of blue jelly crystals
• a few drops of blue food colouring
• Frozen figurines – mine are just cheapies from the dollar store
• Non stick baking paper
• A cake board or a baking sheet covered in foil
How to
Melt the white chocolate melts in the microwave by putting them in a microwave safe bowl, setting the microwave to medium power setting, and microwaving for intervals of 1 minute to begin with. Stir between zaps and reduce to less time as the chocolate starts to look more melted. In my microwave it takes around 3-5 minutes but all microwaves are different and cooking times can vary (I can’t remember the exact time but as long as you keep on checking and stirring the chocolate it shouldn’t burn). The chocolate is ready when it has no lumps left and is smooth and glossy.
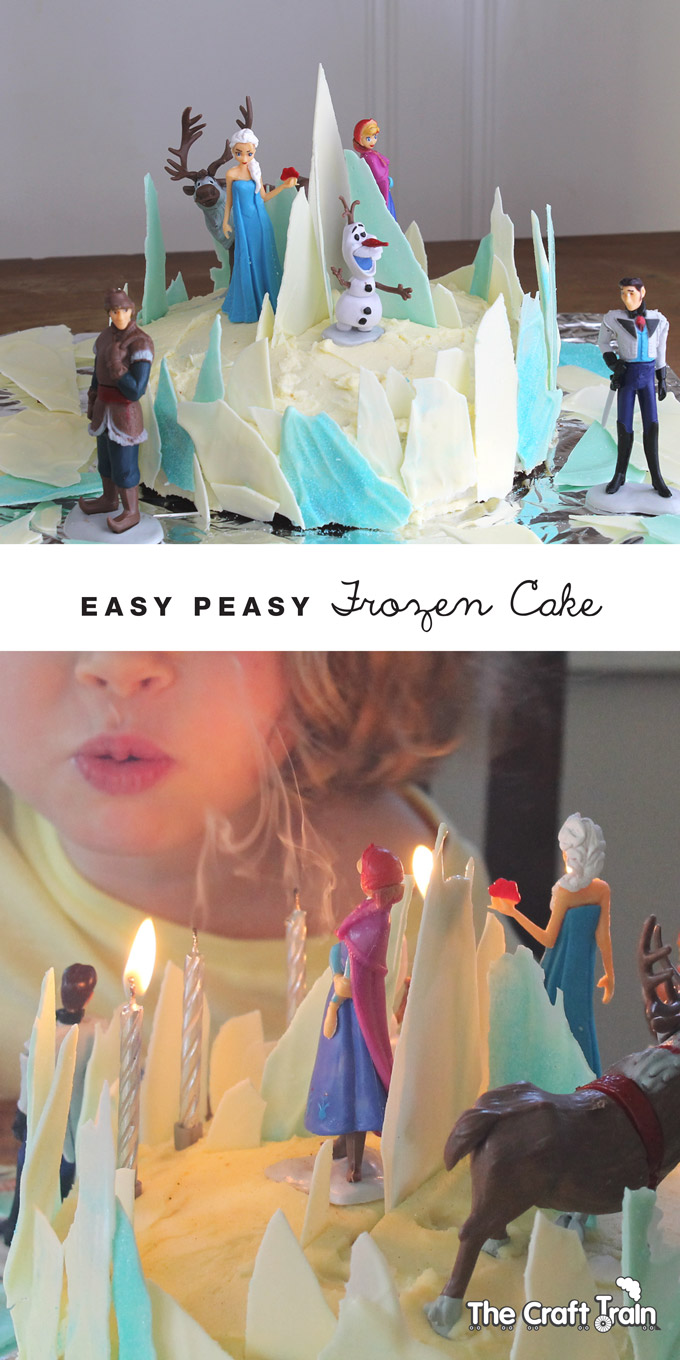
Once the chocolate is melted pour a third of it onto one of the sheets of baking paper and spread it out thinly with a cake spatula. Pour another third out and immediately sprinkle some blue jelly crystals on it to look like frozen sparkles. With the last third add a few drops of blue food colouring and mix it in. Then spread this last third out on some baking paper the same as the other two and add some blue jelly crystal sparkles over the top. Leave the chocolate for a while until it goes hard. Once it has you can peel the baking paper off (it should come off easily). Then put the chocolate sheets onto a chopping board and cut them into jagged pieces very roughly with a knife, so they look like spikes of ice.
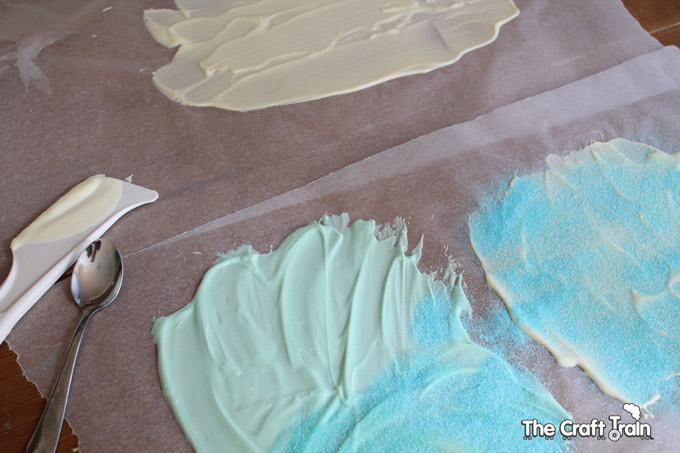
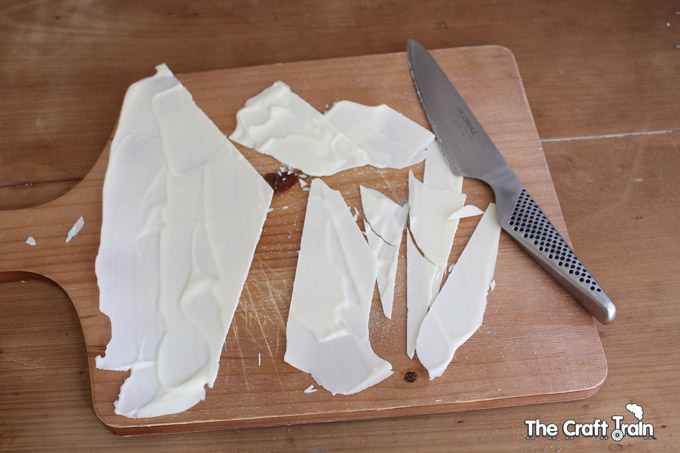
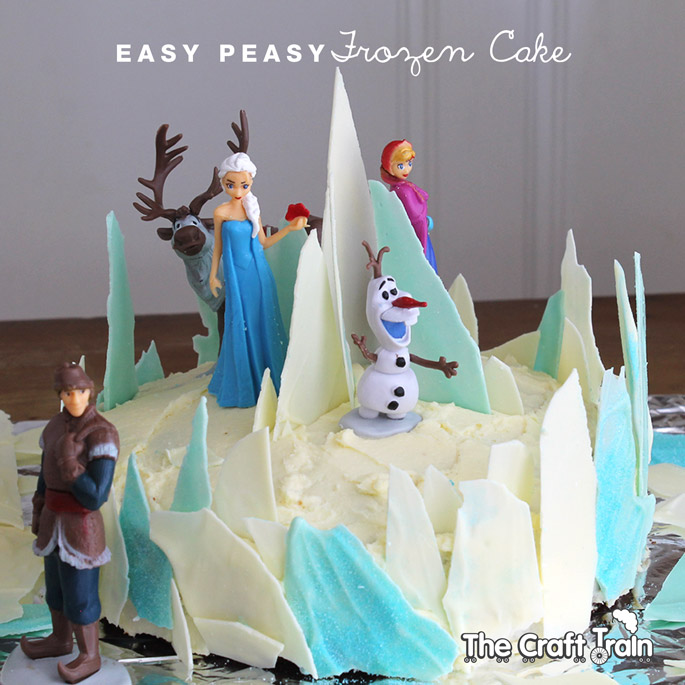
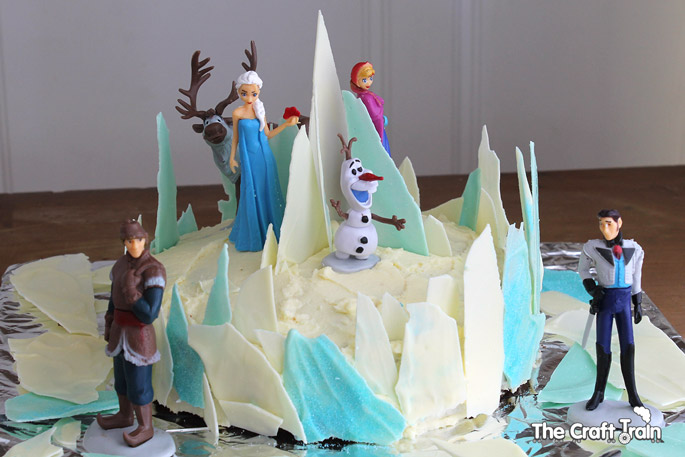
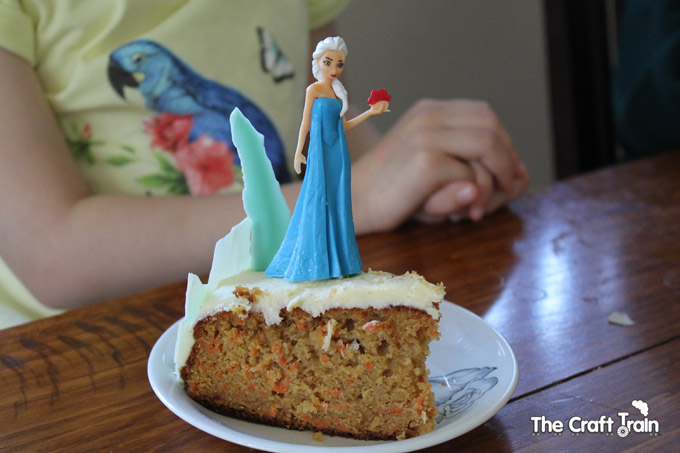
Finally, decorate the cake with the ice spikes and frozen figurines. The cream cheese icing is a nice consistency to jab the ice slabs into and they stay up pretty well. I basically just arranged a few larger spikes in the middle and some smaller ones around the edge of the cake, randomly putting the blue pieces here and there. I fit Elsa, Anna, Olaf and the Moose on the top of the cake and placed the male characters on the cake board around them. I spread some of the left over chocolate slabs around the cake to enhance the Winter feel, and that’s pretty much it! Ta da! The easiest Frozen cake ever.
And it tasted pretty yummy too!
More birthday party ideas
- Here are some printable party hat templates which make a fun party craft activity
- Or try these butterfly tiaras and wands for a butterfly party
- Makes some DIY fairy crackers as table decorations
- Take advantage of our Free party planner
- These marshmallow and chocolate pops make easy DIY favours

What a beautiful cake and you make it look so easy,I’m not a baker,but I think I will try it for my nieces little girl as she’s mad on frozen.Thanks for sharing.
It’s super easy! I’m not a baker either so if I can do it you can too
Thank you for the super fun and easy idea! I just copied it to make a birthday cake for a child thru a charity org that I volunteer with.
No problem! I hope she enjoys the cake. Thanks for taking the time to comment 🙂
Hi! I love your cake and wanted to try making this for my daughter’s 3rd bday this weekend. I’m not a baker at all! So hoping this is easy enough. Just one question, what is blue jelly crystals?
Hi Pauline, If you are from the USA I think they might be jello crystals? In Australia what you call jello we call jelly and what you call jelly we call jam. Does that help?
Good luck with the cake, it really is super easy!!
I just want to say thank you sooo much for posting your recipe! I made this for my daughter and she was all smiles!! I’m not a baker and terrible at frosting so this made her cake super fancy! Thank you again! 🙂
Made a vanilla cake with vanilla icing and decorated like yours, for my daughter’s 4th tomorrow, im pretty pleased with it!thanks for the idea
So happy it worked out! Happy birthday to miss 4 🙂
Thank you so much for this inspiration! My cake was a disaster and had to be held together with buttercream but overall it turned out really well. Easiest shards ever! Would love to show a pic but don’t know how. Thanks again though 🙂
Sounds fantastic and well done! Patching things up when it all goes wrong is all part of making a “mum” cake and I’m sure it went down well with the kiddos 🙂
Just made this. My cake has to be dairy and egg free so I’ve adapted. And unfortunately dairy free white chocolate is quite yellow, so my ice shards are a big yellow and green but hey ho. My 3yr old won’t care either way!!! Thanks for sharing the recipe!
That sounds like a very interesting cake! Yeah it’s amazing how we care so much more about how the cake looks than our kids do, haha
What a great idea! Tried it for my daughter’s fifth birthday today and it looked amazing! Super easy. Thanks!
Glad it turned out 🙂
Thanks for sharing your great idea, I made this for my niece’s 3rd birthday and it was a hit. I’d share a pic if I could work out how to. Much appreciated 😉
I’m so glad it worked out, thanks for letting me know 🙂
Hi!
love this! and trying to do it for my birthday this week. However my chocolate shards turned green.. would you know why or what can I do?
Maybe the blue colouring you used is slightly green? I’d try a different brand or colour