Today we’re sharing a fun and easy DIY party hat craft for kids.
This simple activity of making and decorating your own party hat is a fun idea for a child’s birthday. It’s super-easy to set up, suitable for all ages and both boys and girls love making them.
This printable kids craft was first published in 2014 and has been updated and reshared for todays audience. I know that with lockdown laws not many parties are happening right now but these hats would still be fun to make at home to help celebrate your child’s special day with your family.
You might also like our printable paper butterfly tiaras.
Not long ago, miss R turned six, and six seems to be a big year. Big because it’s the first year of ‘big school’, and lots of the kids seem to have ‘big’ parties. Miss R wanted to invite the whole class to her party, which was a big thing for me.
However, I obliged and organised a party at a local playground with a sausage sizzle, some fun activities and yummy party snacks.
In my opinion the definition of how successful the party is is the size of the smile on the face of your child at the end of the day, so in that respect it was a winner. But gosh, that party…
Where we live you often get sunny Winter days that are warmer outside than in, and we decided to take a gamble on the weather by holding the party at a park – a gamble that we lost because it turned out to be a FREEZING cold day, with 55km icy winds and light snow falls further up the mountain.
Picture the mushrooms and onions blowing off the BBQ in the strong winds, the plastic purple tablecloths needing to be duct taped to the tables, and the craft activity needing to be held down with rocks and helium balloon weights and you’ll have an idea of the way things went on the day.
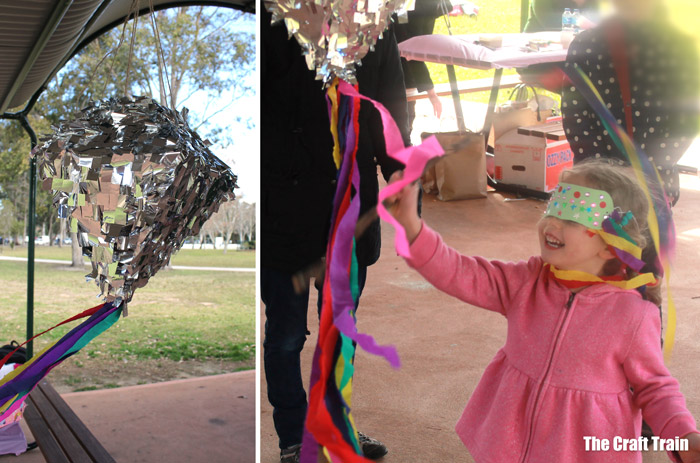
The DIY “Diamond” Pinata I spent hours making looked a bit more like a disco ball. The thing was so rock-solid it needed to be forcibly smashed open by my husband after a long line of kids had multiple cracks at it.
It was sooooo cold but the kids partied on and had a fun time. Although not much else went to plan, the printable hats I created went down a treat.
How to make your own DIY party hat
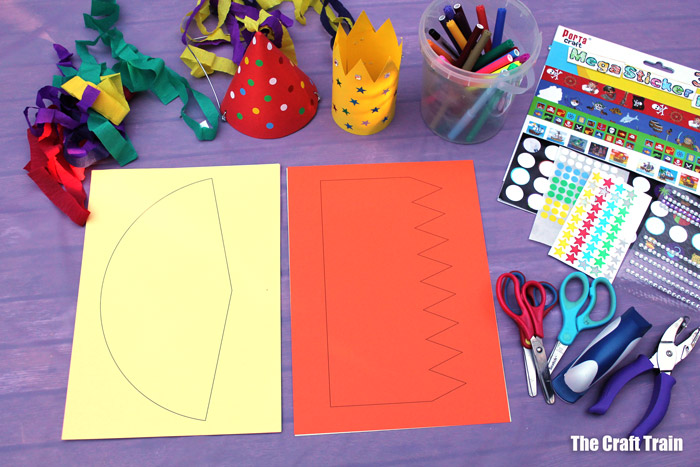
You will need
- These printable Party hat templates
- Coloured heavy paper or thin card stock that will go through your printer (the one I used is 120gsm)
- Items to decorate: stickers, streamers, felt tipped pens, bling or whatever else you fancy. I’d steer clear of glue and paint if you are making these as a party craft simply so you don’t need to worry about drying time.
- Thin elastic
- A stapler, scissors, and a hole punch.
How to:
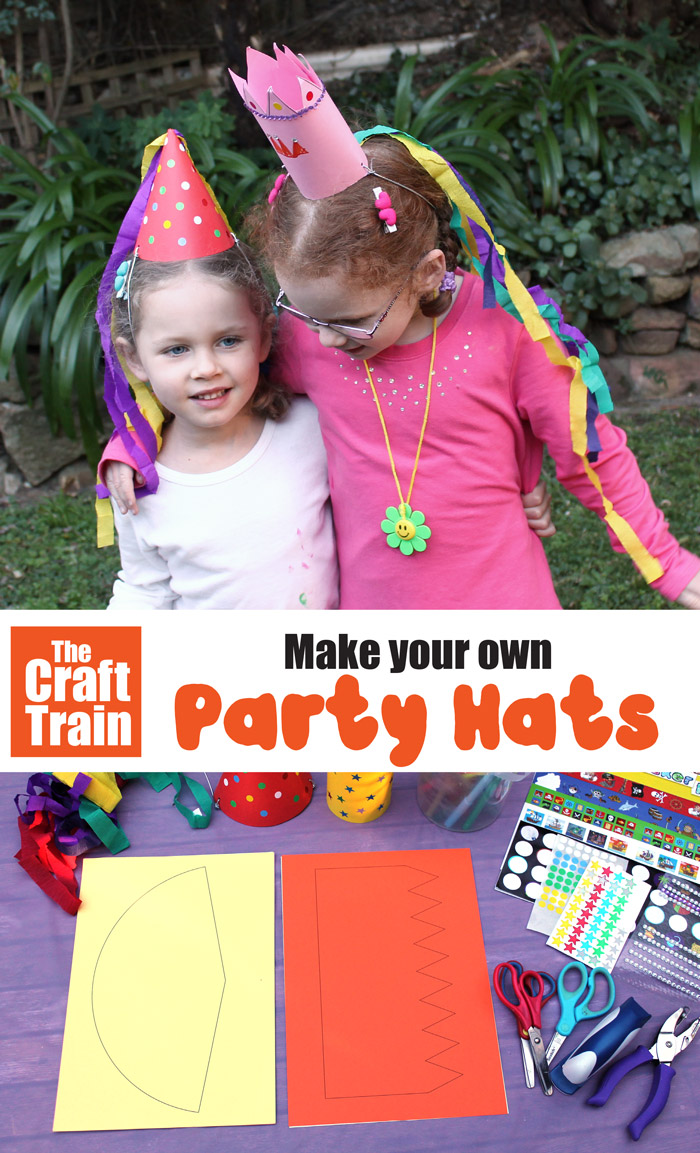
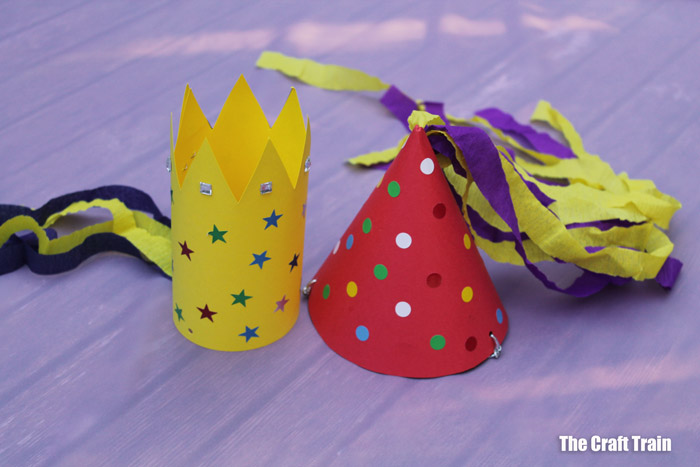
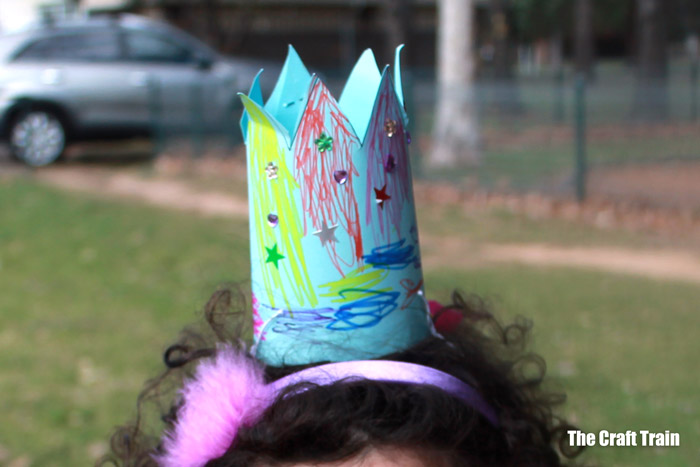
Cut out the shape, decorate, then bend into the shape of a cylinder for the crown hat, or a cone for the traditional party hat and staple together. Use a hole punch to put a hole on each side of the bottom edge of the hat and tie a piece of thin elastic though them and your hat is done!
Because most of the kids at the party were school aged and capable with a pair of scissors, all I needed to do was arrange the above items on the table with a couple of finished example hats to look at and they were all able to create their own hats. If you are having a party for younger kids, they would still be able to decorate the hats but you might need to cut out the shapes for them and help them with the stapling and putting together.
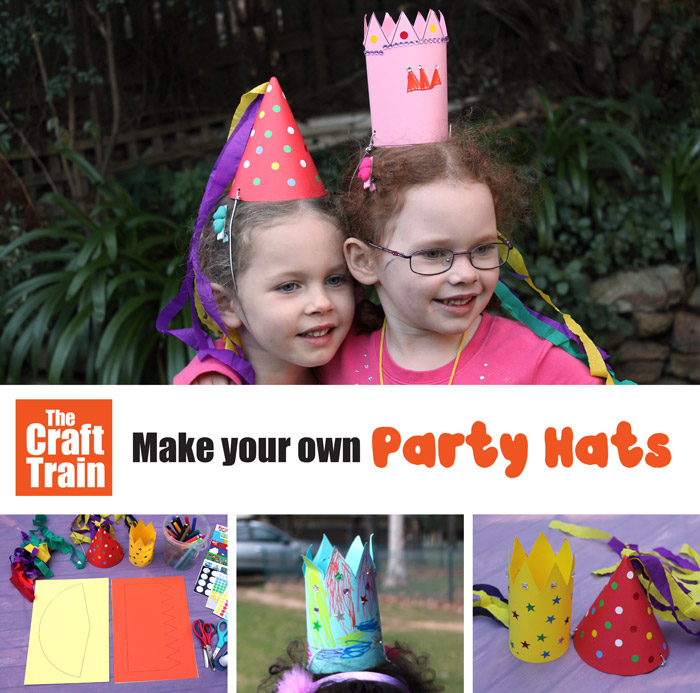
It was lovely to see all of the kids running around with their own hand-made hats on and the streamers flying behind them in the wind, and the craft was popular with both the boys and the girls.
As you can imagine, I was pretty busy and didn’t manage to get many pictures, but the girls kindly posed with some hats on the next day for me.
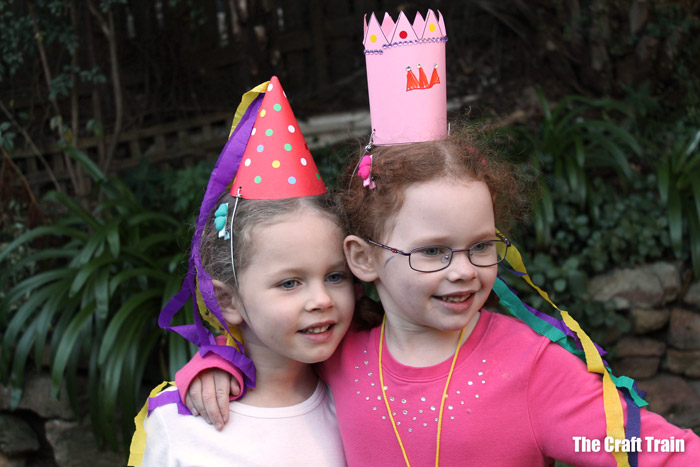
If the weather had been kinder it would have been a lovely party. As it was the kids had a ball and didn’t seem to notice the freezing wind anyway. Plus, the huge smile on miss R’s face at the end of the day made it totally worth the effort.
More birthday craft ideas
- Make a butterfly tiara and matching wand using our free printable template
- This has to be the absolute easiest frozen cake ever!
- Make a Minion birthday card
- Make your own Butterfly Pinata
- These easy DIY fairy crackers were a big hit at my four year old’s fairy party
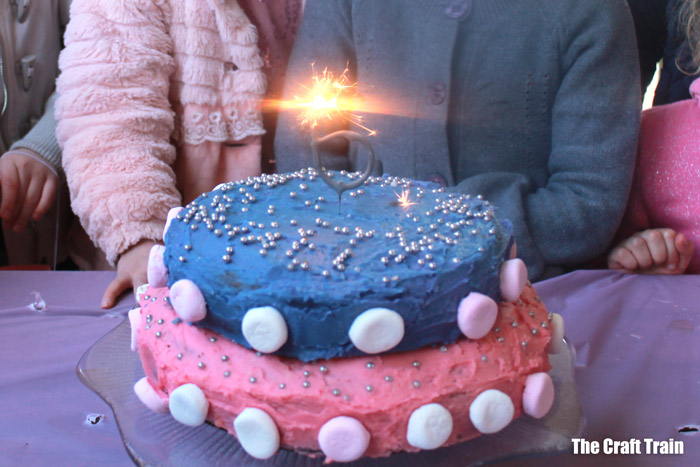

I think the cake looks fantastic! And those hats are great, too.
Thank you 🙂 I spend way too much time drooling over the completely amazing cakes on Pinterest. ‘Comparison os the thief of joy’ so they say haha.
I think your cake is awesome! And good save too. I was searching for party hat templates when I came across your page and didn’t want to print and run so, thanks for posting!
Hope the party hats went well! I’m glad you liked the cake 🙂