Make a simple whirlygig DIY toy, sometimes known as a spinner, from recycled cardboard and our printable template. This is a fun STEM (or STEAM) craft idea for kids of all ages, inspired by a classic that has been around for centuries.
This whirlygig craft was originally published in 2015 and has been updated and republished for today’s audience.
You might also like our bouncy paper frog craft
You might have heard of whirlygigs before – they’ve been around for generations. Some people call them ‘spinners’.
Apparently, even the Native Americans had their own version of this toy as early as 500 BC, and they were also popular back in the great depression using old buttons or similar as the centre piece when kids didn’t have many (if any) manufactured toys.
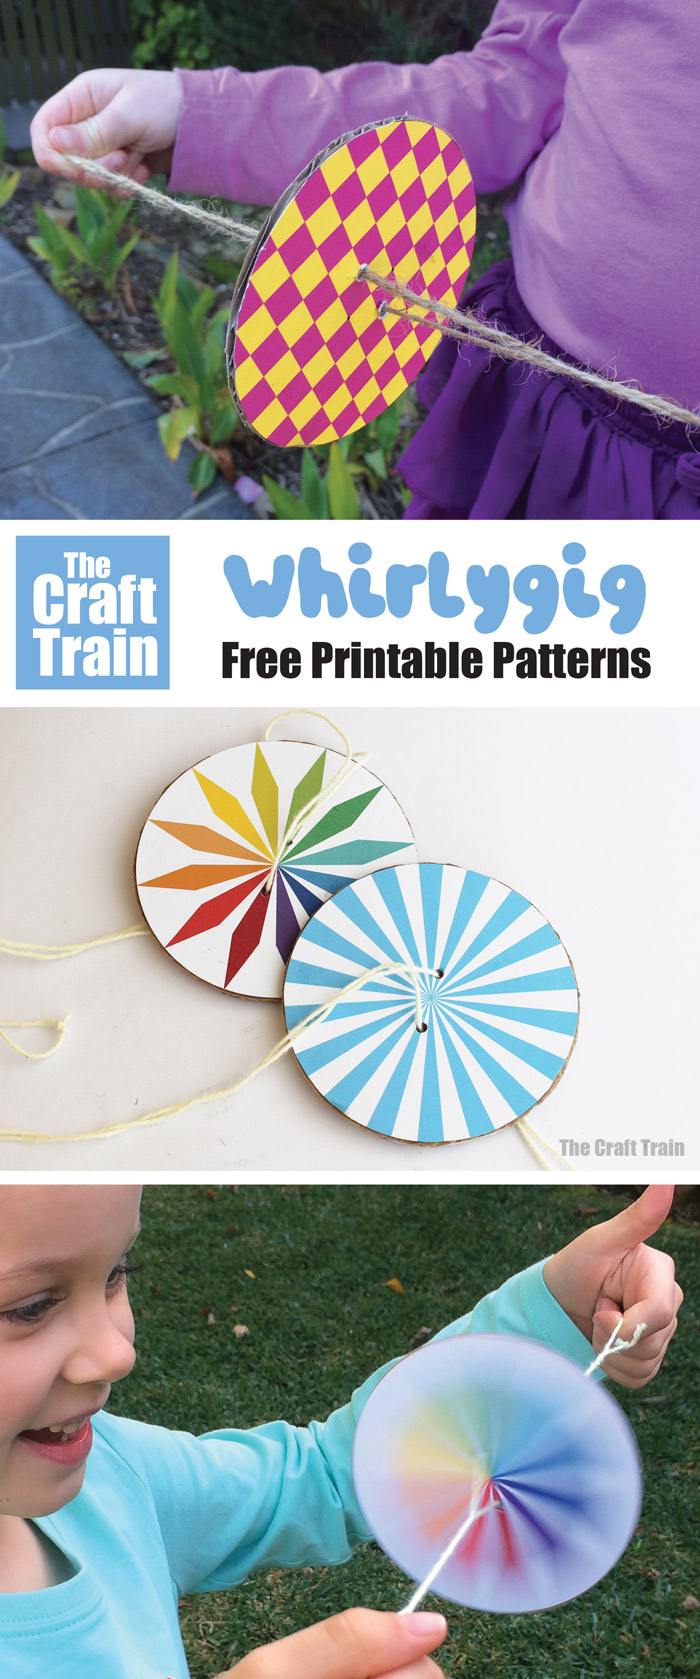
Whirlygigs are very easy to make, almost too easy, and kids will love to watch the patterns twirl and whirl around. Our printable template gives you a few different patterns as well as a blank one so kids can get creative and design their own.
OK, let’s get started on the craft…
How to make a whirlygig
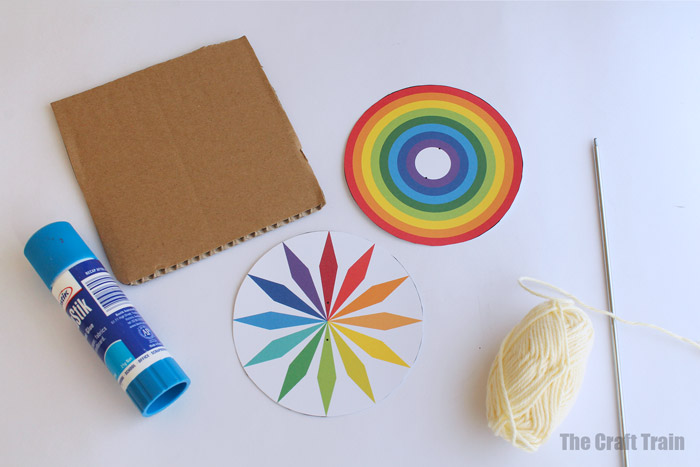
You will need:
• String
• A scrap of heavy recycled cardboard
• Gluestick
• Scissors
• Kitchen skewer
• The printable whirlygig pattern template
Get the free Whirlygig template here
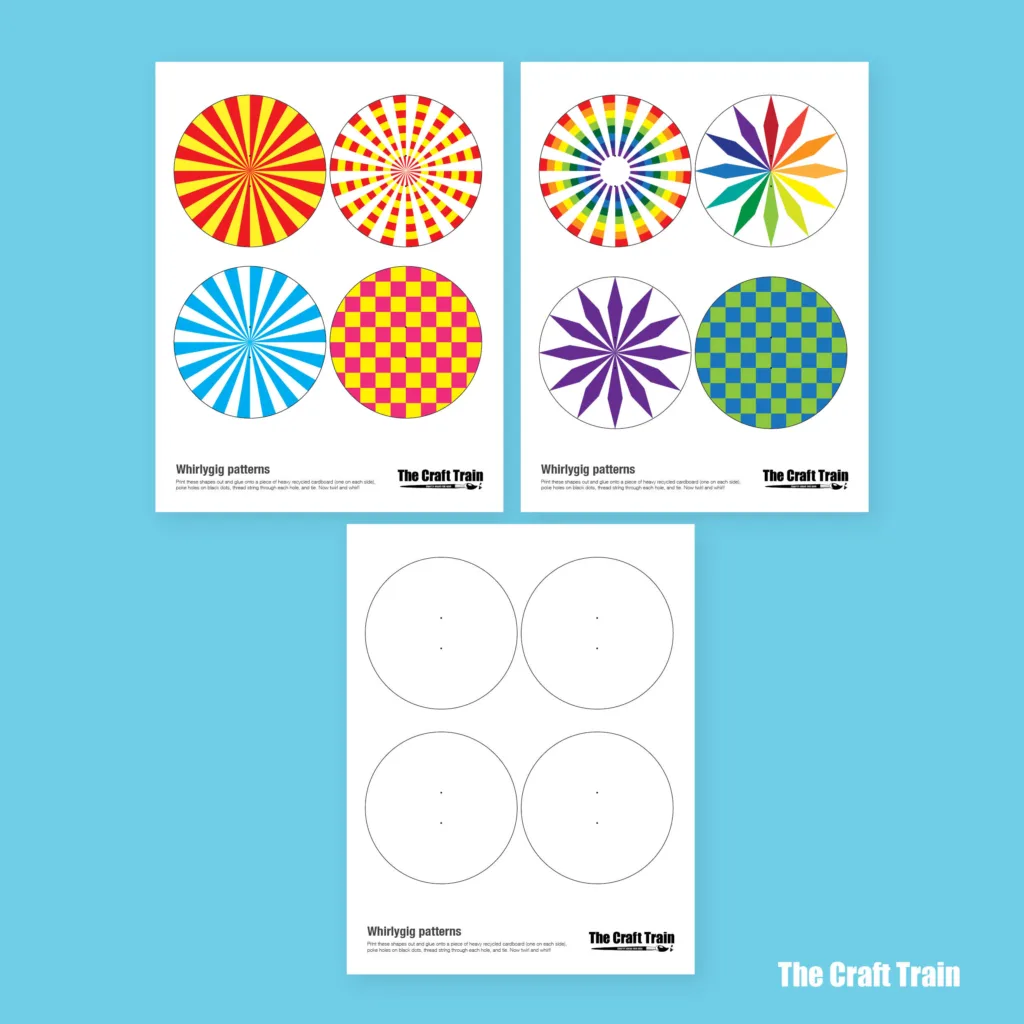
How to:
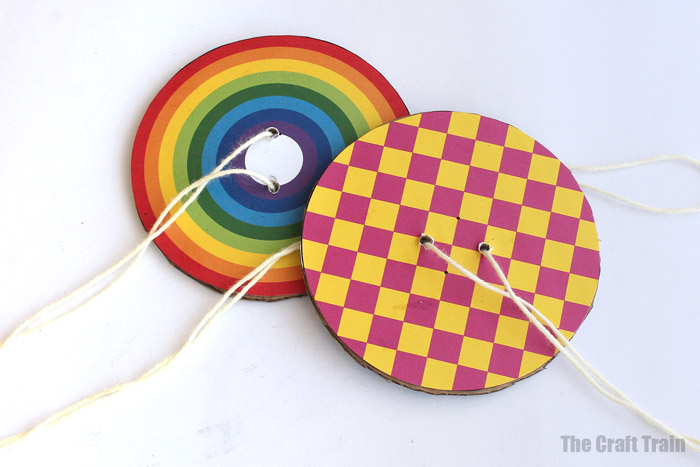
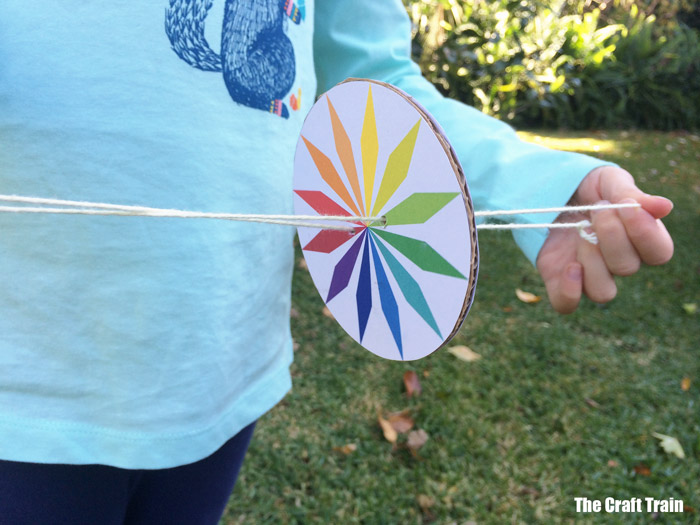
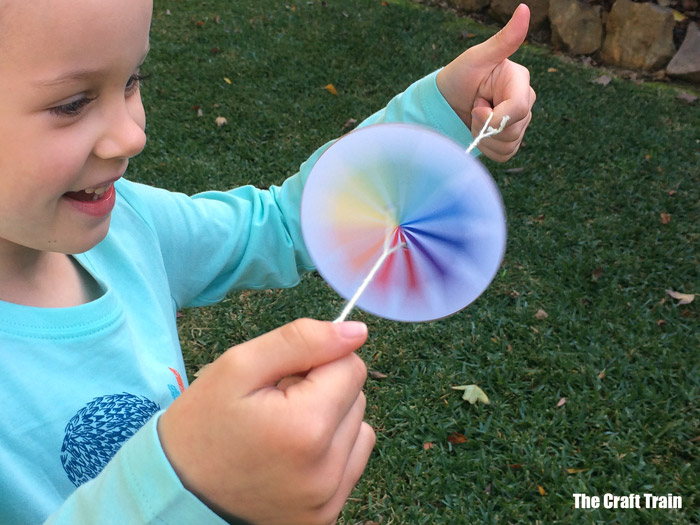
Print out your templates and choose which two patterns you’d like to use best. In the image below, the continuous circular rainbow template has been adjusted to have gaps in the lines so that when the spinner spins the gaps disappear.
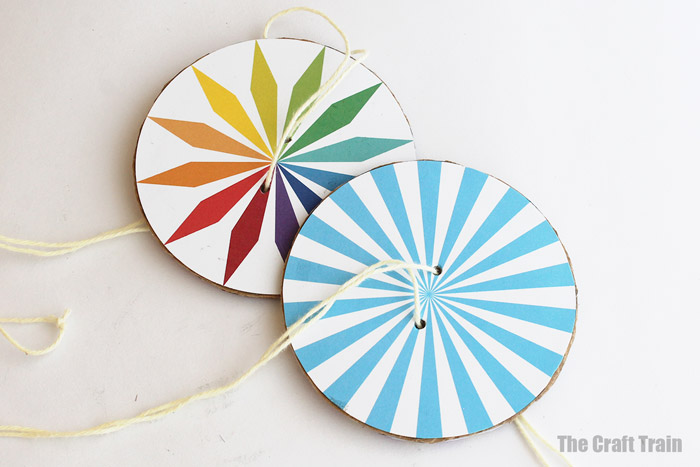
Glue one piece onto your recycled cardboard scrap, cut around it with the scissors, and then glue the second pattern onto the reverse. Poke two small holes in the whirlygig with the kitchen skewer and thread the string through, tying in a knot once done.
That’s all! Now just twirl and whirl.
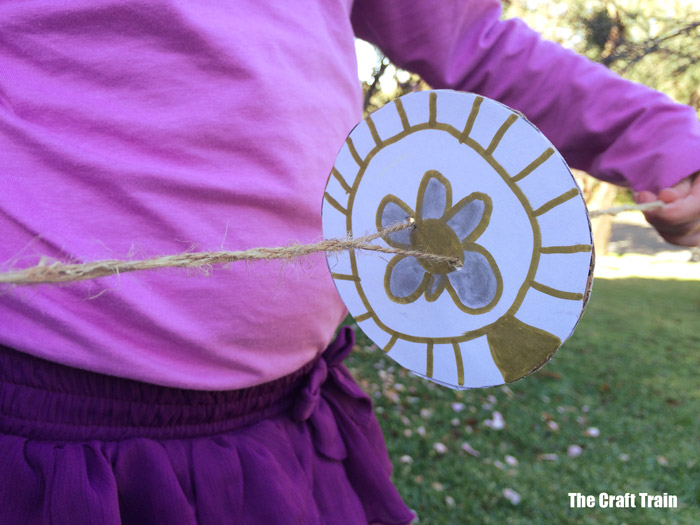
The girls both had a turn at designing their own version too using the blank template.
Have fun!
More DIY toy ideas:
- Make a spinning top from milk bottle lids
- Here’s a whirligig that explores colour theory using coloured tulip patterns
- Make a toy train using egg cartons
- Kids will love these DIY bath boats made from sponges
- Here are over 50 fun DIY toys you can make at home



I have this!
They are so fun, aren’t they!
I put the string through the 2 holes but how do you get it to spin? I remember playing with them as a kid but I don’t remember how to get them to spin!
Thank you
You hold each end of the string and toss the cardboard disk in a circular motion so the string twists on either side. There is a video that shows it on our play list.
Can this be any kinda of string?
Sure can!
How long do you cut string? Into two pieces?
Can I use paper plates as it is for 600 people and I can’t cut that much cardboard?
Also, want children to design each side
You could maybe get away with small paper plates, I haven’t tried it before so I’d try it on one before you get 600 and set it up for all those people. There is a blank version in the printable for kids to design their own but it does need to be stuck down on cardboard and cut to size. In the olden days they used buttons, or round things with holes already in them to make these from.
The string needs to ba a comfortable width to hold between your two hands when doubled over, so cut one and then use it to measure the rest.
This was made on the last snow day with my granddaughter…thank you for reminding me about this one, with your very well made ( may I add) video tutorial.
Love it. Fun,fun fun!
Awesome! Thanks for your lovely feedback, it has mad my day 🙂
How long should the string be? I was wondering if cheap Oriental Trading shoelaces would work to make it easier for kids to thread through their own strings too. Thanks so much – I love this craft idea!
Hi Paula, the string doesn’t need to be any particular length. So long as it is a comfortable length for your child to hold completely outstretched whilst spinning. I think a shoelace sounds like a great idea!
As a kidI did this with buttons from my mothers sewing box while she was sewing ?
Excellent homemade toy! We made a few !! Kids notice if you just stretch the thread in hands, the toy will never stop!
They are fun! Makes me wonder why we shell out so much money for the latest fad toys that end up getting tossed in the cupboard and never used, lol.
Hi,
I am a teen librarian at the Mansfield/Richland County public library. We are doing an end of summer program for families and wanted to make these at our program. Could we have your permission to print copies of the whirlygig patterns to use for our event?
All of our programs are free and for the educational benefit of our community. I think kids will really like this craft. Thanks for your attention to this and for sharing this craft.
Sure, you can print them for an event like that. It sounds fun.
This craft has recalled my childhood, I’ll make it for my child. Thank you so much!
I’m so glad you like them
Is it OK to use this for about 20 kids for our end of year event at work? The kids from the daycare come sing for us,and we would like to give them a present, but have no budget to do so.
That will be fine 🙂
I love these simple toys! The amazing thing is that kids can have so much more fun creating and playing instead of some electronic device. I’m going to print off a batch for the kids to make these on our camping trip.
So true! I hope you enjoy the camping trip 🙂
I am 71 yrs & remember these when I was very young. Ours were made of a lolly that we would eat later. I remember it used to make a sound. Does this make a sound.?
Wow Heather that sounds cool. I’ve never heard of a lolly whirlygig before! This one doesn’t make a sound
I am a junior leader for my scout troop and we are going to make this craft for a colonial history badge. I am running short on time and was wondering if it matters to use thin or thick cardboard?
Thick is best because it’s heavier. Thin you can try, and it will probably also work, just not so well. A recycled cardboard box will do.
We used to play with these in 1975. Great toys and fairly easy to make. Also good for watching the rainbow colours turn to white if you can get them to spin fast enough. Thanks for sharing and reminding me of my youth!
So true about watching the colours turn to white! Glad to remind you of your youth 🙂
Do you think jute string would work?
I think so
Thanks so much for this idea. I did some as a make and take kids’ activity for a local history museum during our fall street festival. I figured they’re “old fashioned” yet enough like the popular fidget spinners to appeal to kids. OMG what a hit! I found 5″ cake pads online so didn’t have to cut cardboard circles myself – then I found mandala like coloring circles for kids that I scanned, printed and cut out on my Silhouette. They appealed to kids of all ages – boys and girls alike and there were even some adults that couldn’t resist sitting down and coloring.
Sounds great! I love the idea of colouring mandalas for them
I tried them out, mine seems to flip horizontal and does not want to spin vertically like in the video. What am I doing wrong?
Thanks a lot
Melinda
I’m not sure. If you wind the whirly gig up and then pull the strings tight it should come straight. Possibly not pulling tightly enough?
Works great. Kids loved them!
Fantastic! I’m glad they had fun 🙂
What size is the finished whirlygig?
I remember the buttons. They were fun. LOL
I bake a lot of cakes, and use the boxes for making templates. It is much easier to trace around them. Anyway I say that to say a person could glue a few thicknesses of them together to make these. That is if your hands prevent you from cutting through thick cardboard. Just a thought. 🙂
Adorable job Kate. I should make such kind of these things for my kids 🙂
I am sad that this is a pdf. I cannot print it in color, cannot change it to black and white, and cannot correct the size, which is coming out to about a 1/4 size of an 8-1/2 x 11 on my printer. Great idea. Wish I could try it.
That is strange. With a pdf you should be able to save it to your computer then double click to open in acrobat reader (which is free and comes on most computers).It should print in colour from there.
Failing that try this:
– trace a circle shape onto paper using something round like a roll of duct tape or use a compass to create a circle
– decorate and cut out
– glue to card
– poke two holes in the middle and thread string through them
Same thing! You can also make them from buttons, it shouldn’t really matter what size your spinner is for it to work.
+ Kate; Hi I Just Wanted to Firstly Say Thanks For Sharing this Excellent Craft. I Was Searching for Crafts Ideas to Use For Our Church Vacation Bible School Starting In July this year for the kids of the age group I’ll be working with 6-7yrs that will be attending. Hope this project isn’t too difficult for them to do. What You Think?
(The VBS Starts from ages 4-13yrs) & runs for 2wks If was wondering by any change.
Just Wanted to Also Know If the thicker the cardboard is the better it spins caused I’ve tried this project craft out & mine did spin vertically but at times it would turn itself/ do a horizontal spin. So Should I Double the String Or Use Two Cardboard Pieces Or One Is Enough; Just Asking. I However had fun making it by the way even though it was just a sample test project. Anyways I look forward to your reply asap. Tafs
Hi Kimberley, I’m glad you like the craft. It should work on thinner card but I think it will spin better on heavy recycled card – I say this having not really tried it on thin card though so if you go with that try it first. For 6 and 7 year olds heavy cardboard might be a bit hard for them to cut (the older kids would manage better), so an idea might be to either help them with it on the day if they need help or have a stack of rounds already cut out and ready to go. The rest should be easy, and it will be lots of fun. It spins better the faster you twirl it 🙂
The colors are very nice
Thanks!
Excellent homemade toy! We made a few !! Kids notice if you just stretch the thread in hands, the toy will never stop!
They’re so much fun aren’t they!
Thank you I think I can do it today
Have fun with it!
Thank u so much Kate. U are the best i will try it..
You’re welcome Cami
Adorable job Kate. I should make such kind of these things for my kids 🙂
Thank you Cami
What is the diameter of the the whirlygig circle? I wanted to order cardboard coasters and I’m not sure what size to get. Thanks!
95mm or 3.74″
Works great. Kids loved them!
thank you kate
Thanks so much Cami
This is great for a new STEAM teacher trying to engage kids in kindergarten science standards. thanks!