butterfly printing with sponges

Butterfly printing Spring art idea for kids

Today I’m sharing this super quick and easy sponge butterfly printing art idea, suitable for kids of all ages (kids at heart included!)

You might also like our 3D Cube Bugs

Butterfly printing art idea for kids

Butterfly crafts are one of my favourite things. I first came up with this idea when my girls were preschoolers to create cards and wrapping paper for mothers day.

Of course, butterfly prints are beautiful for a regular art activity too, so today we are revisiting the idea to make a simple picture for our wall. 

This activity is great for kids of any age – not just preschoolers! You could talk about symmetry and make different patterns on the wings. Our Butterfly Squish Art with printable butterfly-shaped templates is another way to do this.

This fun and easy stamping technique uses only paint, sponges and hair elastics, plus paper or your chosen print surface. 

Butterfly printing with sponges

You will need:

  • Paint (I’ve used acrylic but poster paint will also be fine)
  • Kitchen sponges – 1 per butterfly design
  • Hair elastics – 1 per butterfly
  • Paper

How to:

  1. Scrunch sponge and tie in the centre with a hair elastic
  2. Squirt paint in assorted colours directly onto one side of the butterfly
  3. Fold and squish together creating a symmetrical pattern
  4. Optional – add some extra dots of paint for decorative patterns (I’ve used a cotton bud)
  5. Print the side covered in paint onto paper
  6. Paint in the detail of a body and antennae (optional)

And that’s all there is to it!

butterfly printing process step 1

butterfly printing process step 2

butterfly printing process step 3

butterfly printing process step 4

purple and yellow butterfly prints made from sponges

blue and yellow butterfly prints made from sponges

I told you it was easy!


More butterfly art and craft ideas:

putterfly printing Spring art idea for kids

Similar Posts

  • Easter Egg Scratch Art

    Make some fun Easter themed scratch art! This is a great creative process for kids to learn and is appealing to all age groups from about 6 and up. Younger kids can do it too but they’ll need help creating the scratch art templates because they probably won’t have the fine motor skills and patience…

  • Sandbox small world play

    Today we’re showing you how to make a sandbox small world to encourage imaginary play. Preschoolers will love this activity, I found it kept my daughter busy for a long time. This small world idea is super easy to set up at home – no backyard sandpit necessary! This activity was originally created in 2014…

  • Easter bunny craft idea

    Make an adorable Easter bunny craft from a paper roll. These little guys are simple to cut out using our free template, then all they need is a little paint and decorations. You might also like our printable Easter bunny baskets You can never have too many Easter bunnies floating around the house, right? Well,…

  • Explosion Cards Tutorial

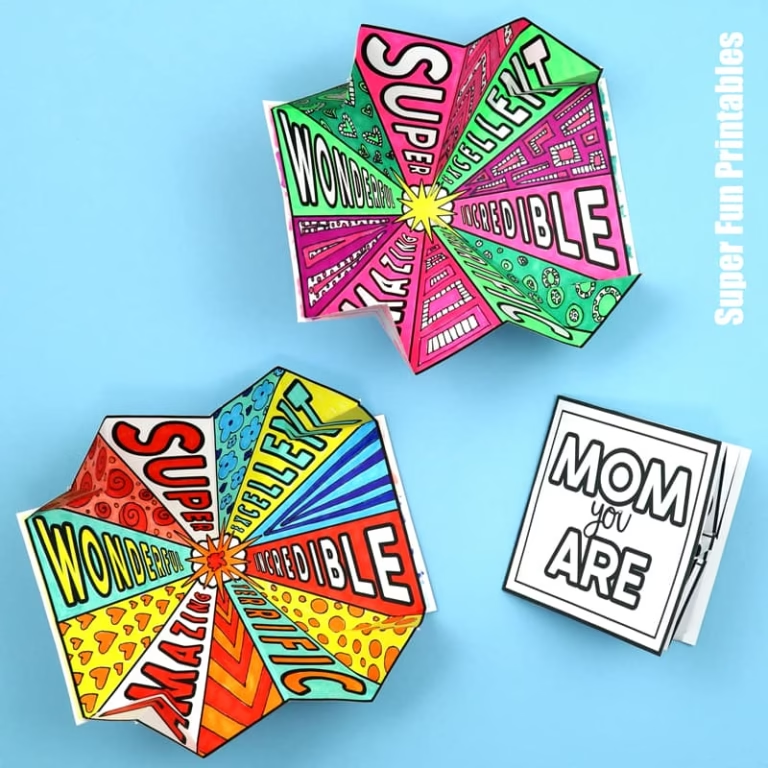
    How fun are these Mother’s Day/Father’s Day Explosion Cards? Our template includes US and international spellings of Mum and Mom, a version for Dad for when Father’s Day rolls around, and a “You Are” version for grandparents and carers who go by other names… So you can basically make this card for anyone. When Mum…

  • Paper Fairy Land

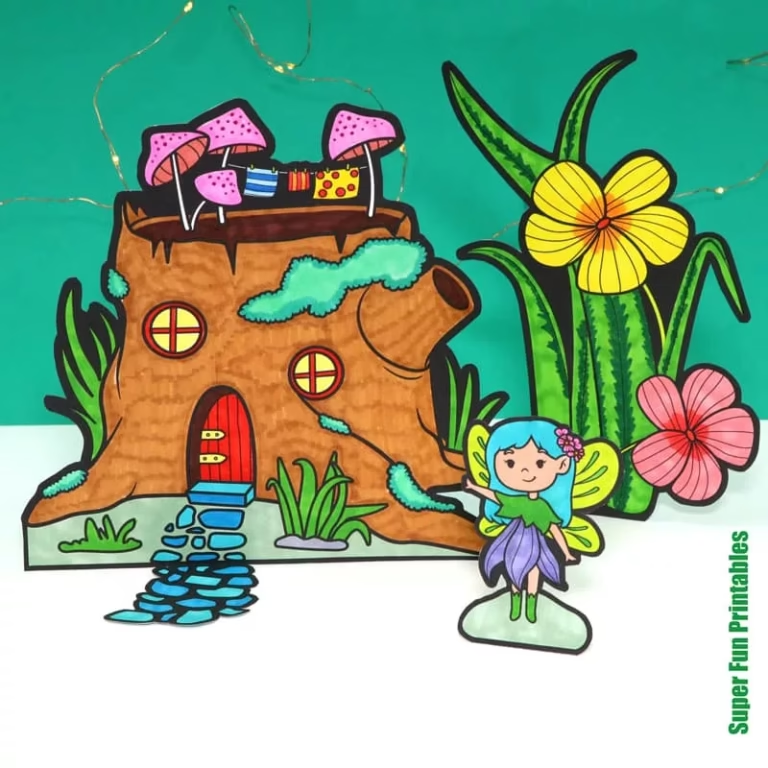
    Create an enchanting paper fairyland complete with fairy houses, cobblestone paths, giant flowers and four adorable paper fairy dolls. This printable paper world is fun to colour and put together with simple paper stands. It’s a diy toy kids can make that will inspire hours of imaginary play and makes a cute fairy-themed decoration.  Get…

  • Positive Negative Heart Art

    This Positive Negative Heart Art project is a good way for kids to explore positive/negative space. It also promotes mindfulness and relaxation with pattern art.  The finished result is a beautiful Valentine’s Day artwork to display! Get the template here There’s a reason why we share so many doodle art projects, and it’s not just…

One Comment

  1. I did this with my preschoolers and they loved it so much they wanted to make a lot more! Thank you for this idea!!

Leave a Reply

Your email address will not be published. Required fields are marked *