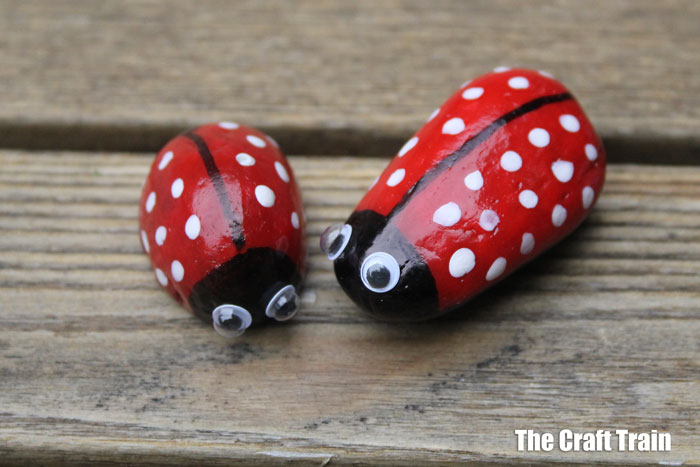
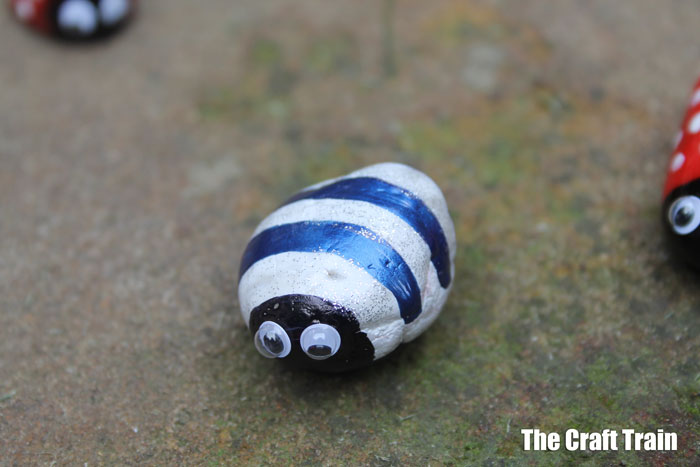
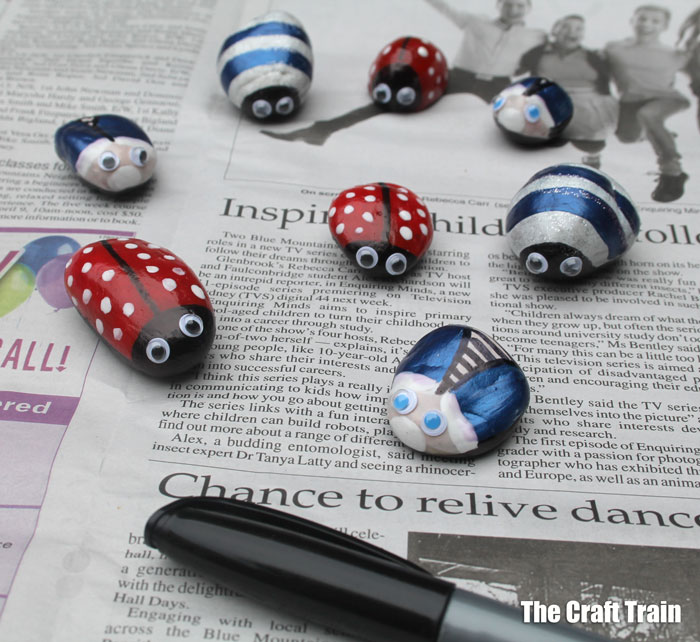
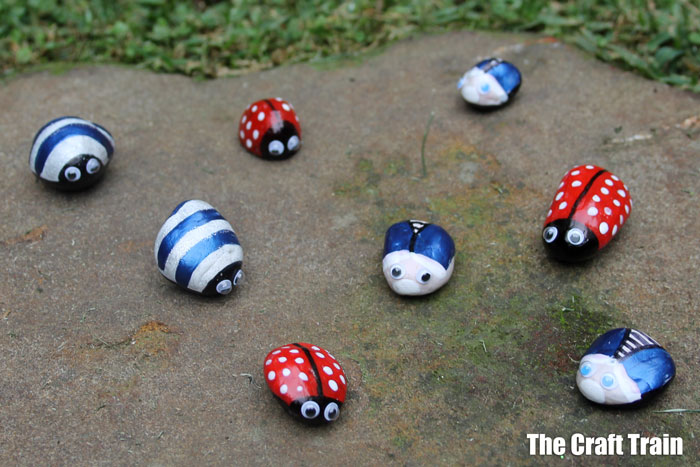
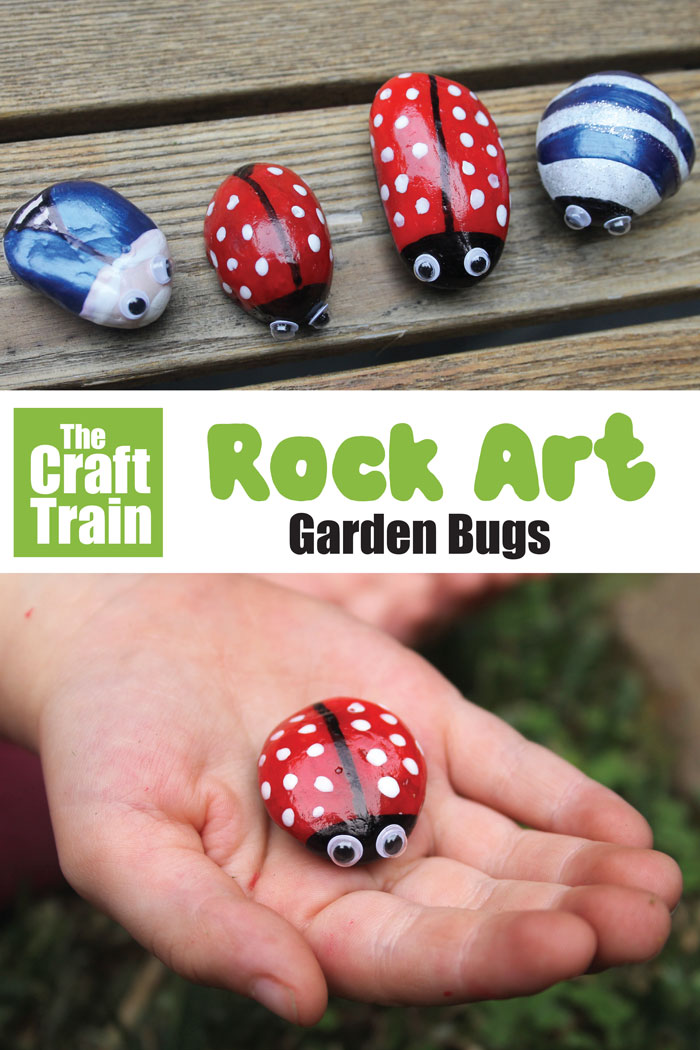
Today we’re sharing some simple rock art for kids – ladybug rocks! We also made stripy bug rocks and little winged bug rocks.
This craft was originally published in March 2013 and has been updated and republished for you today.
My girls have a thing for ladybugs. They love to catch them and allow them to walk all over their fingers. They give them names like Rosie and Sugar and shower them with affectionate words just as though they were kittens. If they could, they’d keep them as forever pets.
I know that if they actually did keep a ladybug as a pet it probably wouldn’t last very long, so I always encourage them to place their ladybugs gently on a plant outside where they belong.
When I suggested we make some ladybug “pet rocks” they were very keen!
Now they have some adorable ladybug pets to call their own, and in addition to that there are some other little bugs (good friends of the ladybugs of course!).
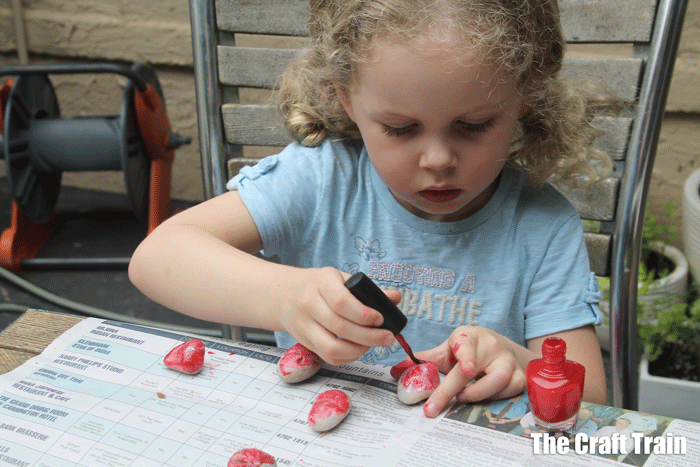
Instead of using paint for our rock art we’ve used nail polish. This is a great way to weather proof your bugs and it also makes them super shiny. Since nail polish can have an overpowering smell (as well as not being that easy to clean up spills from) it’s a good idea to set this activity up outdoors.
The good thing about nail polish is that it’s super quick to dry. Once you’ve finished painting the first layer of colour on a bunch of rocks, the first rock you painted is already dry so you can go ahead and add a second coat (ours needed at least one extra coat to get an opaque look) or the next colour.
We’ve used sharpies for adding detail to our rocks.
Look out – it’s a bug invasion!
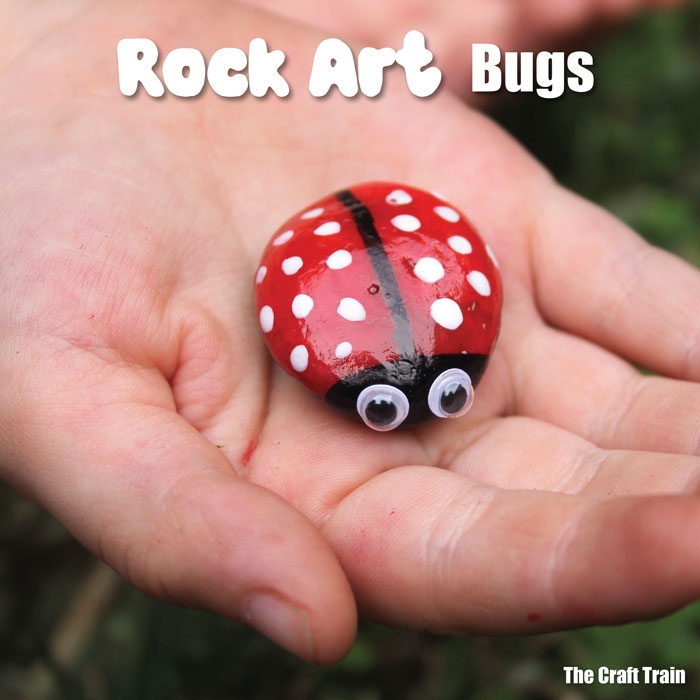
rock art bugs
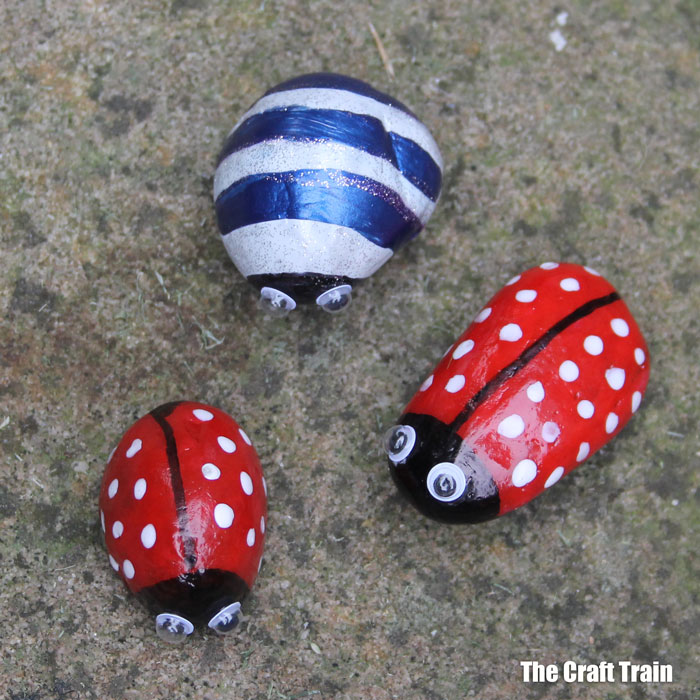
Easy pet bug rocks
Materials
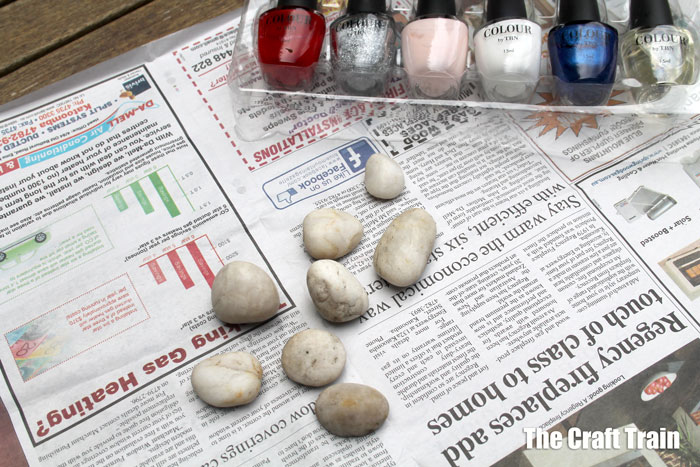
- white pebbles – ours are small but larger ones would also work
- nail polish in a variety of colours
- black “sharpie” marker
- googly eyes
- craft glue
Tools
- newspaper to protect table
Instructions
- Wash the rocks under the tap & pat dry with a towel
- Set out newspaper as a work surface
- Paint the rocks with nail polish in whatever design you like. The important thing to remember is that you can only apply one coat & colour at a time. Fortunately it dries fast, so wait until it is dry before applying a second coat.
- Once dry, draw in buggy details with the black marker. Colour the underside with the black marker.
- Glue on the googly eyes
More craft ideas using rocks
- Make a fluffy pet rock using pom pom trimmings for hair
- Create a little rock town by turning rocks into houses and buildings
- This rock chick craft is super easy for little ones to make
- Turn rocks into rock cakes and use them with pretend play tea parties
- Create a bag of weather rocks to encourage kids to think and talk about the weather
- Make a garden of mixed media flower rocks



Leave a Reply