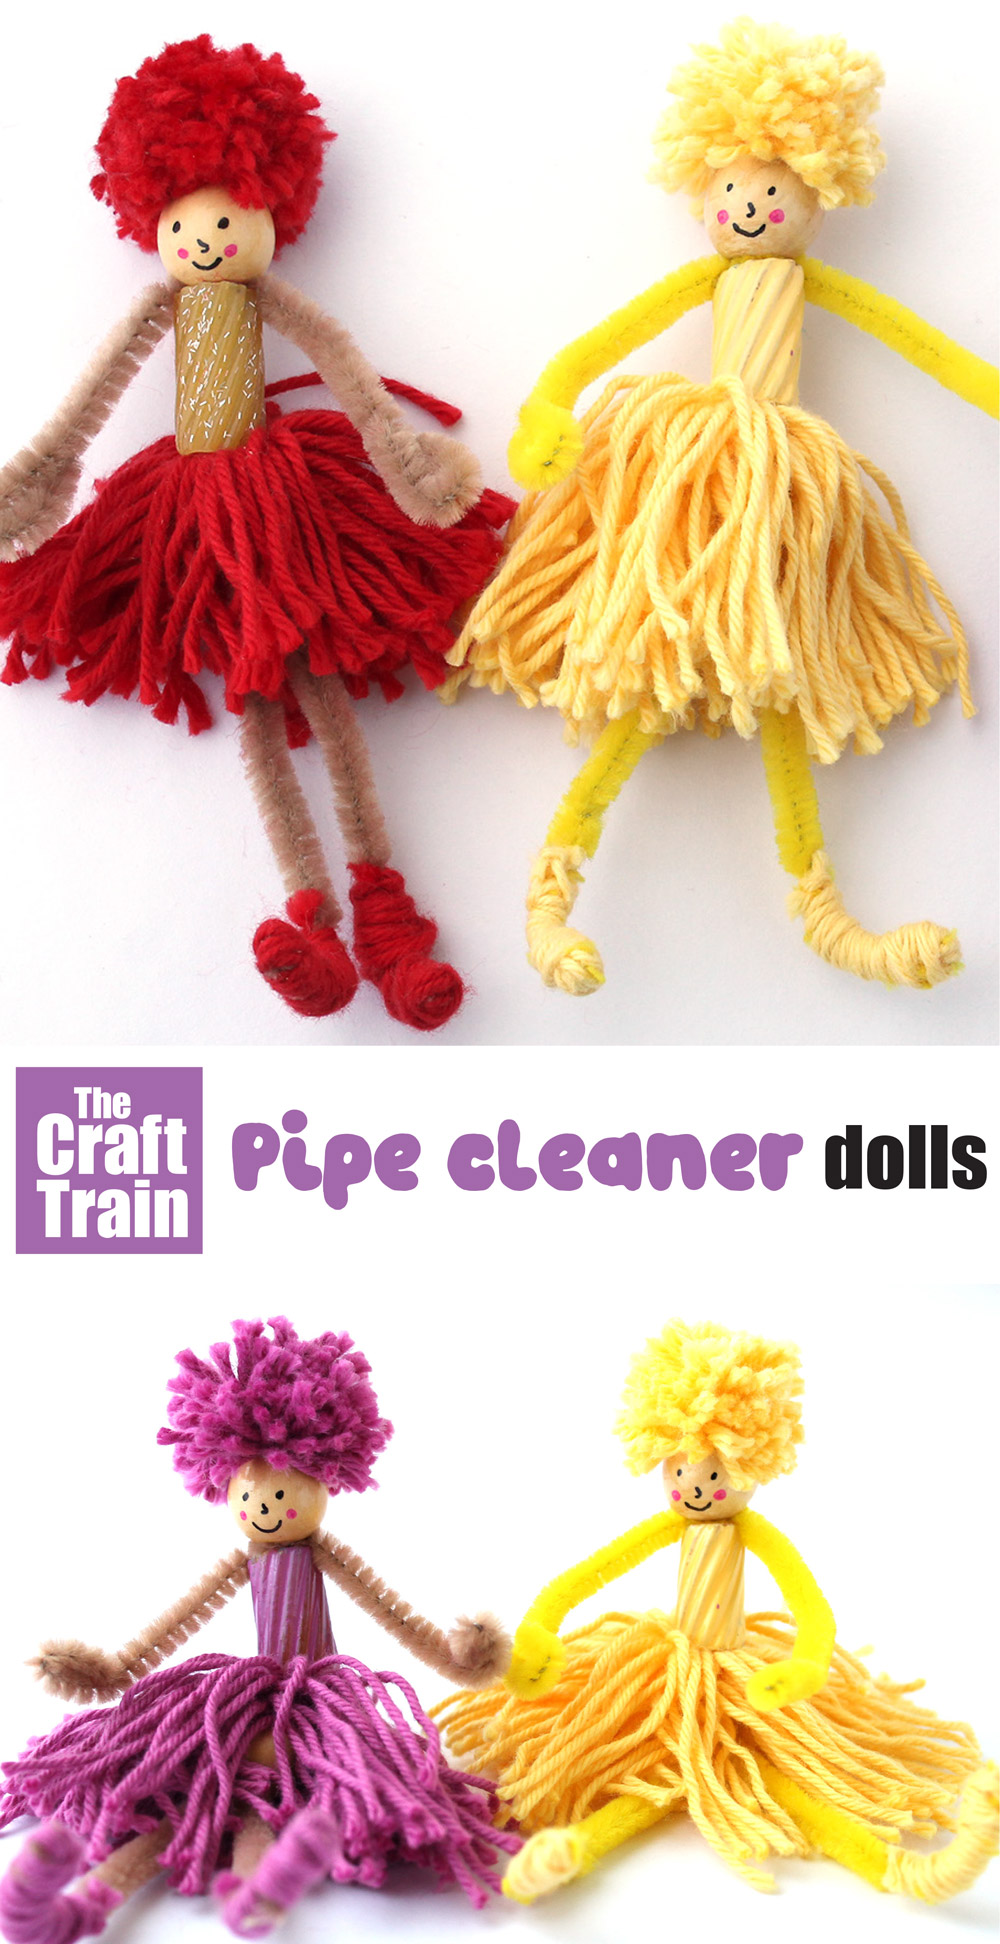
These cute little pom pom and pipe cleaner dolls are a fun DIY toy idea to make for or with kids.
This craft was first published in 2015 and has been updated and reshared for today’s audience
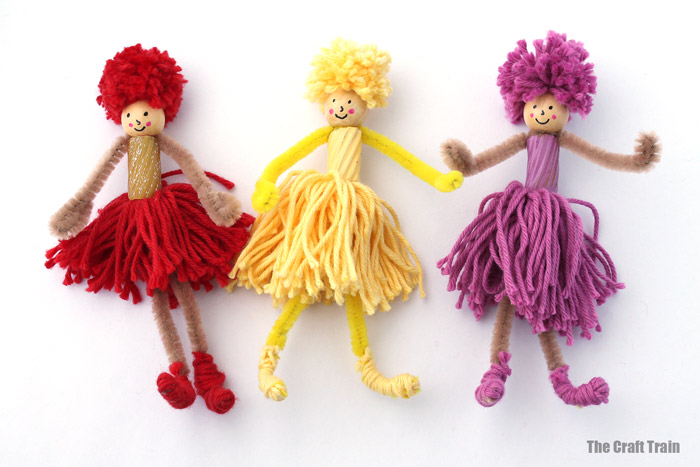
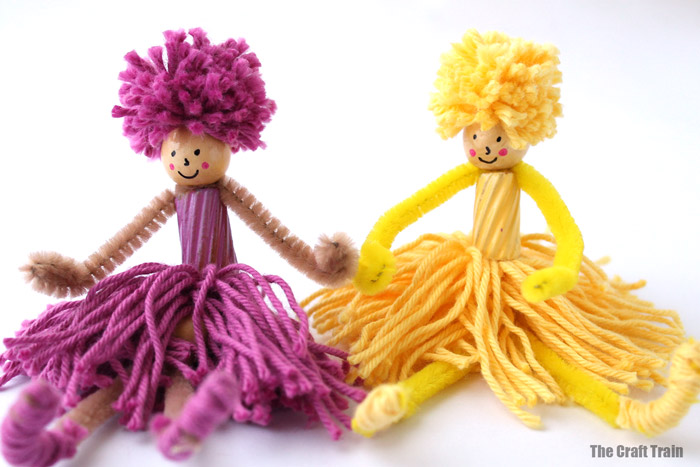
This week I made the girls some little pom pom and pipe cleaner dolls. They were a hit! You could turn them into fairies with the addition of a pair of paper or felt wings glued to the back but I thought they were cute enough as plain dolls and left them as is. The girls quickly named them Fireball, Sunshine and Lily, can you guess which is which?
To create the body of the doll I have added from the kitchen cupboard some pasta coated with nail polish to give it a bit of durability and colour. Don’t use paint instead of nail polish because it ends up drying out and crumbling within a short time (been there, tried that). You could also use an oval shaped bead in place of the pasta if you don’t want to go to the bother of making these beforehand.
How to make pom pom and pipe cleaner dolls
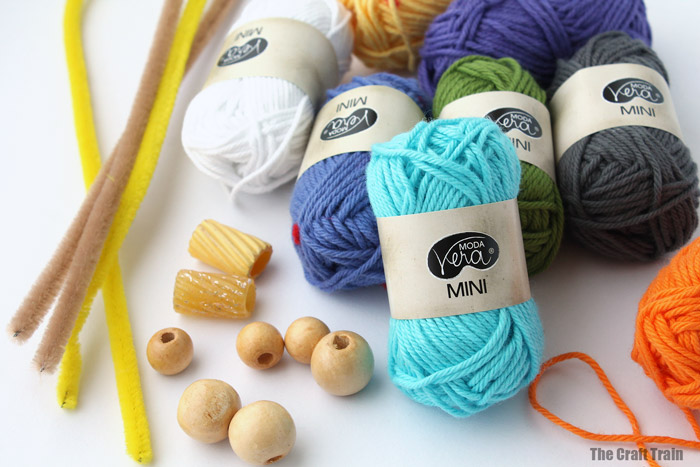
You will need
- Yarn in assorted colours
- Pipe cleaners (chenille sticks) – one and a half per doll
- A round wooden bead in natural colour for the face of each doll – mine is 16mm
- A smaller round wooden bead for pushing up under the skirt – 10mm
- Permanent markers for the face
- Pasta painted with nail polish before hand – I cant remember the actual name of the type of pasta that I used since the packet was discarded a while ago but choose something that looks like a short tube with flat ends
- Sharp scissors and a fork for creating the pom pom
How to
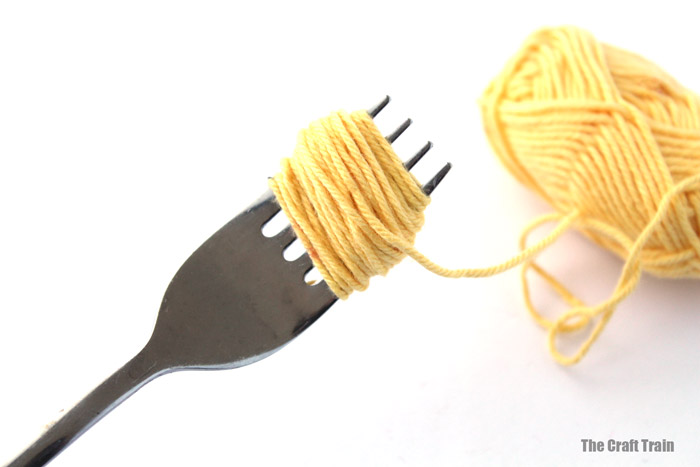
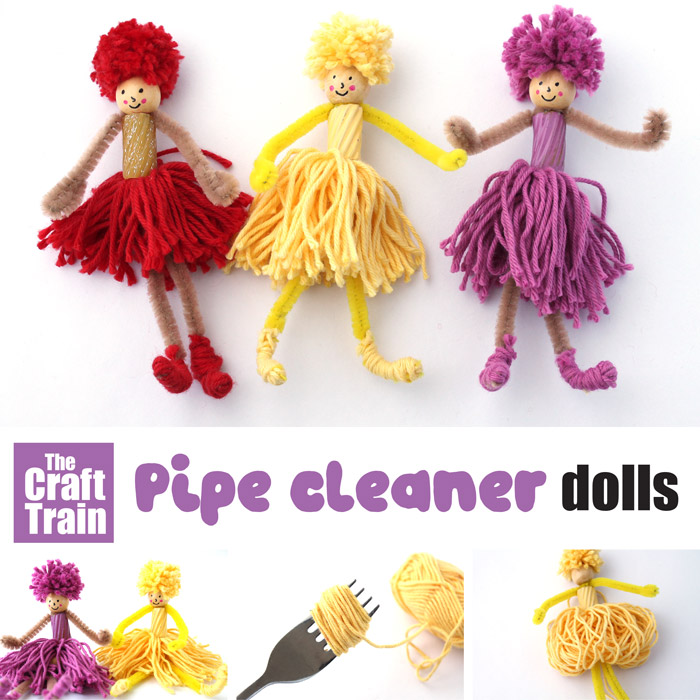
Use a fork like in the picture below to create the pom pom for the hair. Once you’ve wrapped the yarn around your fork lots of times slip it off the end, tie it tightly with another separate strand of the same coloured yarn and trim the looped ends with sharp scissors. You will probably need to give the pom pom a bit of a trim to tidy it up but this can wait until you’ve threaded it through the bead.
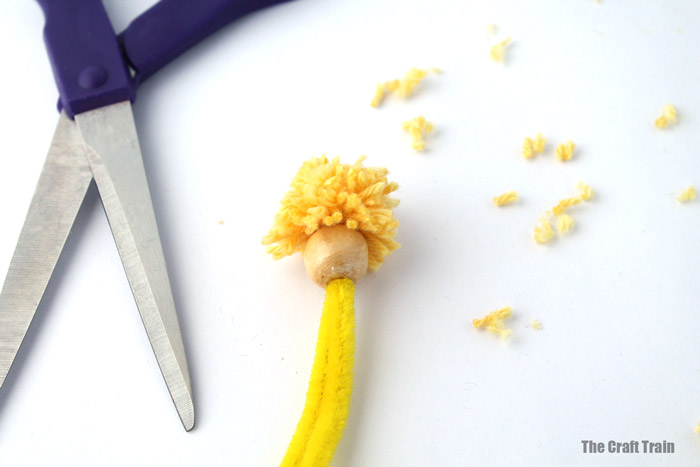
Tie the pom pom to a chenille stick folded in half tightly and then pull it through the larger bead. You now have hair!
Now is the time to give it a trim.
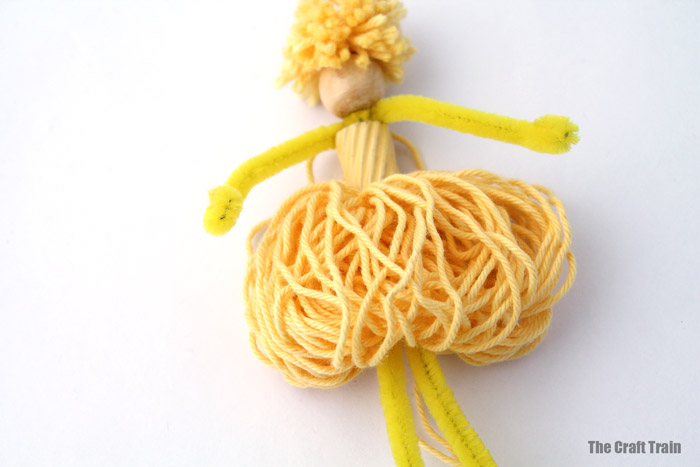
Wrap your half-sized pipe cleaner around the neck tightly to make the arms, and push the piece of pasta up under that for the body.
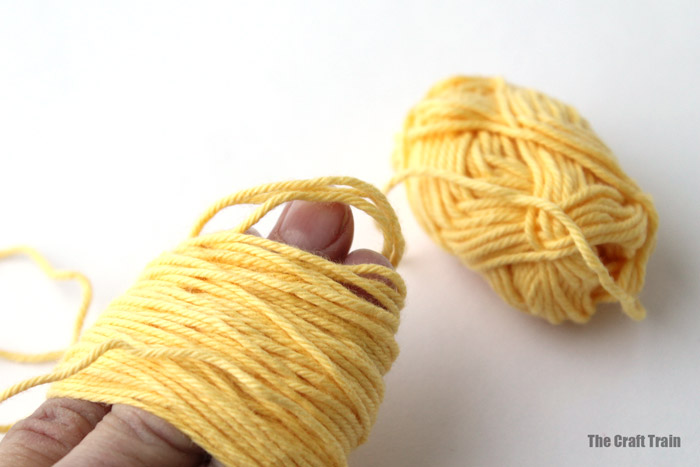
To make the skirt I used three fingers to wrap the yarn around before sliding it off, threading the looped section over another strand of yarn, and tying the looped yarn around the pipe cleaner where the skirt should go.
Once you have tied it on then cut the loops and trim it a little to tidy up and shove the smaller bead up underneath the skirt to keep it in place.
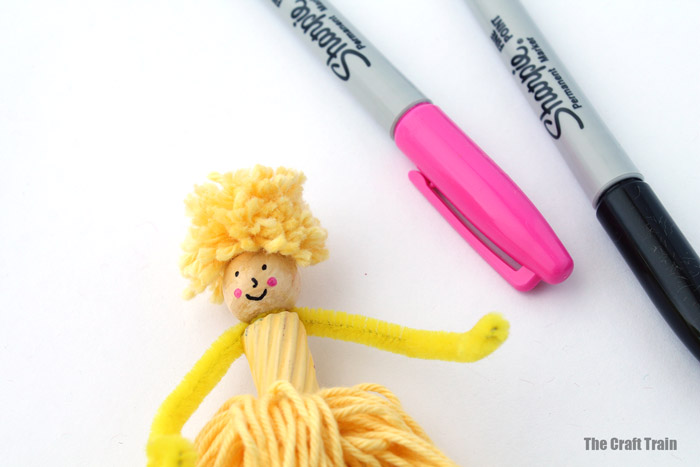
Next draw your face on with permanent maker.
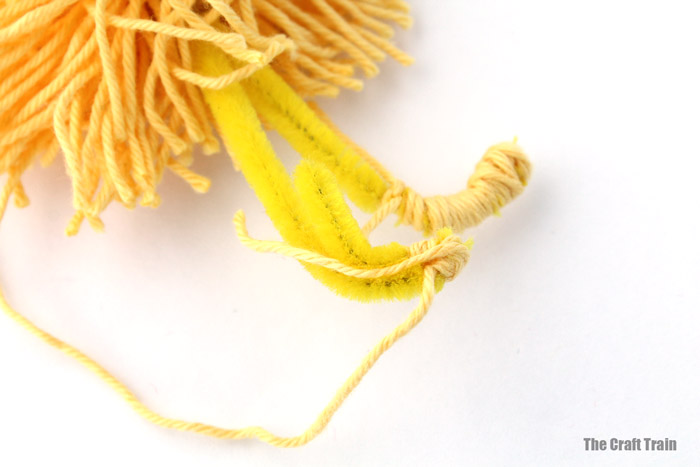
To make the little feet bend the ends of the pipe cleaner back over itself and into a foot shape. Unbend and wrap the toe of the foot with yarn and then fold back and wrap the whole foot and ankle with yarn, tying tightly at the end with a double knot.
And that, folks, is all there is to it.
But of course your little pom pom and pipe cleaner doll will be needing some friends…
Aren’t they sweet?
Doll making books
More DIY toy ideas
- Make a washi tape magic wand in less than ten minutes
- Make your own delicious-looking pasta and meatballs for the toy kitchen
- Have some rock cakes with that for dessert
- Make a whirlygig with our printable patterns
- Make two different kinds of dinosaurs from paper rolls
- Create some cute mini banjos using jar lids
- Here are over 50 DIY toy ideas!

These are so cute!!
ohhhhhhhh, these are so cute! what a great idea 🙂
Oh my! They are just adorable. I love their little shoes and rosy cheeks 🙂
Super cute, except I couldn’t figure out how to attach the skirt…..could you give clearer directions? Thanks 🙂
Hi Helga, thanks for your question. To attach the skirt I threaded a piece of string trough the looped section of string before cutting it. The string threaded through was up the top of the loop, and I tied this around the pipe cleaner and tried to bunch the loops around evenly to look like a skirt. There is a picture of the looped section tied on before snipping it. After snipping and trimming the skirt I pushed a smaller bead up under the skirt to hold it in place, but did not take a picture of this. Hope this helps!
hmmm….i think that makes sense! I’ll give it a try 🙂 Thanks!
For the life of me, I cannot get my skirt to work! It never looks like the picture. Thread around fingers, check. Do you use a piece of string still connected to the bundle or a separate string? Then do you tie ti through the center of the bundle (aka where your fingers are) or around the entire circumference? And then what I end up with the a bundle tied in half with a string down the center, it doesn’t end up getting round at all (same with the hair, but I passed those of as pigtails). And forget tying it around the pipe cleaner, that is even worse. A few more pictures please?
Hi Rena, thanks for your comment. Once the string is looped around my fingers lots of times I take a separate piece of string, thread it through the centre of the loops (imagine the loops are a tunnel), then I do not tie it until after it has been wrapped around the pipe cleaner waist. I cut the other end of the loops (the bottom of the skirt) once it has been wrapped around the pipe cleaner and tied tightly. I’m sorry that my explanation has been confusing! Hope this helps.
To make the hair I created a mini pom pom, tied it tightly to a pipe cleaner that has been folded in half right on the fold, and then threaded this through the bead.
Ah, NOW I get it. 🙂 Can’t wait to make some. I used to make the other yard dolls on your site all the time when I was a kid, giving them away as gifts to friends and family. Thanks for the tips. Love your site.
Yarn dolls are fun, bet they made great gifts 🙂
The cutest yarn dolls I’ve seen!
Thanks Trixi!
Thank you very much, Kate, for sharing this lovely work of yours. (I am sorry for my english is so bad…)
I just had some problems with the feet but it does not have to be perfect and besides, a sandal is as good as a shoe when we are talking about yarn dolls, right?
Sure! Sandals are fine 🙂 Hope you enjoyed making them