Sponge flower printing is an easy art activity for kids using an ordinary kitchen sponge and a simple stamping technique.
This activity makes a great Spring or Summer art project and can also be used to create printed flower cards – perfect for mothers day, get well soon, thank you cards and birthdays.
*This kids’ art idea was first published in 2020 and has been updated and reshared for today’s audience
You might also like butterfly sponge printing
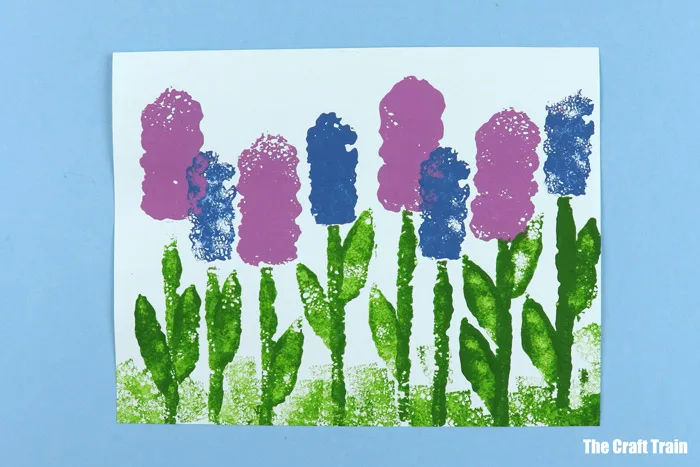
Recently we shared a gorgeous rose stamping idea which we used to create “bunch of roses” art for Mothers Day cards. This is another way to use sponge flower printing, making flower art scenes to hang on the wall.
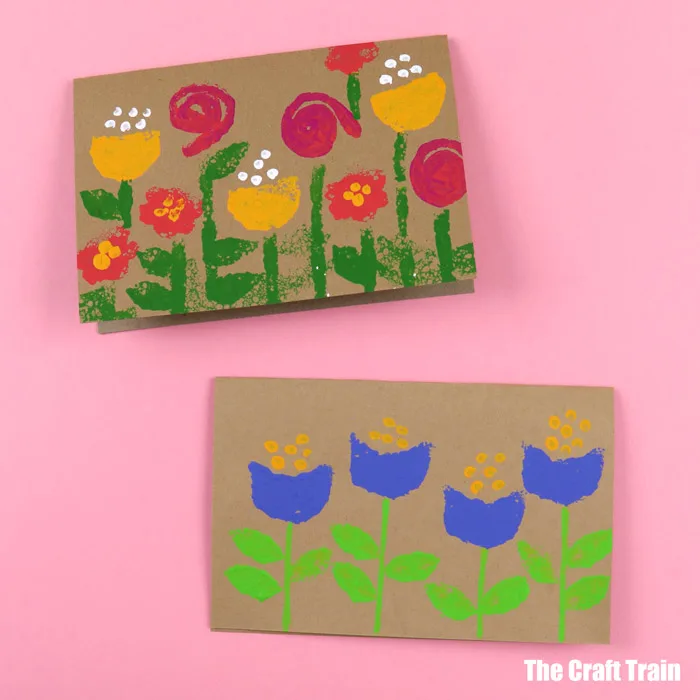
Making the stamped flower art is quick and easy once you have the sponge shapes cut out. It’s lots of fun too and you can let kids get creative with their art!
I recommend having a flower stamp for each colour so you don’t need to take the step of rinsing the stamp between each colour (which is a bit messy and needs to be done at a sink).
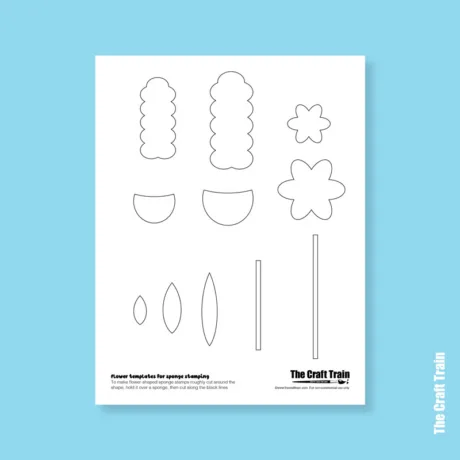
I’ve created a flower shape template to get the same shapes as ours, but feel free to design your own shapes too.
How to do sponge flower printing
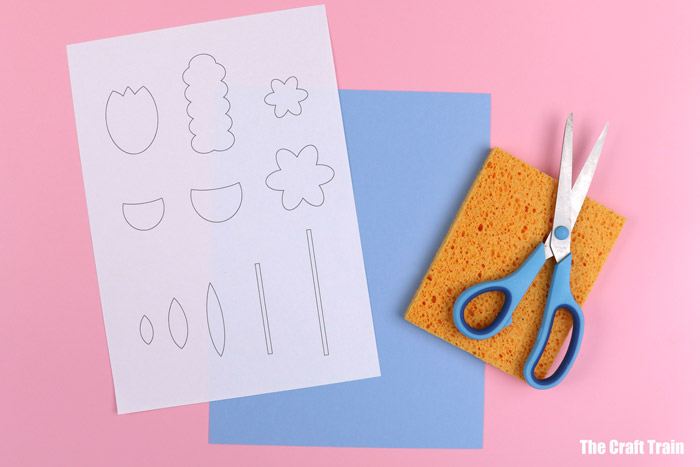
You will need:
- Kitchen sponges – the thinnest, cheapest brand is perfect because they are easier to cut out
- The printable shape template
- Paper – we’ve used coloured construction paper but white is fine
- Acrylic paint
- Cotton bud/Q-tip
- The flower stamp template
Get the flower stamp template here
How to:
- Roughly cut the flower and leaf shapes you want out from paper, then hold it over a piece of sponge and cut them both out at the same time. Younger kids will need an adult to do this for them, the rounded edges of the flower petals can be fiddly. While the template includes stem shapes, it’s actually much easier to just cut a long sliver of sponge freehand without using the paper guide.
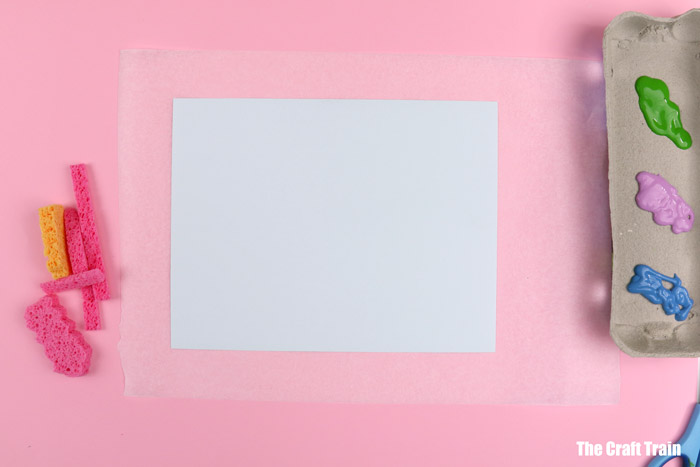
- Place blobs of paint in the colours you’d like on a palette (we used egg carton lids as our palettes).
- Make sure you have a piece of newspaper or alternative to protect the table. The sponge prints go over the edges of the page.
- Dip a piece of sponge in paint and press it on the page in multiple places.
- Dip a second flower shape in paint and print it around the page.
- Print some stems on the flowers. Cut the stems shorter to get the parts poking up above other flowers.
- Add some stamped leaves.
- Use a cotton bud dipped in paint to dot pollen onto the flowers
- Use a small piece of sponge to print grass.
Of course, all of these steps are optional, you print your flower scene as creatively as you like!
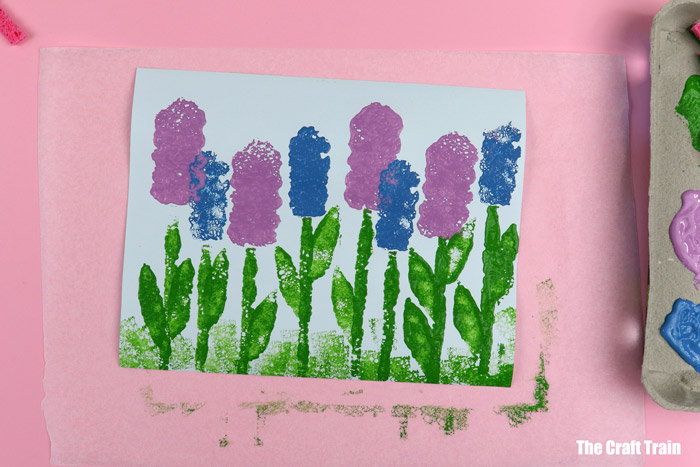
This is a garden of hyacinths…
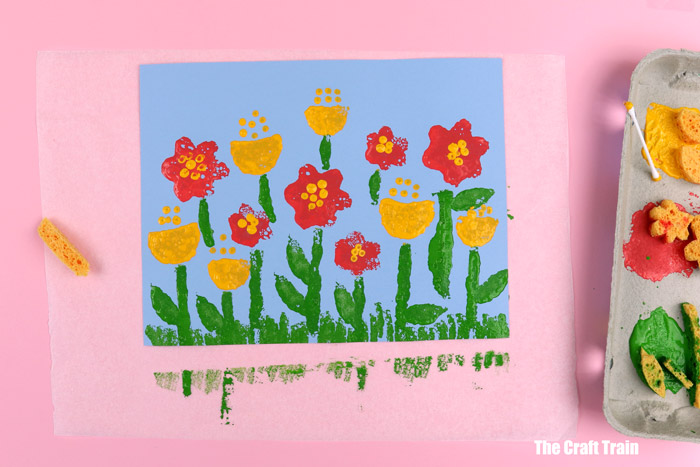
Here are some ordinary simplified flowers
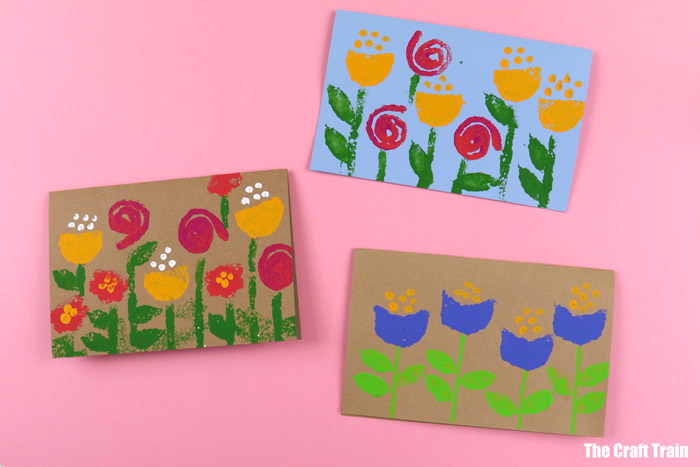
We used the technique to make some cards too, adding in a rose from last week’s activity.
These sponge stamps could also be used to create handmade gift wrap, tags, and even gift bags (you could print flowers on the store-bought blank paper gift bags).
More flower arts and crafts for kids
- Make a paper daffodil using our printable template
- This paper tulips in basket craft is easy using our printable template
- A bunch of egg carton flowers is a great way to brighten up the room
- Make a pretty paper flower card for mothers day
Check out more of our Spring craft templates

I really like this idea. I especially love how you used different shapes and the cotton bud to give lots of variety.