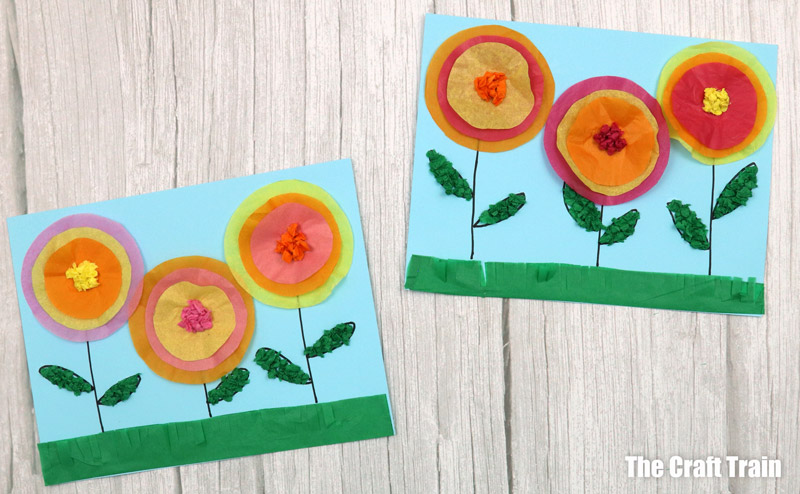
Make some colourful 3D tissue paper flower art. This is a great way to decorate for spring or summer and makes a fabulous flower-themed craft for kids aged 5 and up.
You might also like these tissue paper lanterns
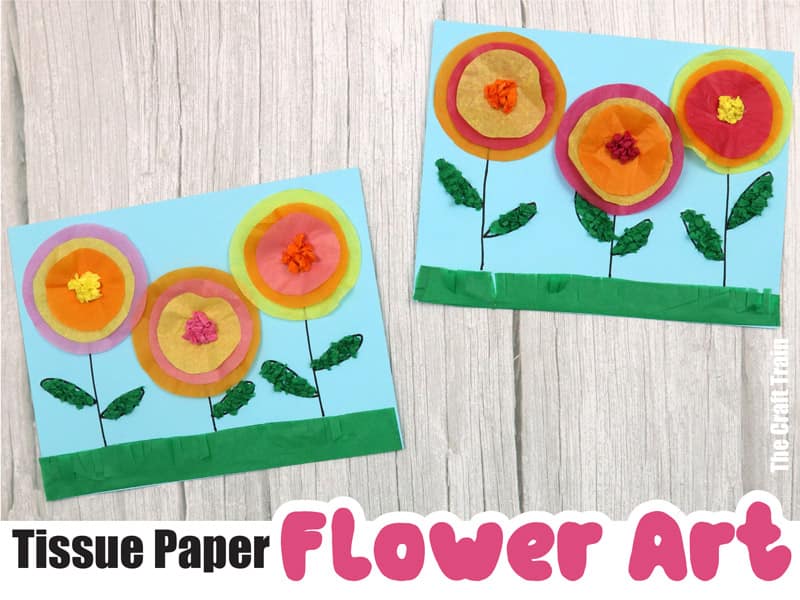
Looking for an easy craft activity to keep the kids busy? Tissue paper flower art is a great way to engage your child’s creativity and imagination. It’s simple, fun, and best of all, it won’t break the bank or require any fancy materials.
If you’re like me, you already have a stack of tissue paper amongst your craft supplies. Last week, we used some to make easy butterfly wall art. The week before, cute glow bugs that double as DIY nightlights, plus there are a bunch more in our archives.
It’s fair to say we’re tissue paper obsessed!
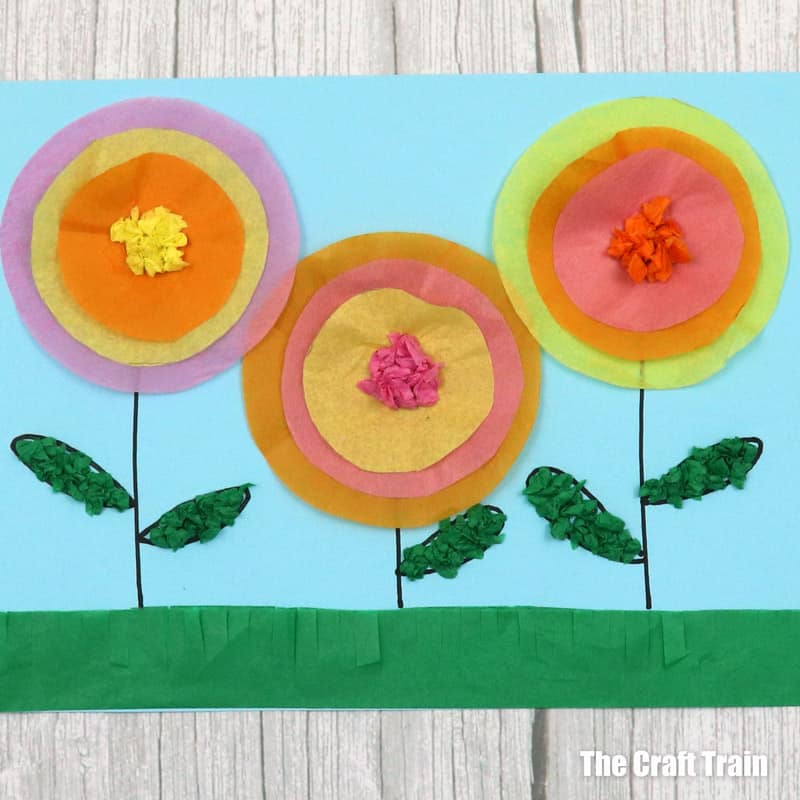
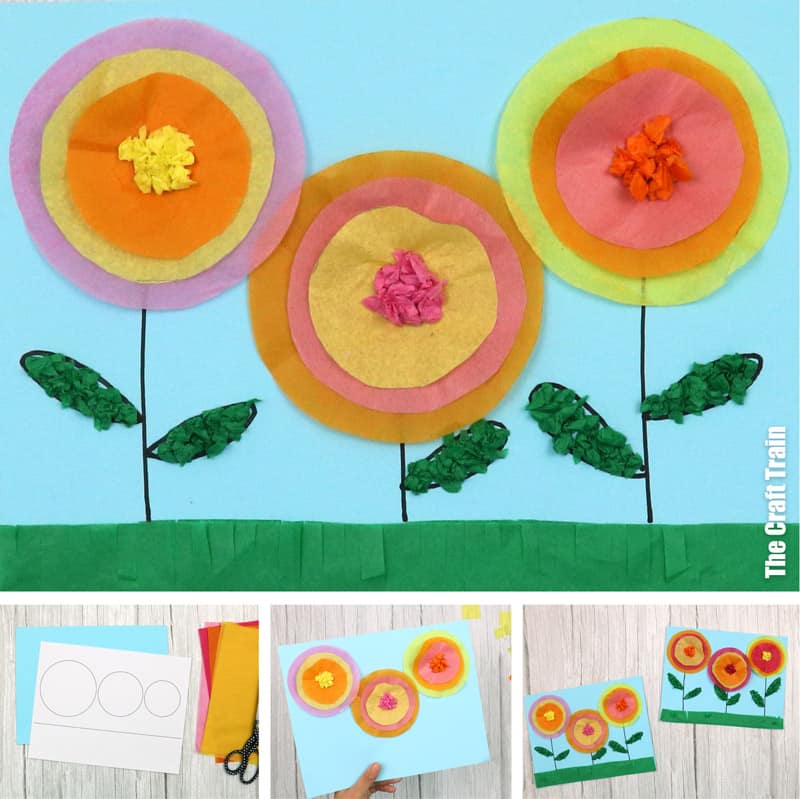
With this project, I’ve used plain circles layered in three sizes to make the flowers. If you want to get creative with it, experiment by folding squares of tissue paper into triangular shapes and cut them into petals, similar to the way you’d make a paper snowflake. We’ve used this technique in our cupcake liner flower garland.
Older kids might like to extend this project by gluing different tissue paper textures onto their flower garden. We’ve scrunched, fringed, and layered. You can also twist and coil tissue paper to create cool textures. See some examples of this on our tissue paper egg cards.
But enough talk—let’s get started on the project!
How to make tissue paper flower art
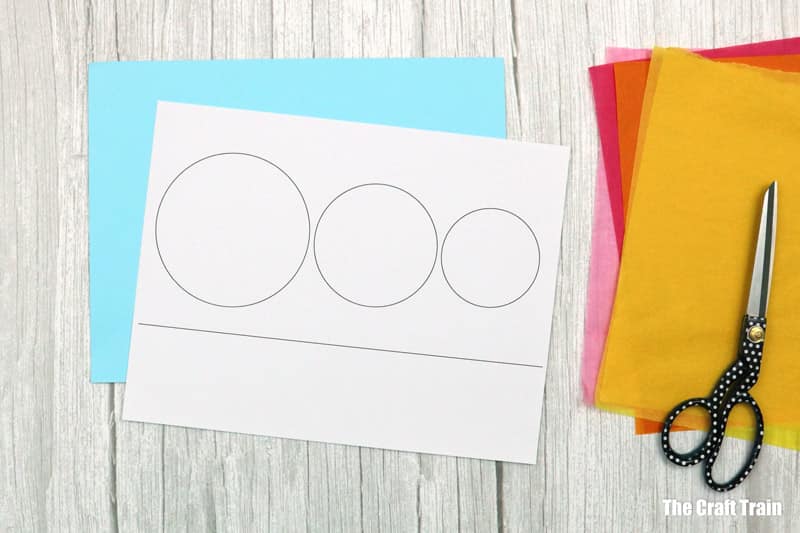
You will need:
- Tissue paper in a minimum of three colours plus green for the grass
- Scissors
- Construction paper for the background—pale blue works great for a sky-coloured background. We’ve used card stock for sturdiness but ordinary paper will work too
- Gluestick
- Sharpie marker
- This free tissue paper flowers template
How to:
Trace each of the three circle shapes onto a single sheet of tissue wrap. Layer this with tissue paper of two different colours underneath the piece you’ve drawn the circles on and staple the corners.
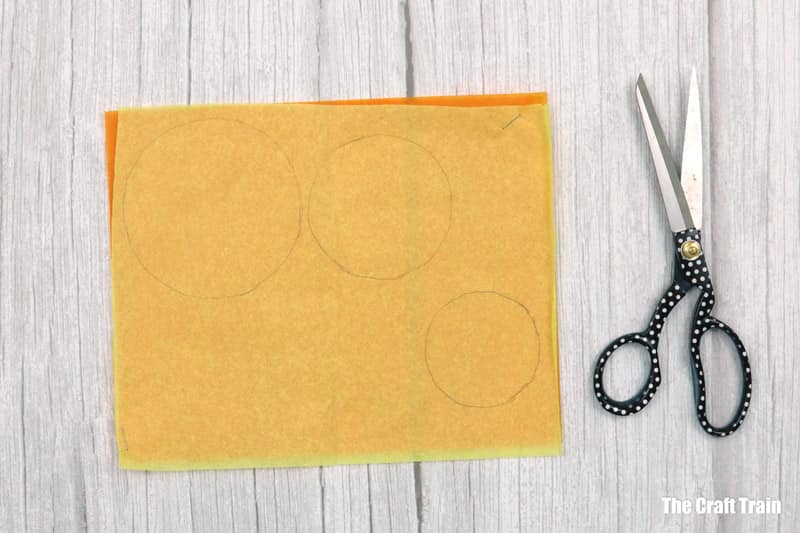
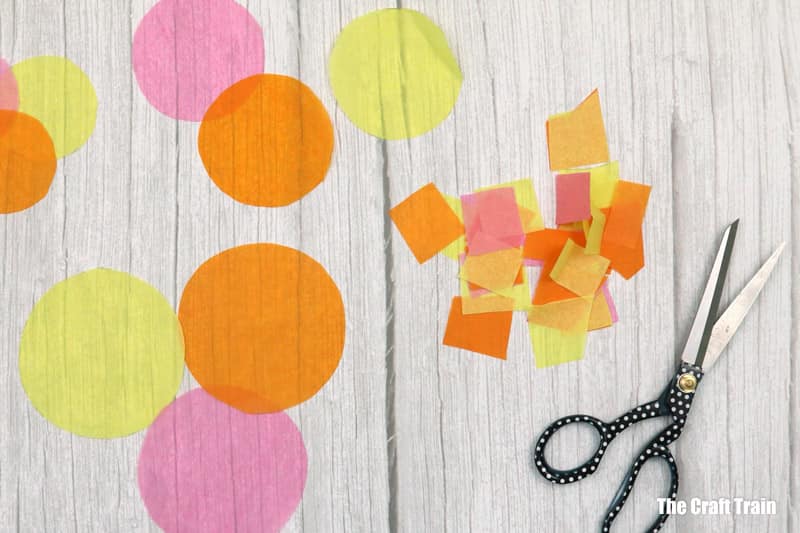
Cut the circles out. Cut the leftover scrap into little squares.
Gently scrunch the circles to give them a bit of lift before gluing them to your backing page.
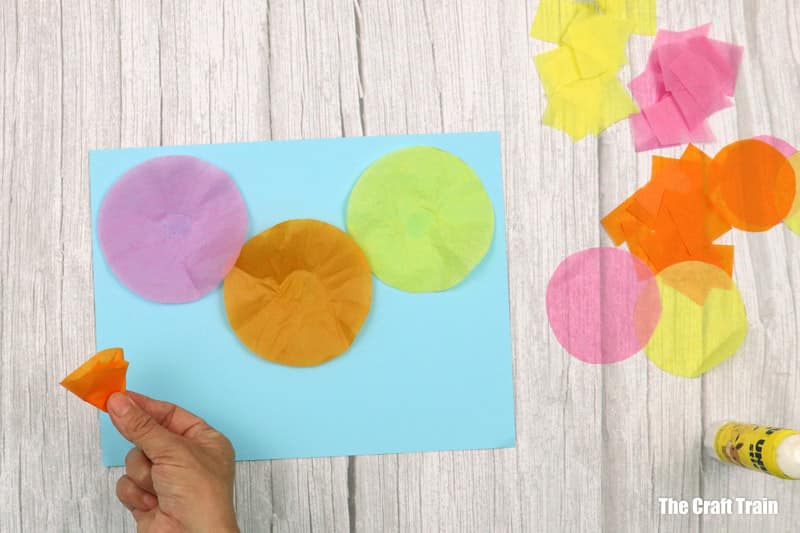
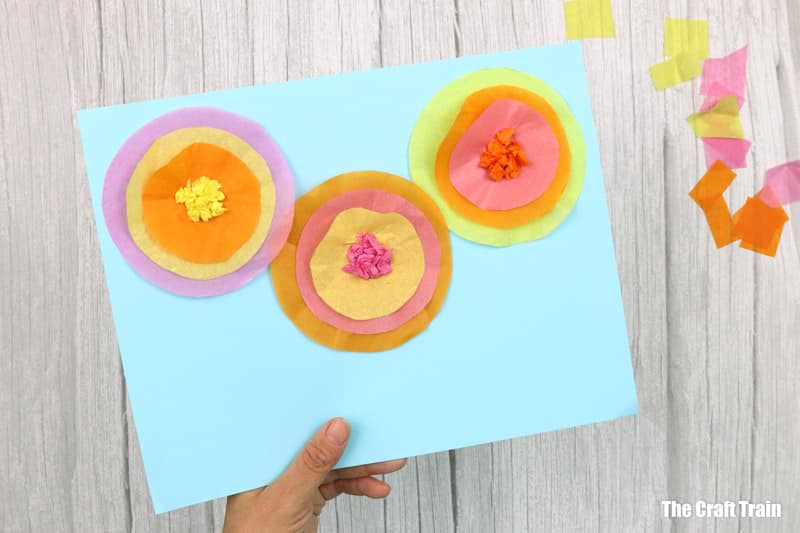
Repeat with the smaller circles, layering them onto the flower from biggest to smallest. Scrunch the squares to make little balls of pollen and glue them to the flower centres.
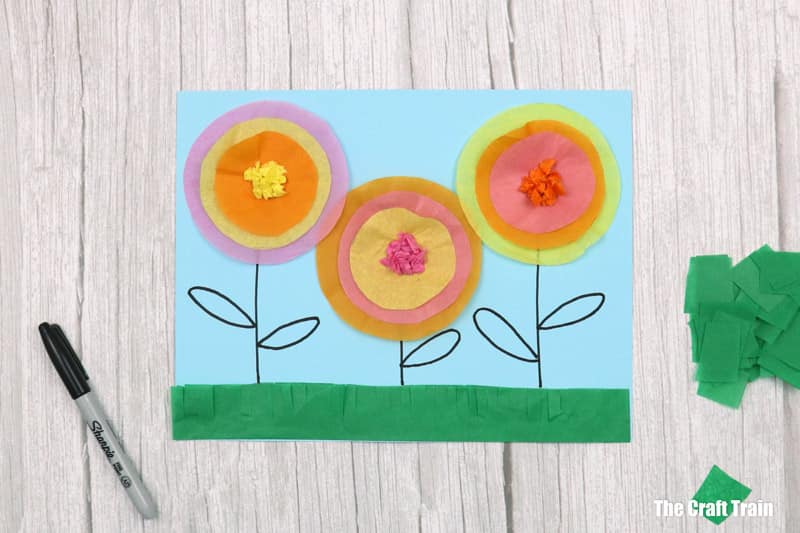
Use the template to trace and cut out a rectangular piece of green tissue wrap for the grass. Fold it in half length-ways and fringe the edge. You will get two layers of ‘grass’. Glue this along the bottom of your page.
Use a marker to draw in the stems on the flowers and add leaves to them. Cut up scrap green tissue paper into little squares, then scrunch and glue these to your leaves to colour and texture them green.
Alternatively, use crayons or markers for a mixed media art project.
All done!
Flowers make me happy, what about you?
More flower crafts for kids
- Make a basket of tulips artwork using paper weaving—great practice for fine motor skills
- This printable paper daffodil is a fun way to celebrate the start of Spring
- Upcycle egg cartons into the prettiest egg carton flower posy
- Make some felt happy flowers—so fun!
- Here’s a gorgeous paper plate sun flower kids will love to make

Leave a Reply