

Here’s a super fun and easy monster painting project that suits kids of all ages. Free masking template available for download.
This is a great Halloween craft idea and makes colourful wall art too.
You might also like these 3D monster portraits

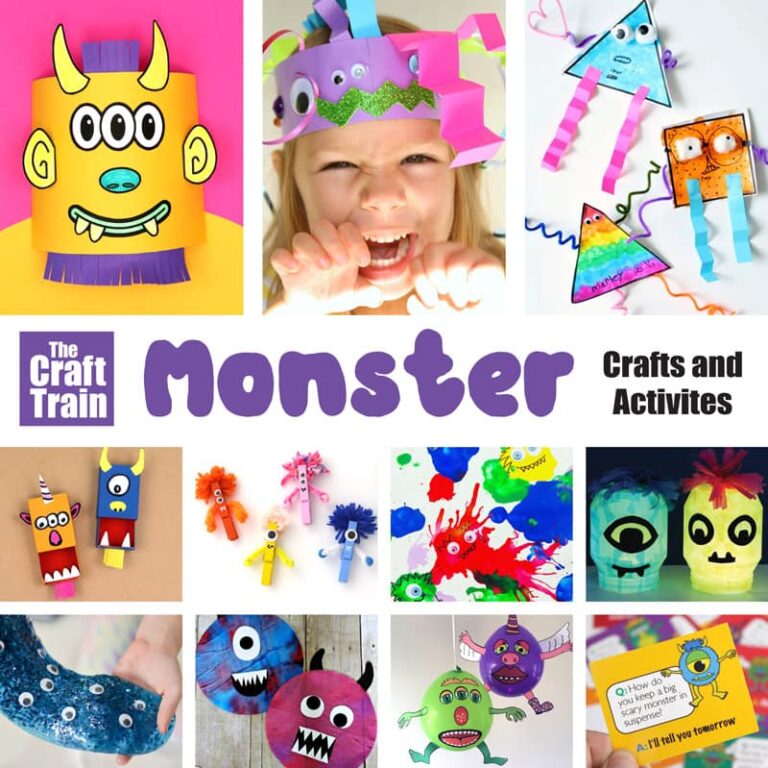
How fun are monster-themed crafts? I can’t get enough of them. We already have peg monsters, monster lanterns, felt monsters, and lots more. Here’s another fun idea to add to the collection—monster painting.
This simple Halloween art idea uses a masking template to get the monster mouth and eye shapes. We’ve used a combination of cut-up sponges and sponge brushes for the painting.

The fiddliest part is peeling the wet mask shapes away again without smearing paint over the white space. Using a skewer to lift the edges makes it easier but little kids may still need help with this part.
If you make a mistake and paint leaks under the masking shape, it’s not a disaster. You can work back into it with coloured marker later and have the leakage become part of the artwork. Eg. mouldy-looking teeth like in the picture below.

Are you ready to get monstrously creative?
Monster painting art activity for kids
You will need
- Sponge brushes and/or pieces of kitchen sponge cut into smaller shapes
- Acrylic, poster, or regular kids paint
- Blu-tak to hold the masks in place
- Coloured markers (we’ve used sharpie markers)
- Scissors
- Good quality art paper or white card stock
- The printable masking template, get your copy here: monster painting template
How to:
Cut the masking shapes out.

Choose some monster features for your art—any combination of eyes and mouth or teeth. Use a tiny ball of blu-tack to hold these in place on a blank sheet of paper.

Sponge paint all over and around the features. If the mouth has teeth cut into it, dab a different colour over the teeth or leave them blank if you want white teeth. If you accidentally colour them the same as the monster’s fur, don’t worry. You can paint white over them later (which is what I did with my pink monster).

Optional: Dab an extra colour over the first one to give a more textured-look to the monster’s fur.

Use a skewer to lift the edges of the mask shapes away from the paper and peel them away completely. You need to do this while the paint is still wet or it will stick and may be difficult to peel away after drying. Gently pick the blu-tack away and allow to dry.

Use markers to add detail to the eyes and mouth. Outline the teeth, mouth and eyes in black so they ‘pop’. Add a nose, ears, horns, hair, beard or whatever you like to your monster. Get creative with it.


Here’s the pink monster with his touched-up teeth (because I forgot to dab a different colour into the teeth earlier).


Make a whole gallery of them!

More monster crafts kids will love
- Here’s a set of free monster lunch box jokes to get kids gigging
- Sew a cute monster pencil topper
- Make some gorgeous and colourful 3D monster portraits
- Upcycle egg cartons into the cutest Monster treat holders
- Turn a cardboard box into a recycled sea monster costume


Awesome!